My Name Is Rasha – إسمي رشا
My Champagne Taste
Menu
Skip to content
  • Shop
  • Blog
  • Linktree

– Ornate chair

9 / 23 / 111 / 19 / 18
 

So back to my project, 4 different chairs for the kitchen table, one paint color and one fabric like I mentioned here.  I can go a little crazy in the kitchen that is OK 🙂


I bought an old ugly Burgundy chair, yes it was a very shiny burgundy chair, but I liked its ornate and carved details.


I didn’t sand it, I just used Kiltz Spray Primer ( or Zinsser), then I paint it with “Valspar Aqua Ocean paint”. Then I realized that the ornate top that I fell in love with is loose 🙁
This is what happens when you are so excited and you don’t pay attention to how sturdy is the piece that you are buying. To fix it I used “Elmer’s Wood Filler” and “Gorilla Super Glue”. Lightly sand the wood filler and paint over it.

After priming it


Read More

Leave a comment

– Bye Bye IKEA Hello Macy’s

9 / 22 / 111 / 19 / 18
Don’t you just love Nailhead trimmed furniture ????


Last year the husband and I went shopping for a sofa. I fell in love with the blue Loveseat at Macy’s called ” Jaqueline Loveseat ” especially the nail head trim but my husband didn’t like it at all, so I had to search for another alternative 🙁


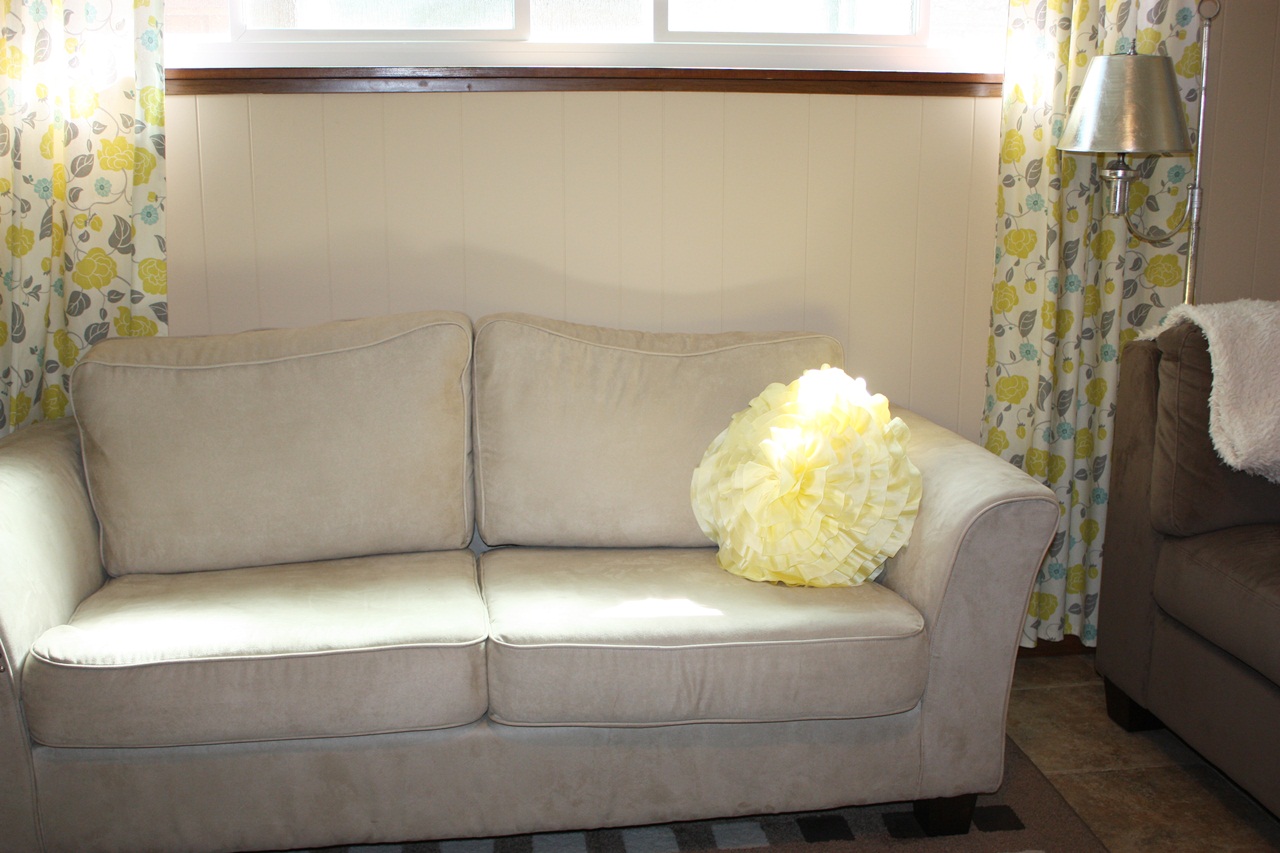
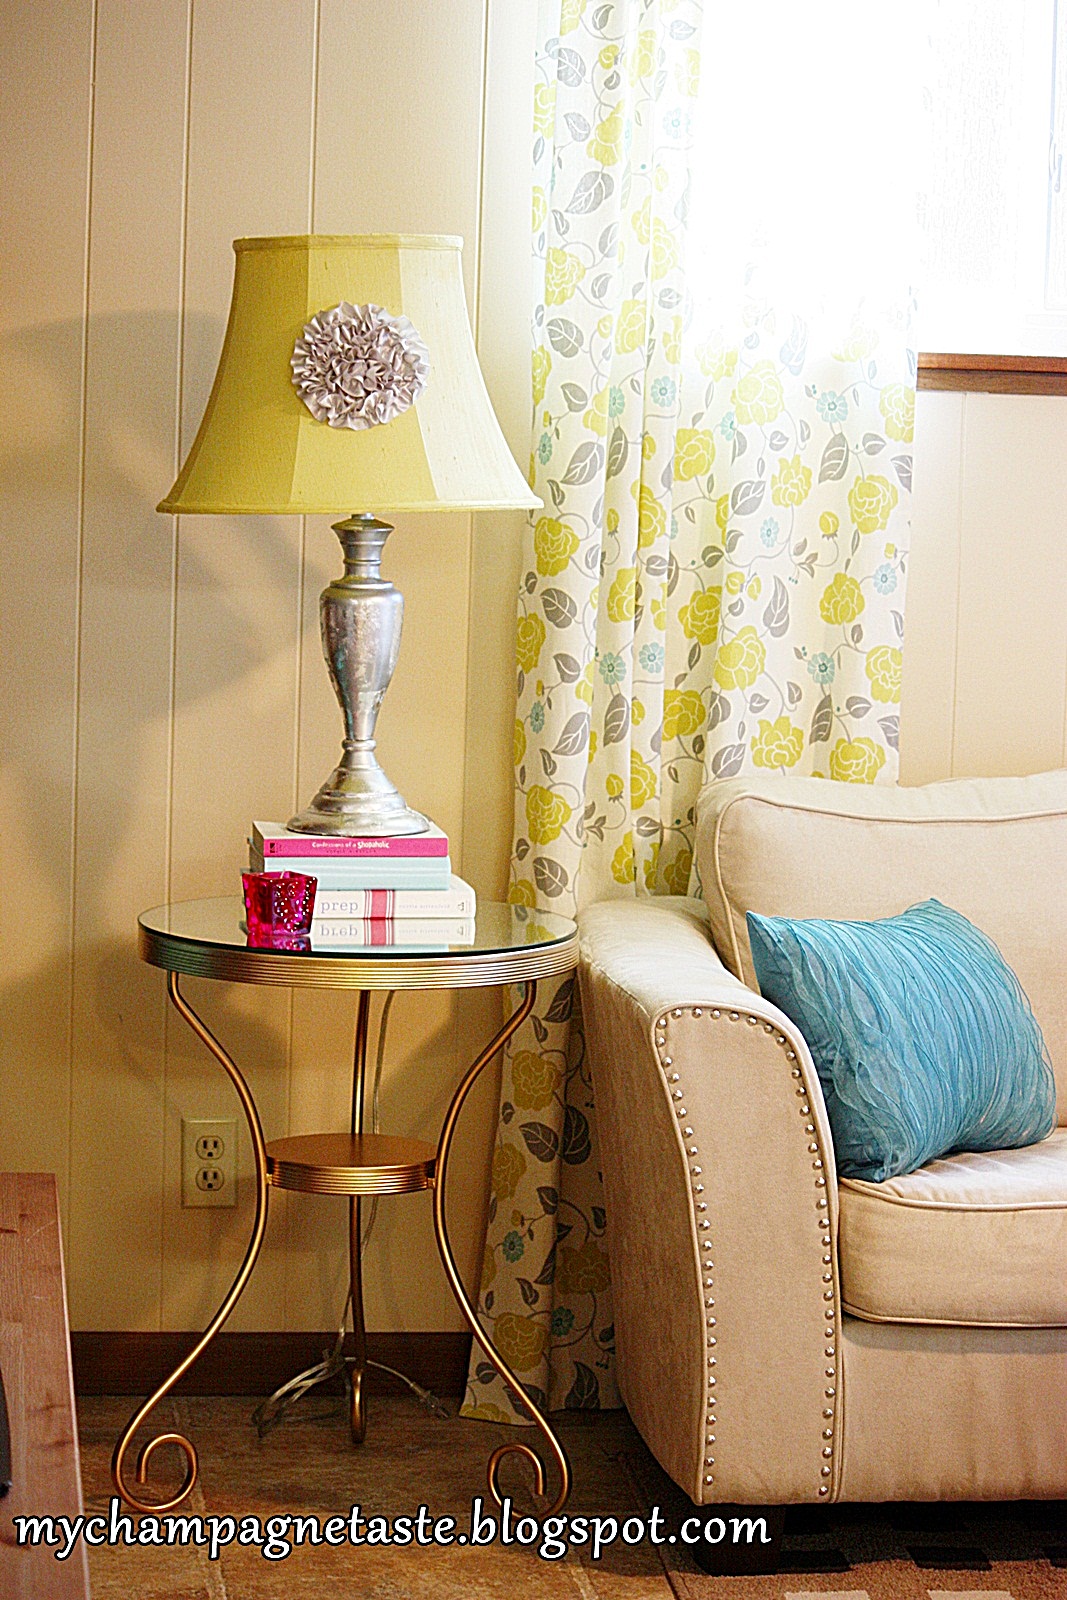
We ended up buying an off-white loveseat at IKEA, and I added some blue throw pillows and accents pieces to have this hint of blue in the room. 


Ours with darker legs

This was a year ago, but I kept on thinking about the Jacqueline Loveseat, so Yesterday I had an idea how to make this IKEA a Macys:


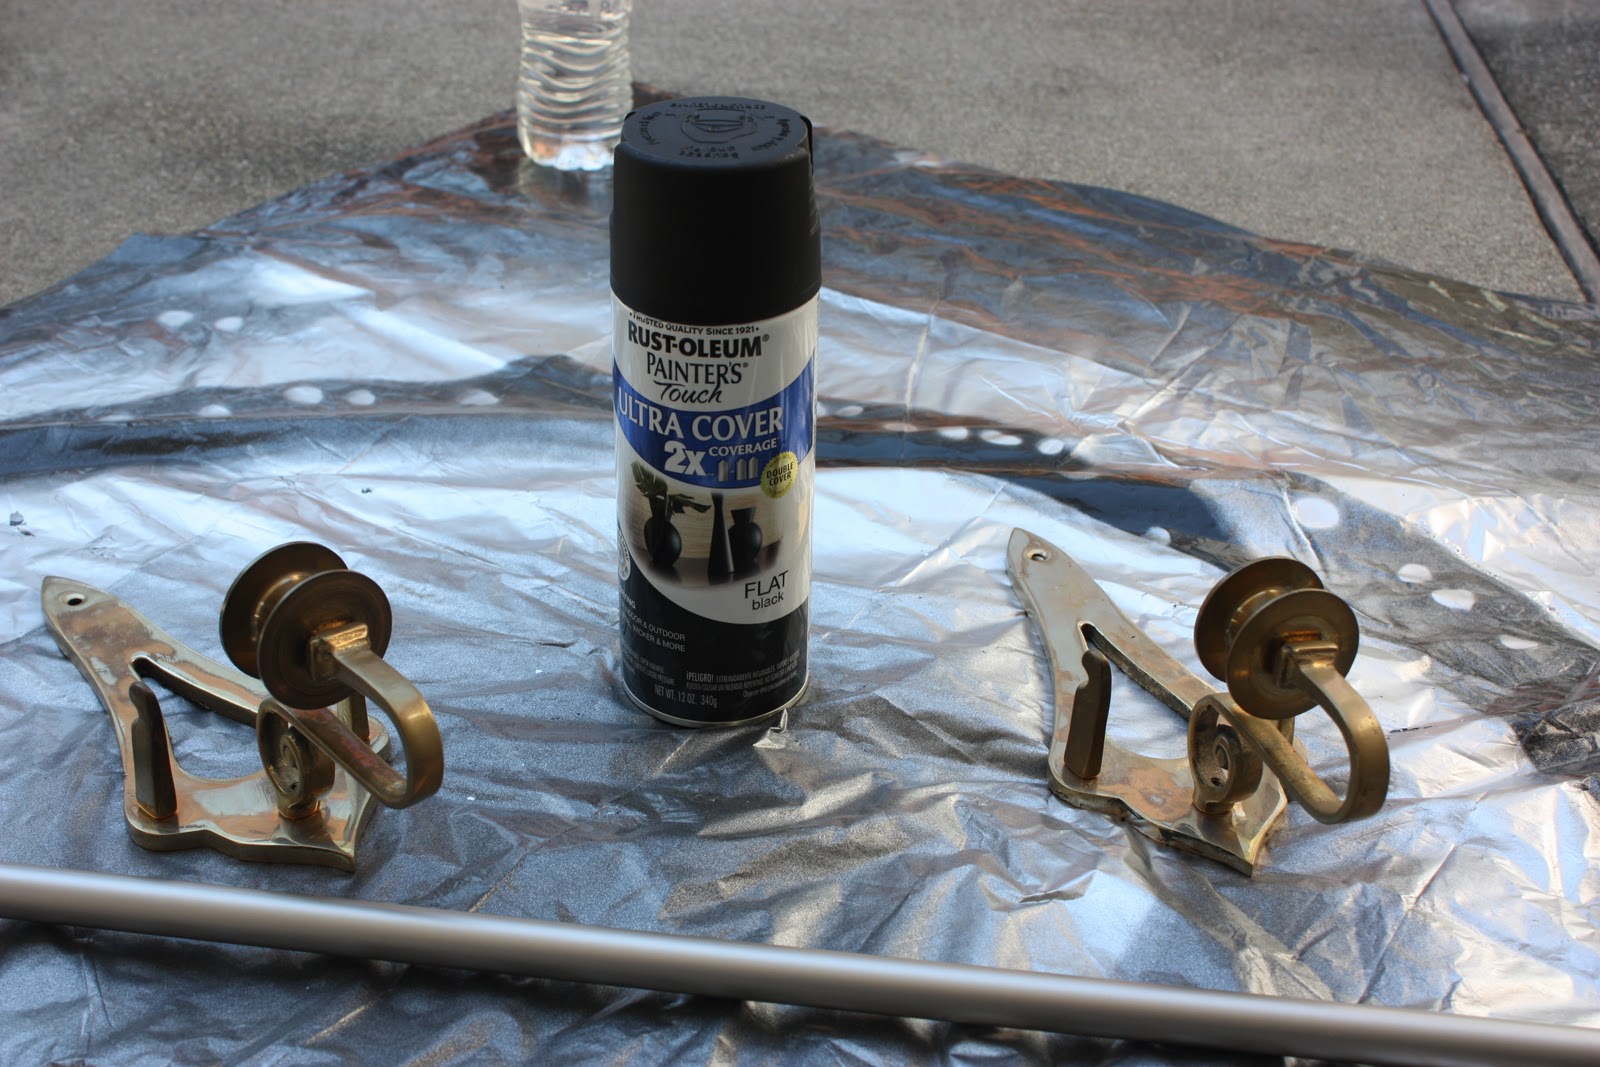
I bought Upholstery Nails at Home Depot (5 boxes) for $1.30 each.
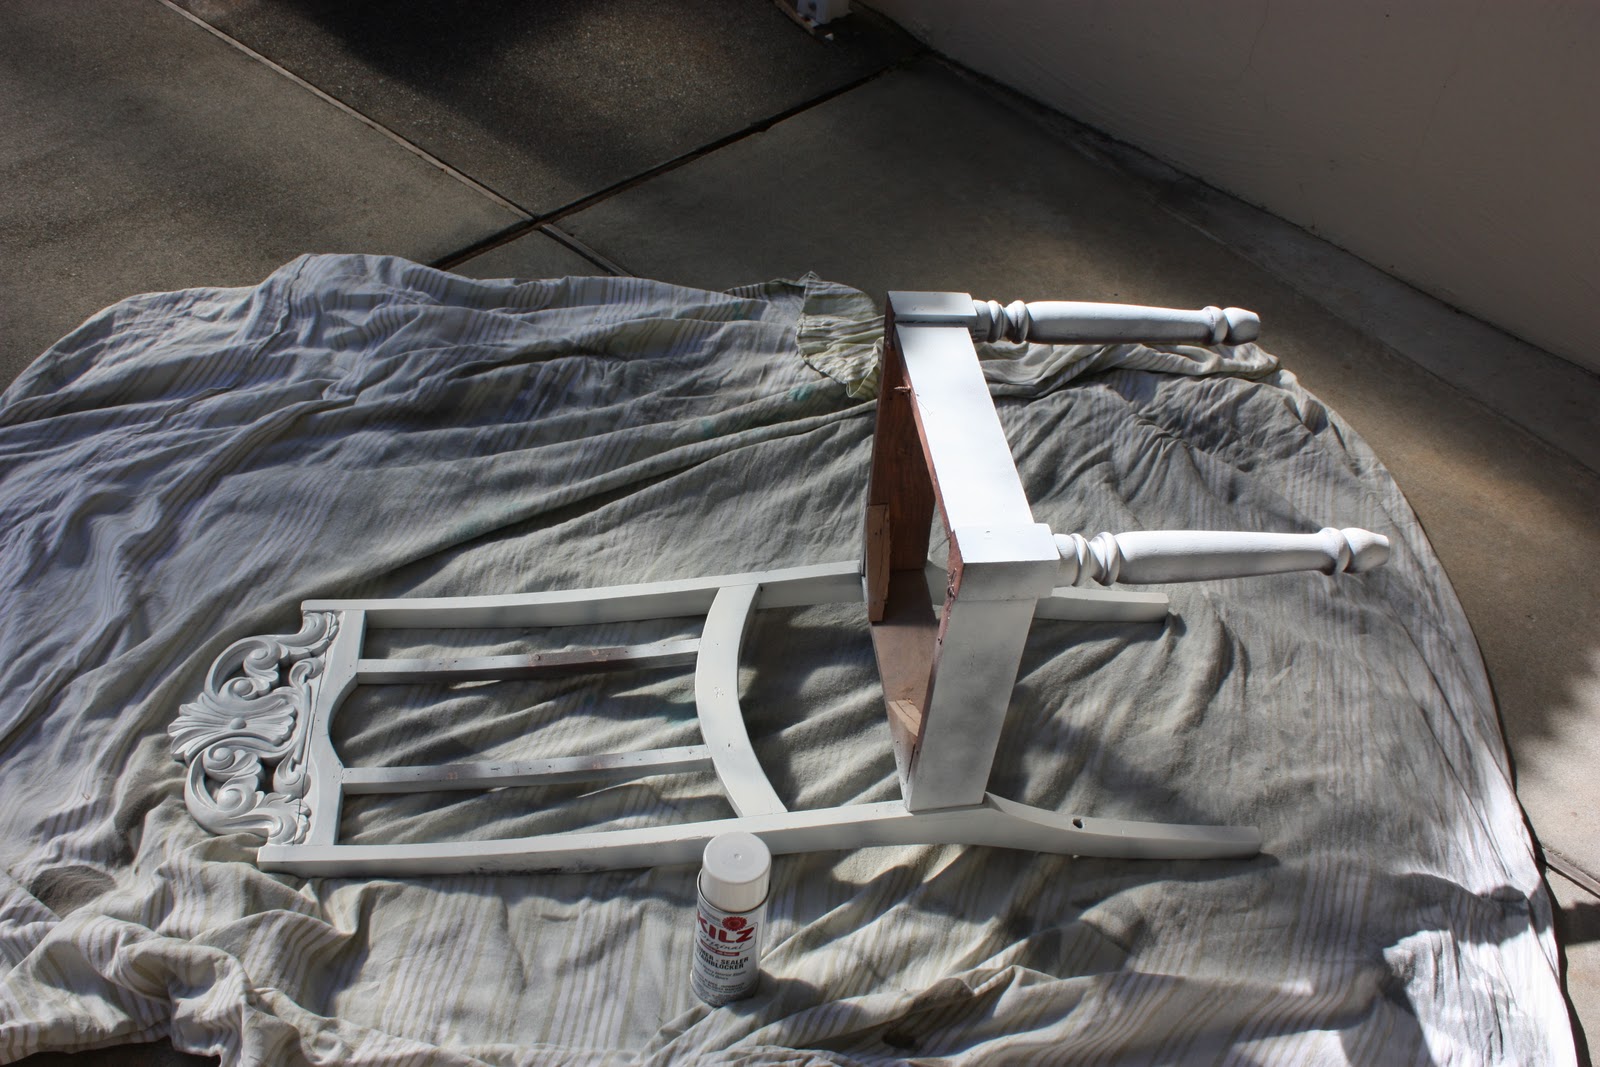
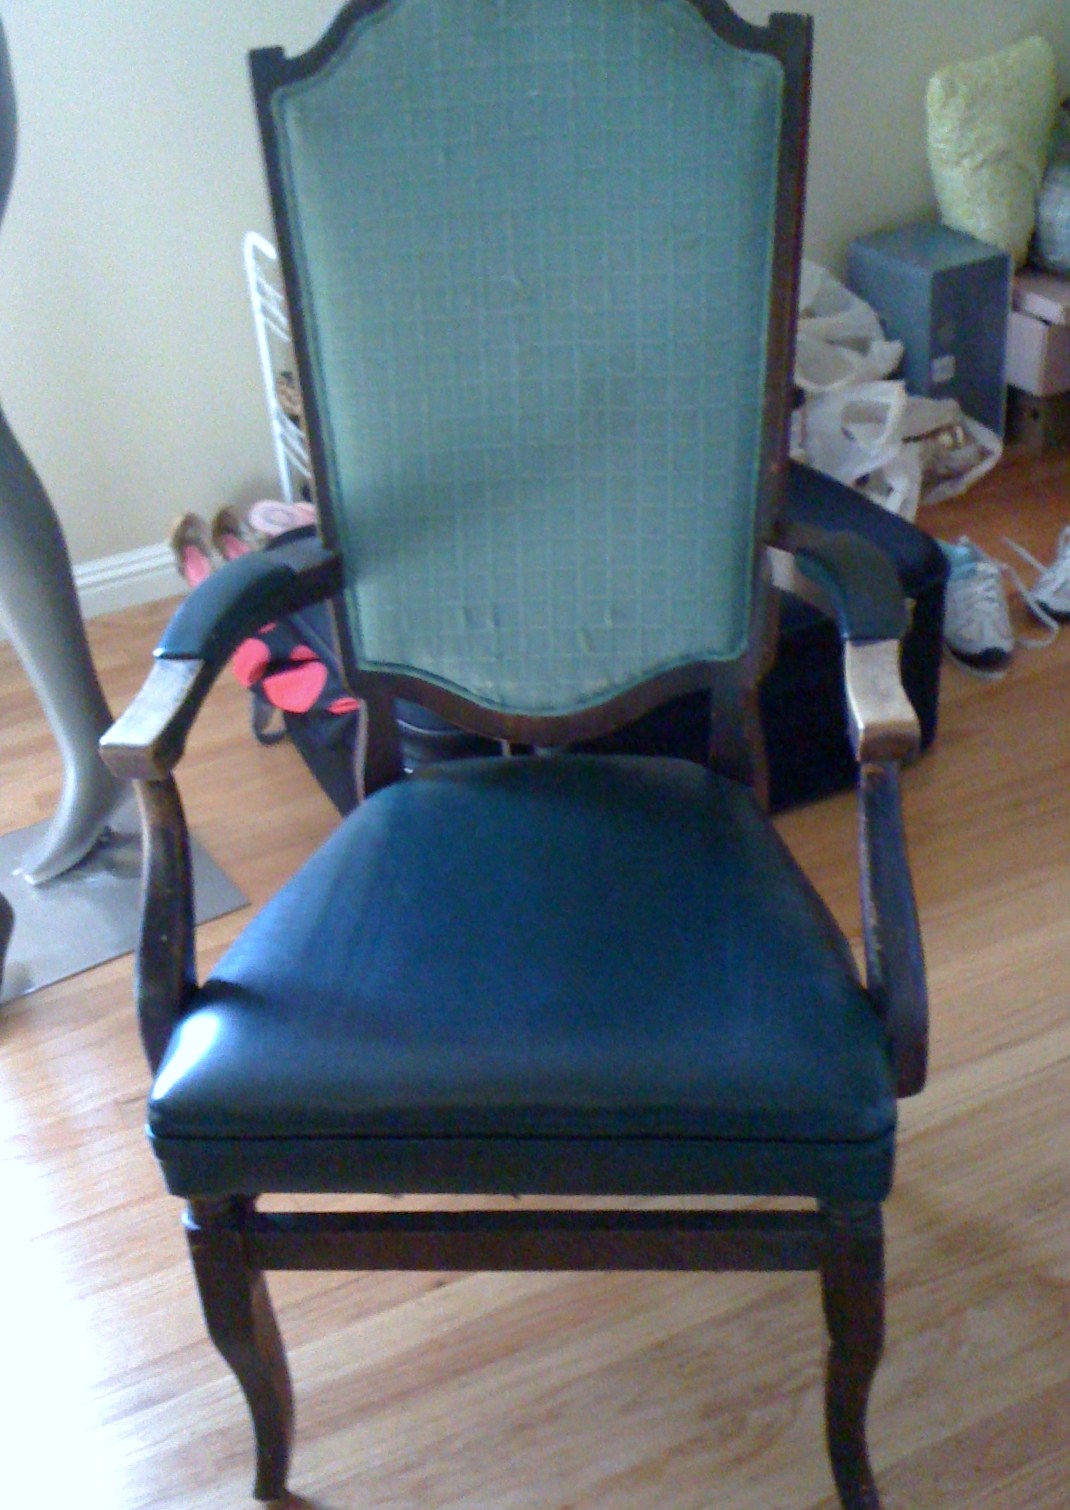
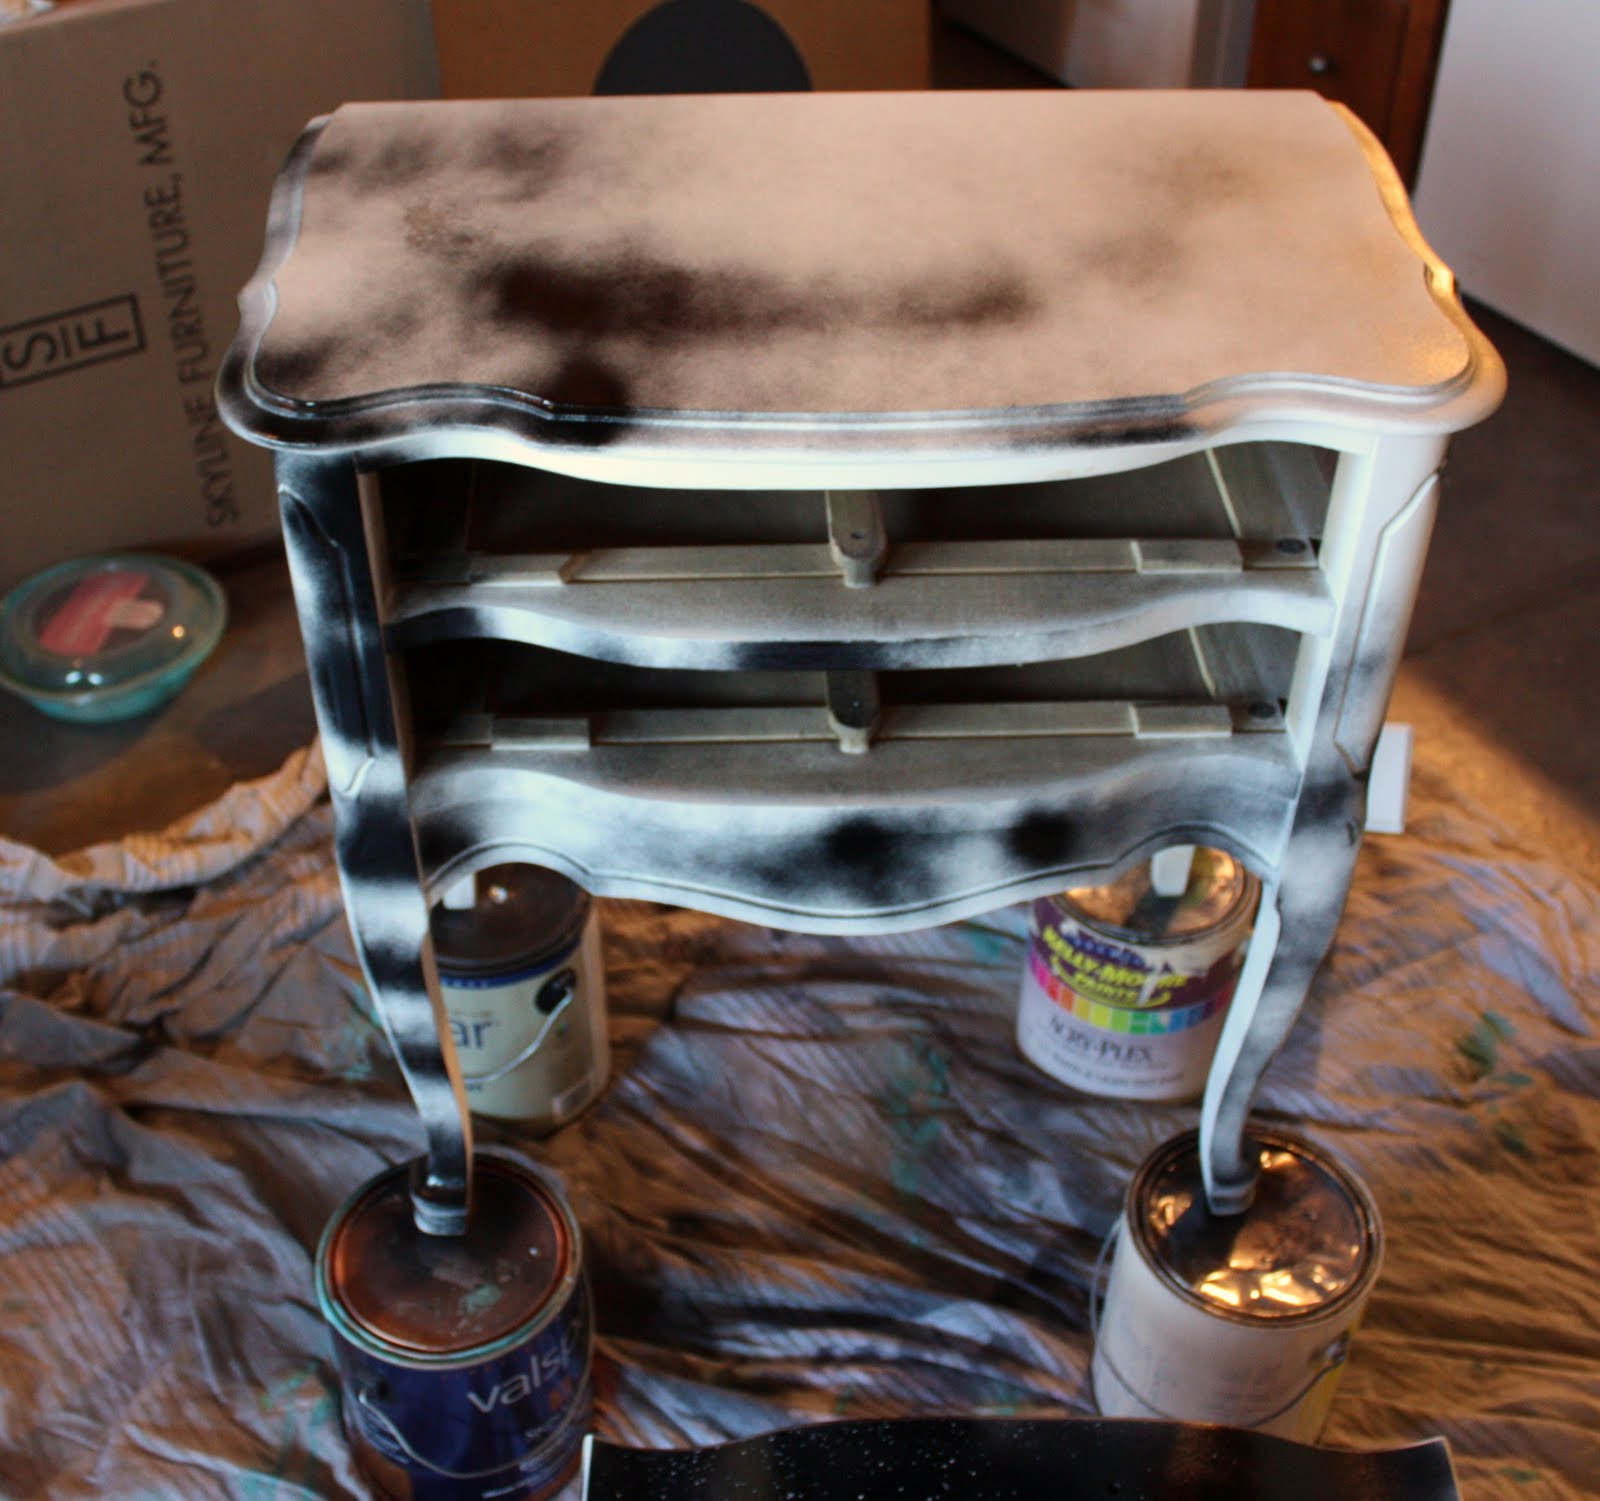
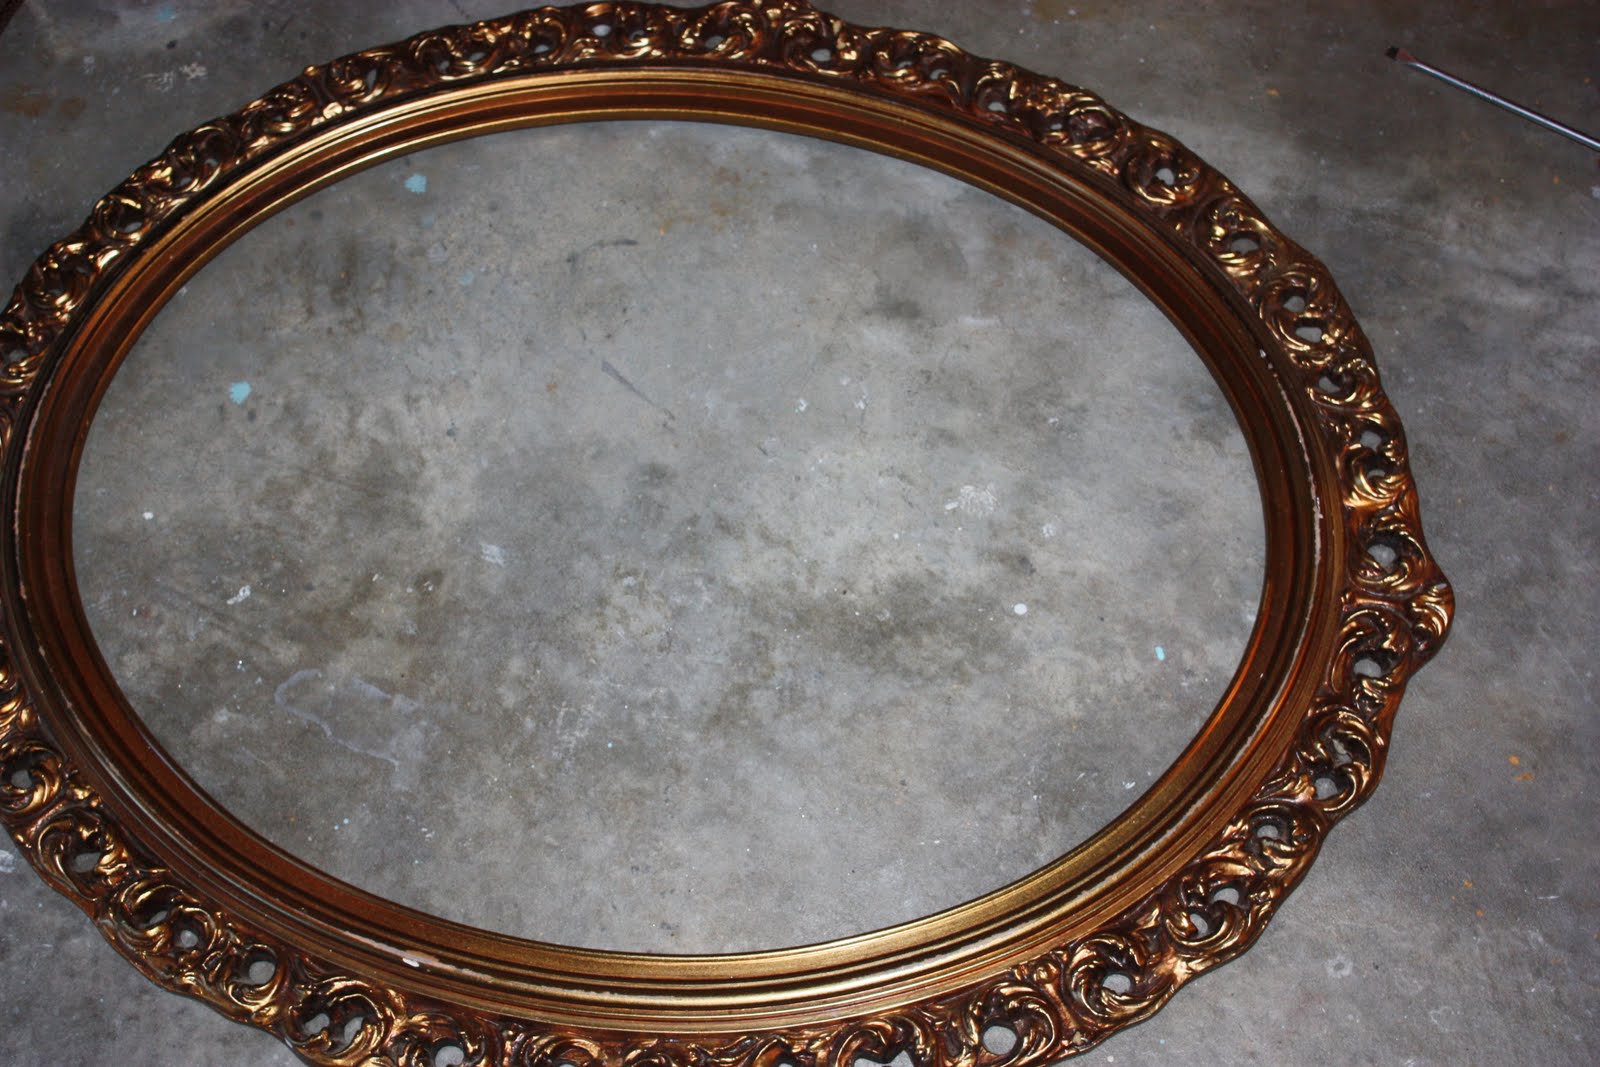
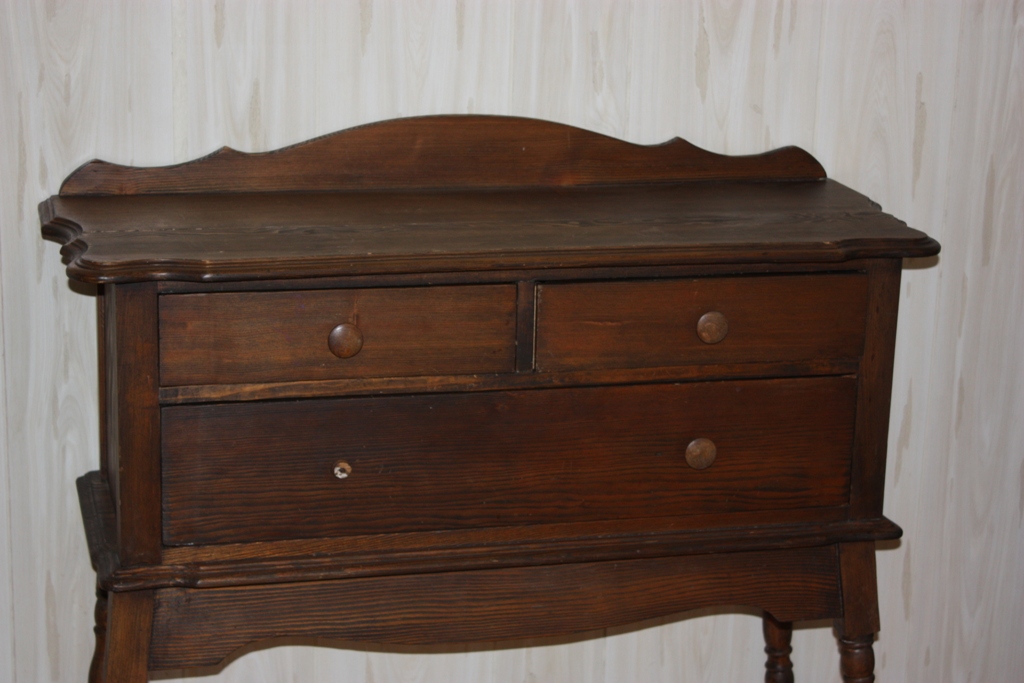

This is the before:


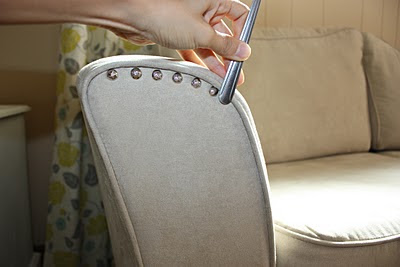
How to apply the Nails was so easy, since I didn’t have the proper tools: the mallets and needle nose pliers, I used what I had in hand: Hammer and Scissors.

I hold the Nails in place with the scissors ( instead of the needle nose pliers) and then pound them gently with the hammers ( instead of the mallets). To have an equal spacing between each nail I had to use a spoon handle ( check out the below picture)


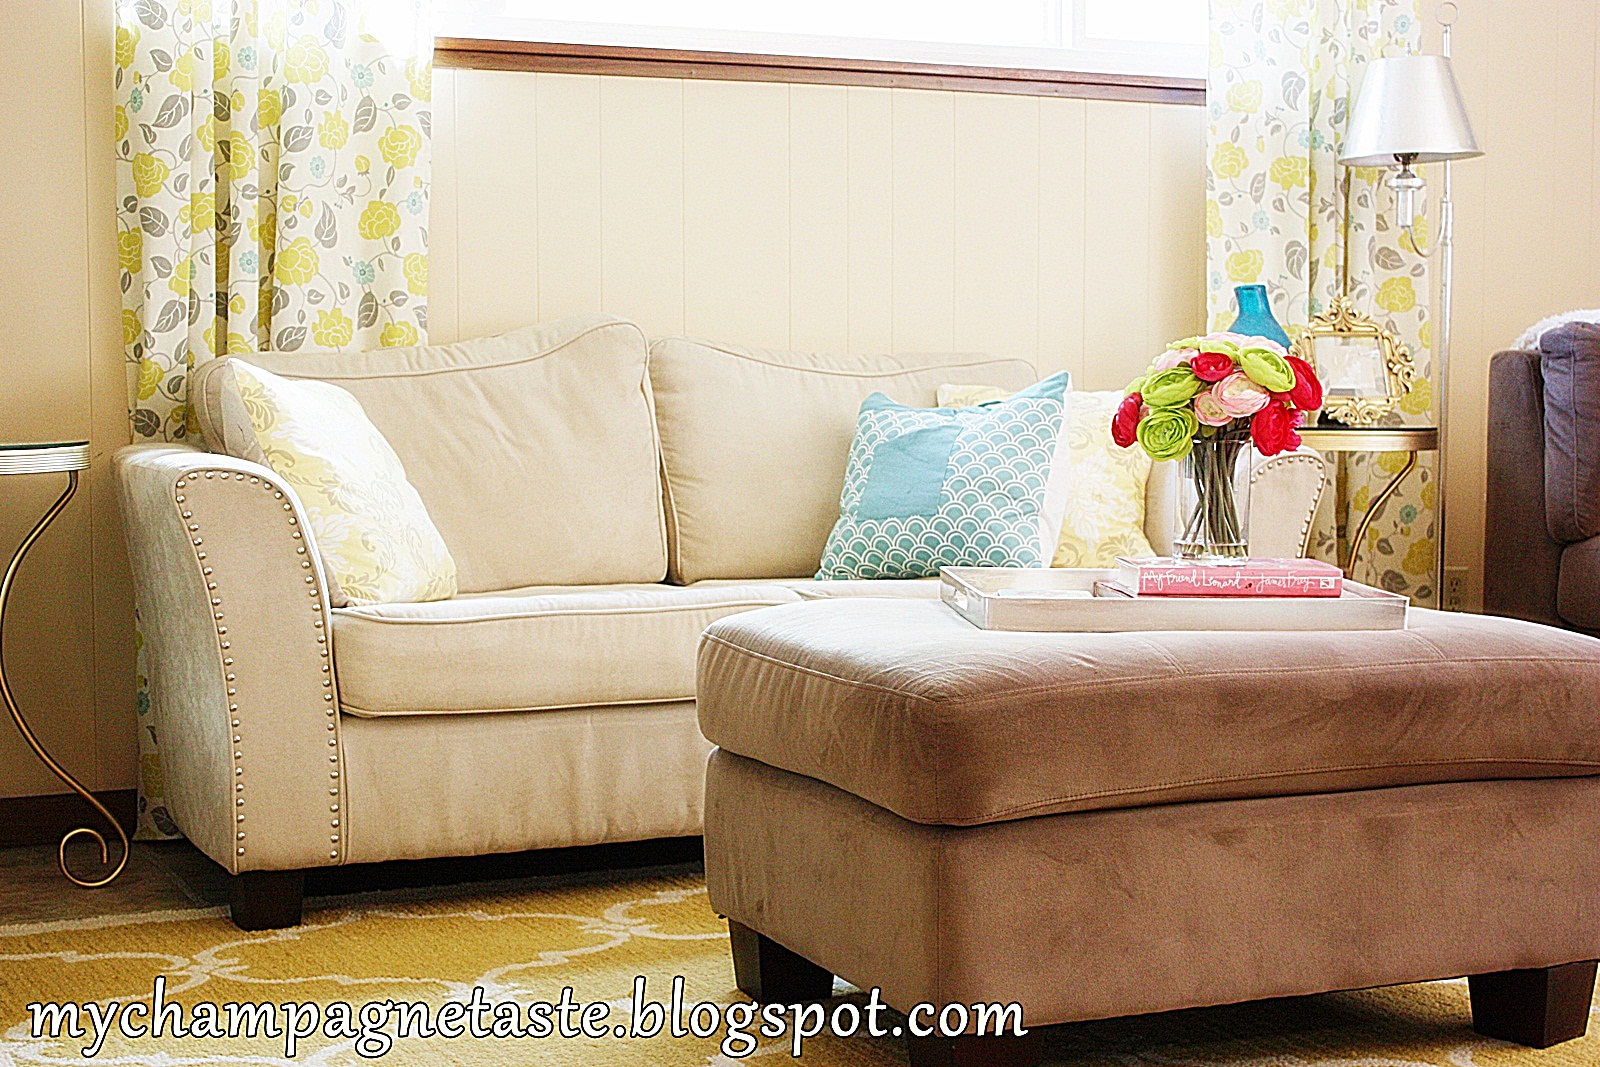
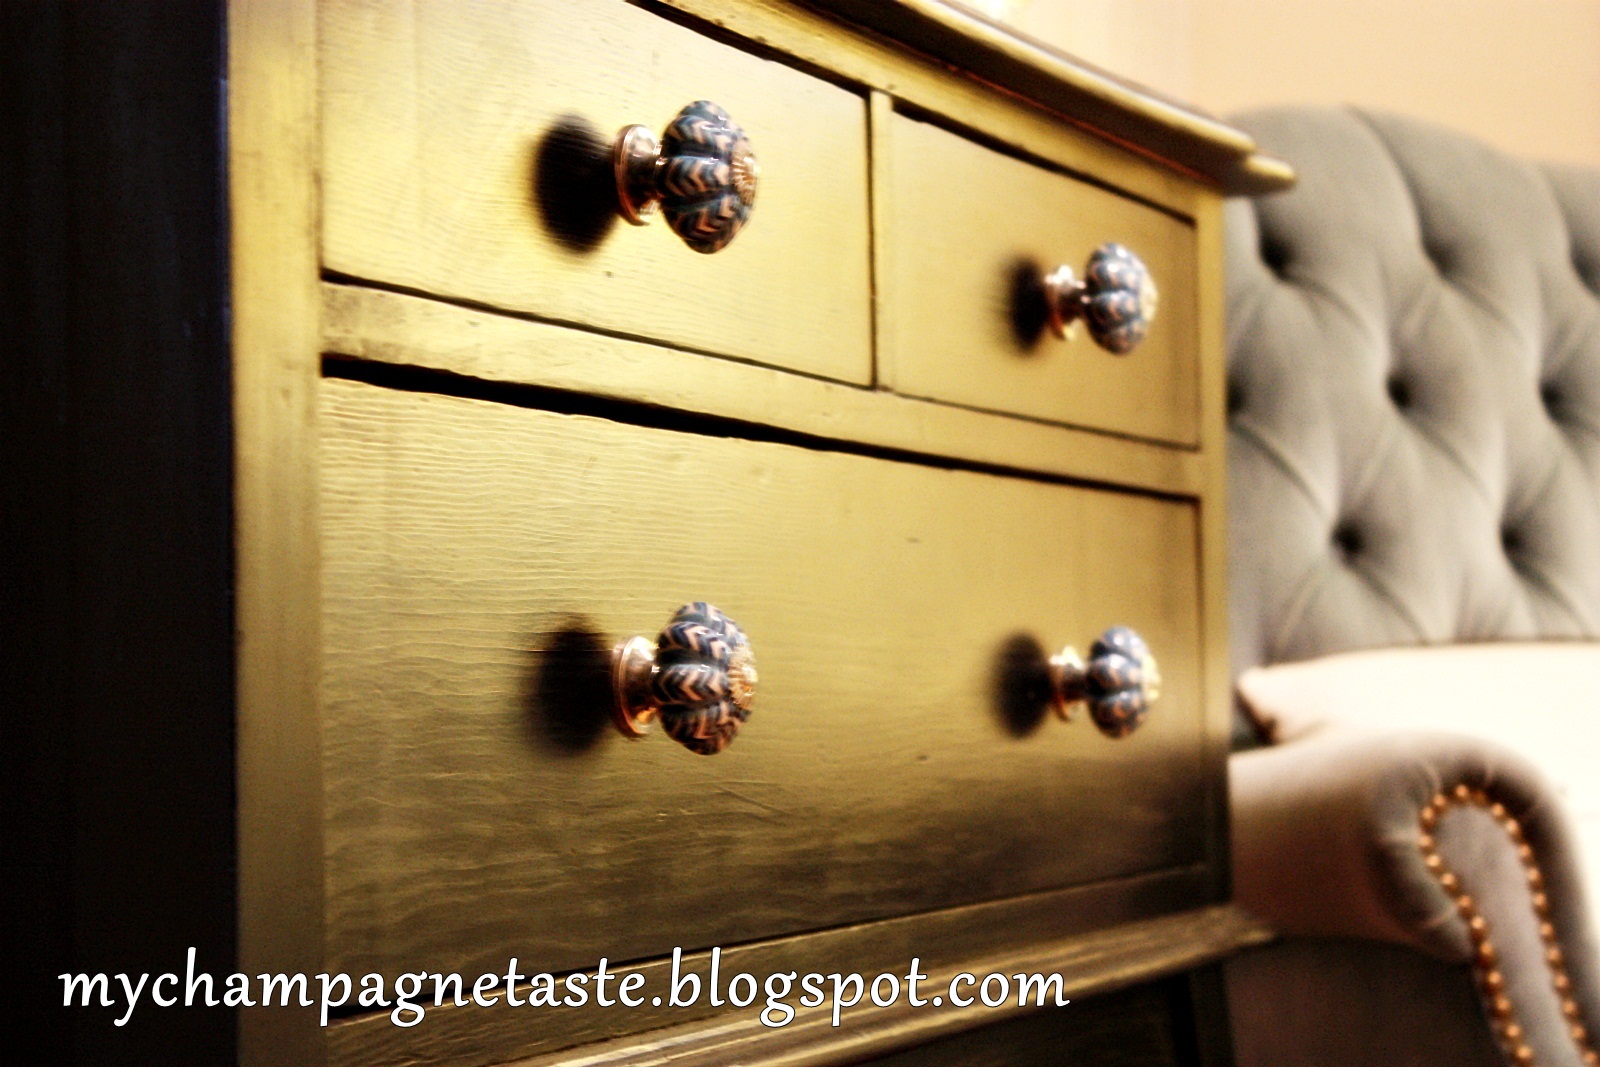
So finally I got to say BYE BYE IKEA HELLO KITTY..hmm I mean HELLO MACY’S

You can check out here my “Bye Bye IKEA, AGAIN” post


And hey dont forget to enter this amazing giveaway to win a $30 Gift Card from the online fashion store  RuleHim so quickly go check it out


Featured :

                       Days of Chalk and Chocolate
Linking to :
notjustahousewife , nominimalisthere , skiptomylou , iheartnaptime , thegirlcreative , beyondthepicketfence , pollywantacrafter , somedaycrafts , beyondthepicketfence , theshabbycreekcottage , frenchcountrycottage , diyshowoff , tipjunkie ,  shabbynest , cookienut ,  thetrendytreehouse  , funkyjunkinteriors , chattychicssassysites , thekurtzcorner, sugarbeecrafts , abowlfulloflemons , mommybydaycrafterbynight , projectqueen , tipjunkie , sweetlittlegals , primitiveandproper , cleanandscentsible , bluecricketdesign, kammyskorner , modvintagelife , restoreinteriors ,thriftydecorchick , insidebrucrewlife , elizabethandco ,
diybydesign , thevintagefarmhouse , craftyscrappyhappy , staceyembracingchange , knickoftimeinterior, twindragonflydesigns , diybydesign , thetrendytreehouse, shabbynest , daysofchalkandchocolate , findingfabulousblog , mommybydaycrafterbynigh , twindragonflydesigns , thetrendytreehouse , mysimplehomelife , shabbynest , romantichome , herecomesthesun , pollywantacrafter , bystephanielynn


Pin It
94 Comments

– Pop of color: Aqua

9 / 21 / 111 / 19 / 18

The Kitchen table is where I spend all the daytime ( not eating, well not only eating but also as my office )
So I want something fun, comfortable and stylish.


I needed 4 chairs, I had in mind that I want 4 different style chairs, paint them one color, use one fabric.


So this is my first chair:

Not so pretty right


Read More

Leave a comment

– Easy Canvas

9 / 19 / 111 / 19 / 18

Well, I wanted some artwork in my Guest Bedroom to cover that ugly yellow/beige wall.
I didn’t  want to paint because we are renting and I already painted the dining room, the formal living room, and my master bedroom so enough paint since I have to re-paint all those walls alone like I promised my husband.
So back to the wall art, I wanted a black white and blue art. And whenever you have something specific on your mind you can never find it.
So I had to improvise: White canvas, blue paint, Rub’ N Buff and a black wall decal


-First, I painted the white canvas with my blue paint I already had ( I have an accent wall color blue in my dining room)
-Second, waited for it to dry then transferred the wall decal to the canvas.
-Third, I created a frame effect with silver Rub N Buff.


Et Voila:


Read More

Leave a comment

– Brassy Candle Sconces

9 / 17 / 111 / 19 / 18

Those brass old sconces needed definitely a face lift spray paint “Rustoleum Flat Black”.
So my best friend showed up ( the spray paint) and one coat, two coats, three coats and done.


Read More
Leave a comment

– Spray Paint Without Sanding

9 / 15 / 111 / 19 / 18

I hate sanding, I always wished that there is a way to paint without sanding. After some research, I found this easy way to spray paint without sanding: It is simply by applying an oil-based spray paint primer like: Zinsser.

Here is my before picture, I just wiped my nightstand from dust.


Then I applied my spray paint primer . After the primer is dry, I lightly sand it with a fine grid sanding wedge to get a very smooth finish.

Now time for spray paint, I used Rustoleum Black Gloss, I wanted to have a glossy surface so my nightstand doesn’t look dull in front of my shiny silver leaf dresser. I applied almost 3 light coats of black spray paint. ( always 2 or 3 lights coats are  better than 1 heavy coat, like the nail polish concept).

I forgot to take picture with just the primer on 🙂


Since I didn’t distress the nightstand I wanted it to have some movement, so I chose the pulls to be silver so they can pop. I used “Rustoleum Metallic Silver”.


This nightstand is in my Master bedroom now, soon I will finish painting the walls and I will have the reveal, make sure you stop by to see it 🙂
 
 
IF YOU ENJOYED THIS POST PLEASE ADD ME TO “FOLLOWER” LIST. I’M GROWING MY FAN LIST.

THANKS FOR YOUR SUPPORT.

                                                              I’ve been featured :

                                                         
Linking to :  firefliesandjellybeans  remodelaholic ,  thekurtzcorner , thriftydecorchick , bedifferentactnormal , iheartnaptime , thegirlcreative , shabbynest , missmustardseed
 twenty-eight-0-five , creatingahouseofgrace ,knickoftimeinteriors , kammyskorner

 
Pin It
Leave a comment

– Spray Painting Mirrors 2

9 / 12 / 111 / 19 / 18

I’m obsessed with mirrors and vintage candle holders.
I’ve been searching for a nice mirror for my formal living room for ever, I didn’t find what I had in mind ( it looks that what I had in mind is either so rare either so expensive) so I settled for something else :).
What I wanted is something like this below mirror

And this is what I found , I couldn’t wait more I had to had a mirror on that empty wall, and if later I will find a mirror like the above I will buy it and this one will find a new wall 🙂

And here is how it turned out to be


All I had to do is:
– First I removed all the staples in the back with my professional tools, to remove the mirror form the frame.


– Second wipe of dust from the frame so the spray paint will stick.

– Third just use your favorite spray paint color mine is “Rustoleum Metallic Silver”, and to get a smooth finish spray two light coats.

– Fourth reverse step first, put back the mirror to its place and staple it.

And that is it, I can’t wait to see your spray paint projects soon 🙂

IF YOU ENJOYED THIS POST PLEASE ADD ME TO “FOLLOWER” LIST. I’M GROWING MY FAN LIST.
Pin It
 
THANKS FOR YOUR SUPPORT.

Linking too itssoverycheri ,missmustardseed,   dittledattle , thekurtzcorner , remodelaholic , thetrendytreehouse , primitiveandproper , thriftydecorchick , thriftydecorchick, bluecricketdesign , modvintagelife

Leave a comment

– Spray Painting Mirrors

9 / 12 / 111 / 19 / 18

The Easiest project ever : Spray Painting Mirrors.

I just cleaned the frame from dust then I unscrewed the mirror from the frame ( or you can just cover it) and I sprayed the frame.

I love ornate Mirrors and I had to have one.


This beauty was hung in the guest bedroom here.

IF YOU ENJOYED THIS POST PLEASE ADD ME TO “FOLLOWER” LIST. I’M GROWING MY FAN LIST.
 
THANKS FOR YOUR SUPPORT.

Linking too lifemadelovely

Leave a comment

– My Mom’s Paintings

9 / 11 / 111 / 19 / 18

My mother is a very talented and creative woman. She sews, paints, decorate, and even bake. I believe I got my creative or artistic side from her. I love my mom.

I post some of her artwork for you to enjoy.

After seeing these beautiful painting, I would love to hear whose genes are in you?

IF YOU ENJOYED THIS POST PLEASE ADD ME TO “FOLLOWER” LIST. I’M GROWING MY FAN LIST.
 
THANKS FOR YOUR SUPPORT.
Leave a comment

– Paintining The Old Console Table Black

9 / 10 / 111 / 19 / 18

I needed a small dresser for the guest bedroom so I drove the car and went to the mall  I opened my laptop and checked craigslist 🙂 I found this old console table , I liked its cute shape.

First I wanted to stain it “Dark Walnut Minwax Stain” but then I changed my mind and stained it black.
Inspired by the following picture, I decided on this color palette.

It was cracked in the middle so I applied a wood glue and wood putty. I gave it a good sanding just where I applied the glue and the putty. I didnt sand the whole piece I just cleaned it.

I used “Minwax Water Based Express Color Wiping Stain and Finish.” The decision to stain was to maintain the beauty of the original wood grain. I have the idea that spray paint would hide the look and the feel of the wood. Please share your experience If you think otherwise.

You can still see the wood grain


After some tough but eventually wise decisions, I applied the stain with an old T-shirt and wiped it off. Following Mr. Miyagi’s right circle left circle approach ( My husband insisted on me writing this sentence knowing that I have no clue who Mr. Miyagi is), the staining was a fun task to complete. In my opinion much easier than spray painting.

I waited for the paint to dry off. Then, I covered the inside of the drawers with an adhesive drawer liner.

The blue and silver knobs were the final and perfect touch to add a bit of color to the black table.


So do you like the black, white and blue palette?If you want to see the whole room plz check out this link

Follow Me on Pinterest

Pin It


Feautred in:
                                        The DIY Show Off

I’m linking to  remodelaholic , shabbynest , missmustardseed , atthepicketfence , funkyjunkinteriors , lifemadelovely , mommybydaycrafterbynight, sweetlittlegals , cleanandscentsible , bluecricketdesign , thetrendytreehouse , modvintagelife , twindragonflydesigns , restoreinteriors , beyondthepicketfence
jaimelyn , staceyembracingchange , frenchcountrycottage , thevintagefarmhouse , mysimplehomelife
romantichome , taylornorris , bystephanielynn , notjustahousewife , insidebrucrewlife , theshabbycreekcottage , herecomesthesun

Leave a comment

Posts navigation

Previous Page 1 2 … 7 8 9 10 Next Page

Follow us on

  • Youtube
  • Youtube
  • RSS
We will only send you what matters


Recent Posts

  • Walmart Fashion
  • Walmart Fashion Haul – Part 2
  • Walmart Fashion Haul
  • New Years Free Templates
  • Walmart Kitchen Haul

Recent Comments

  • Mai on “Cool” California Summer!!!
  • Shireen on Ramadan Look
  • Yamamah on Ramadan Decoration
  • Lina Froukh on Mini Dress With Over The Knee Boots

Archives

  • December 2022
  • November 2022
  • December 2021
  • October 2021
  • July 2021
  • June 2021
  • September 2019
  • April 2019
  • January 2019
  • December 2018
  • November 2018
  • October 2018
  • September 2018
  • June 2018
  • May 2018
  • April 2018
  • March 2018
  • February 2018
  • January 2018
  • December 2017
  • February 2015
  • November 2014
  • April 2014
  • September 2013
  • October 2012
  • June 2012
  • May 2012
  • April 2012
  • March 2012
  • February 2012
  • January 2012
  • December 2011
  • October 2011
  • September 2011

Categories

  • diy
  • Fashion
  • Home Decor
  • Party
  • Recipes
  • Uncategorized


Follow us on

  • Youtube
  • Youtube
  • RSS
Site made with ♥ by Angie Makes
Angie Makes Feminine WordPress Themes