My Name Is Rasha – إسمي رشا
My Champagne Taste
Menu
Skip to content
  • Shop
  • Blog
  • Linktree

– Silver Leaf Floor Lamp

9 / 9 / 111 / 19 / 18

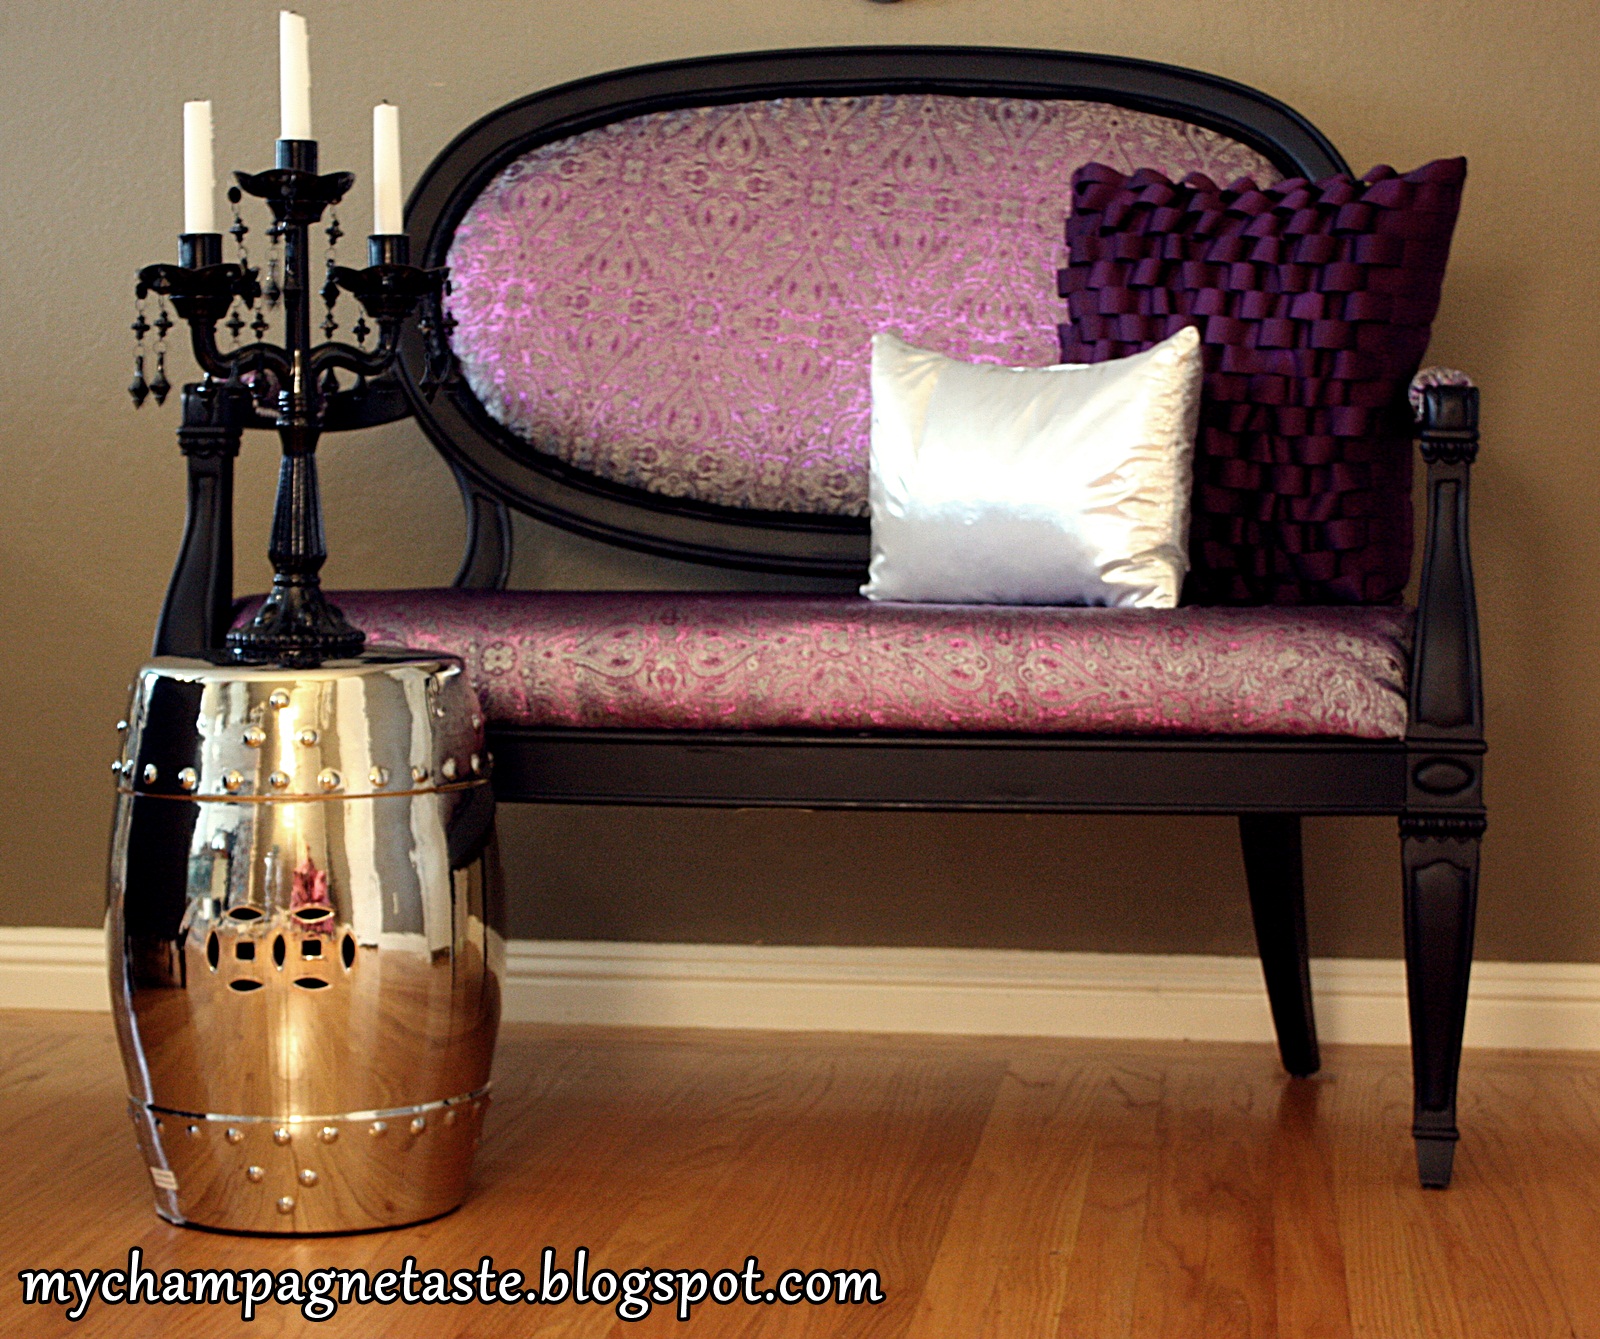
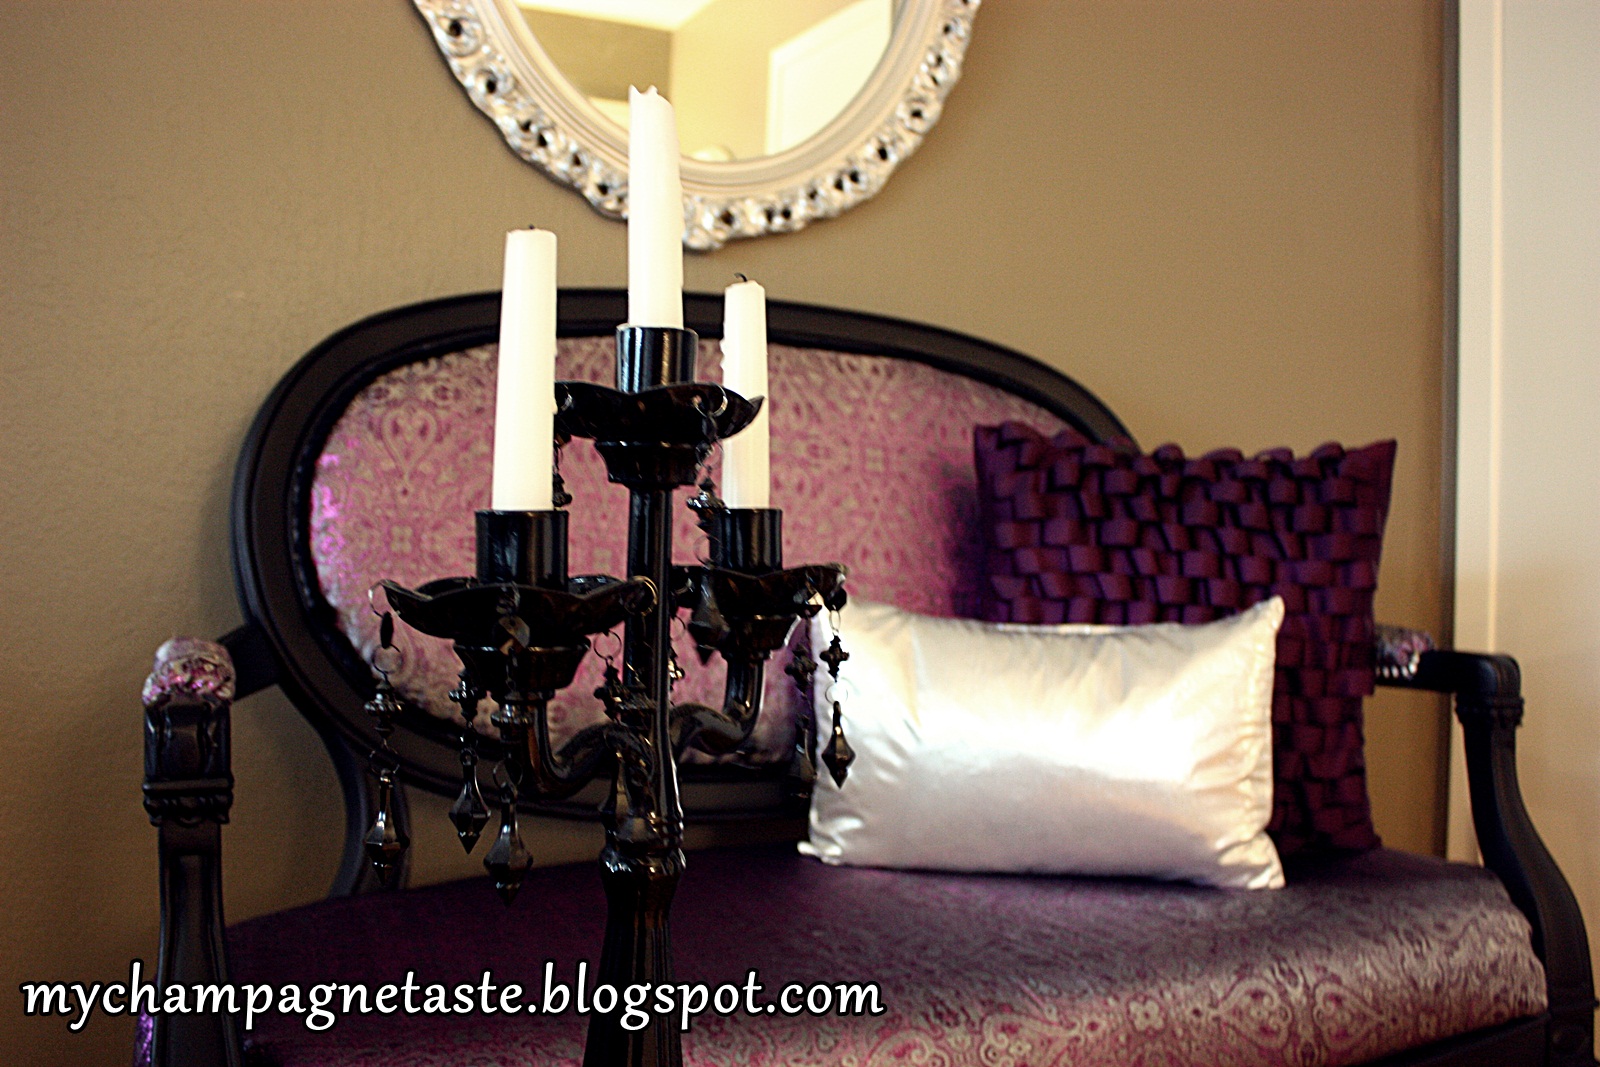
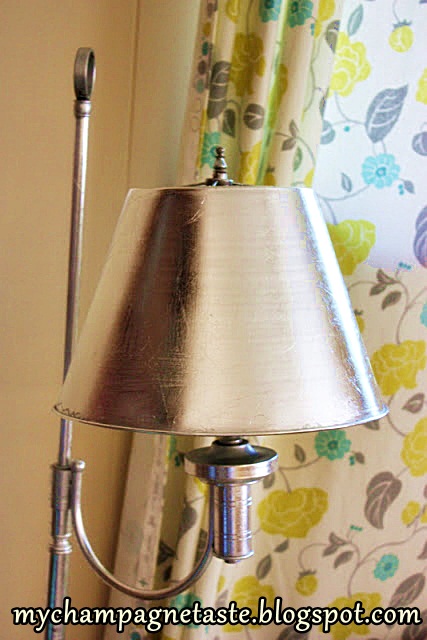
I just love Bling Bling. Like every little  black dress needs a  jewelry to shine , our  home needs some bling bling to glam it 🙂

One of the accessories that im liking are those shiny , silvery floor lamp shades.
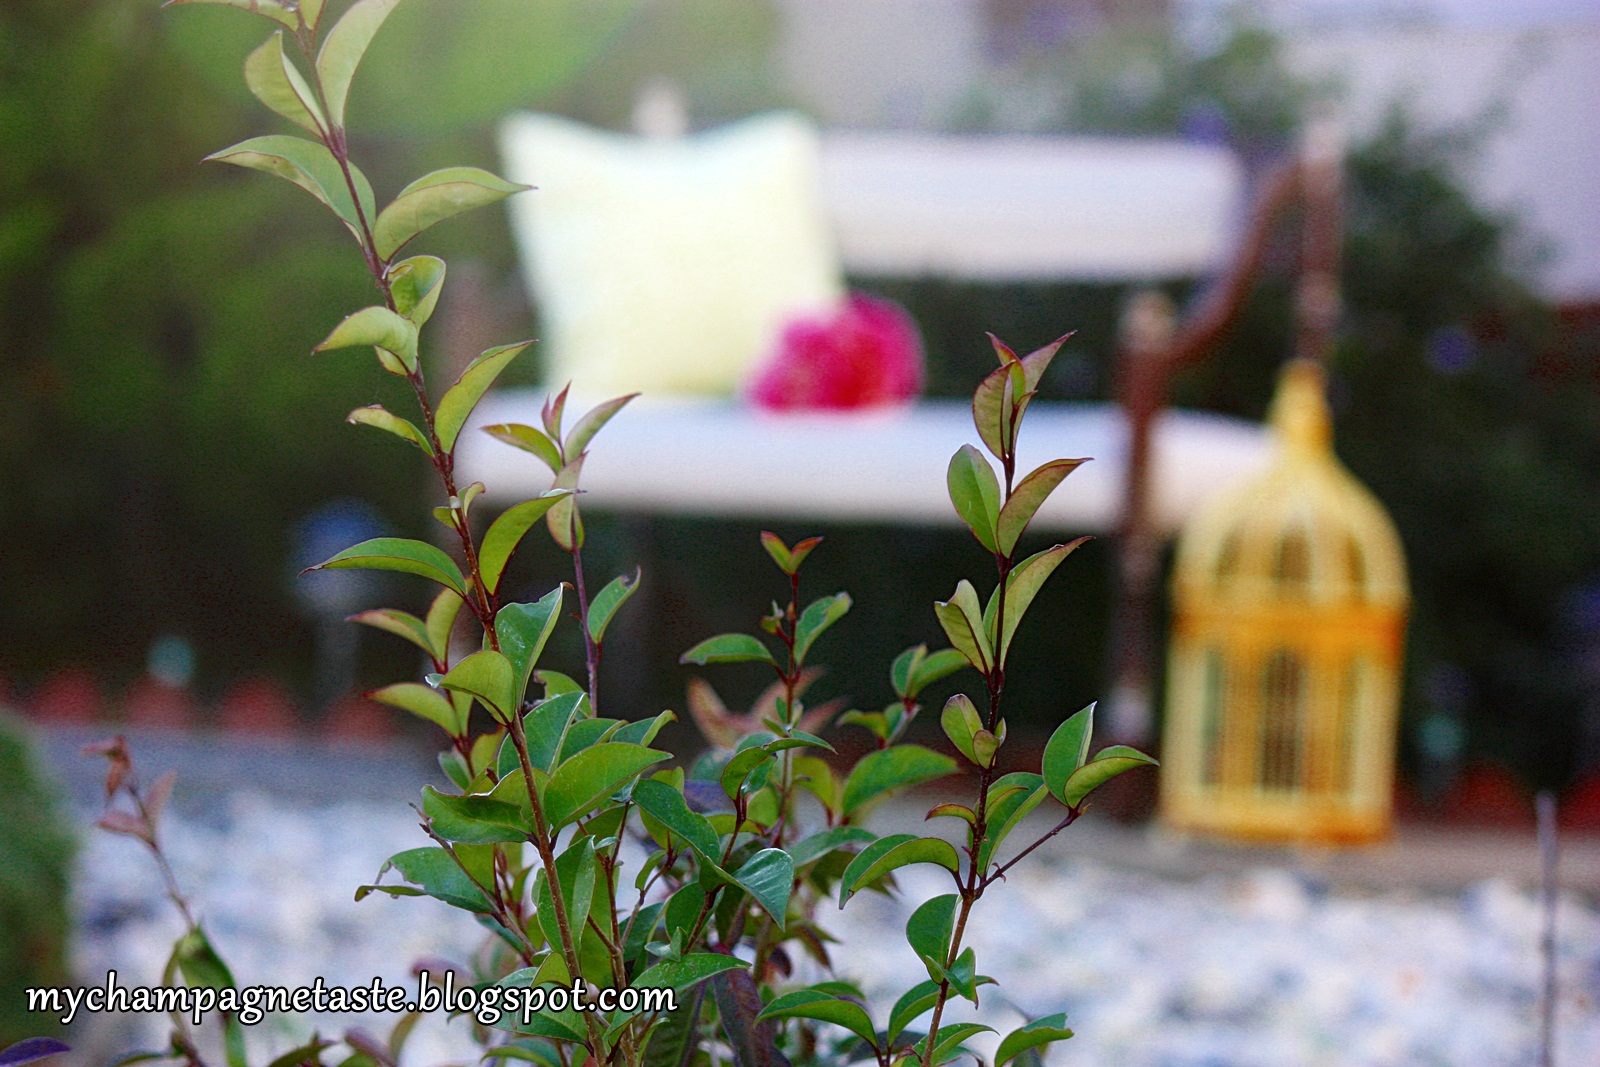
Below is my inspiration from Modani.com
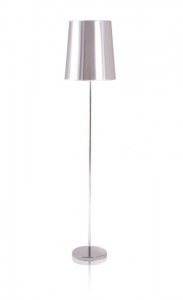
Modani.com

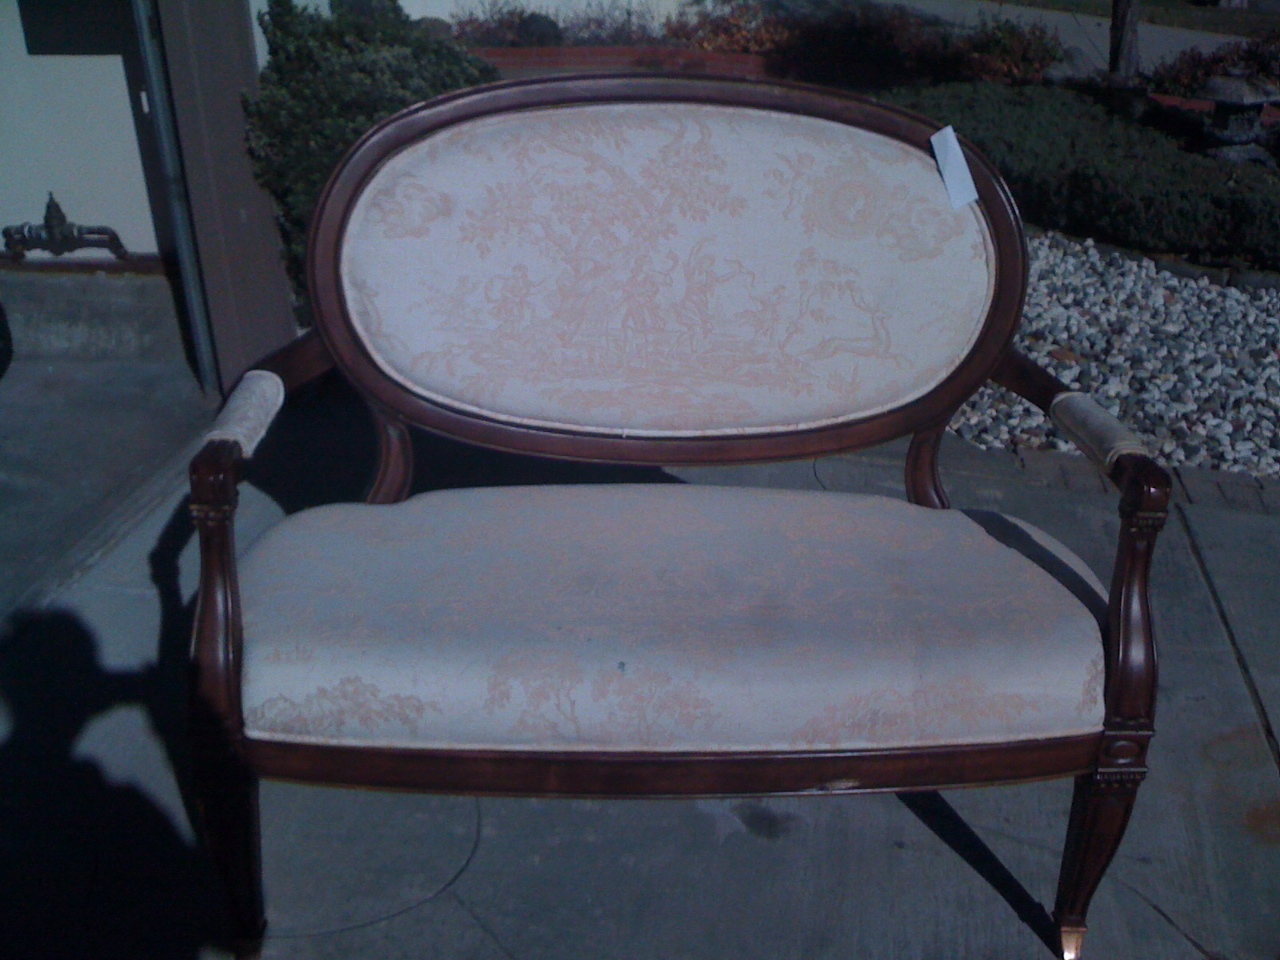
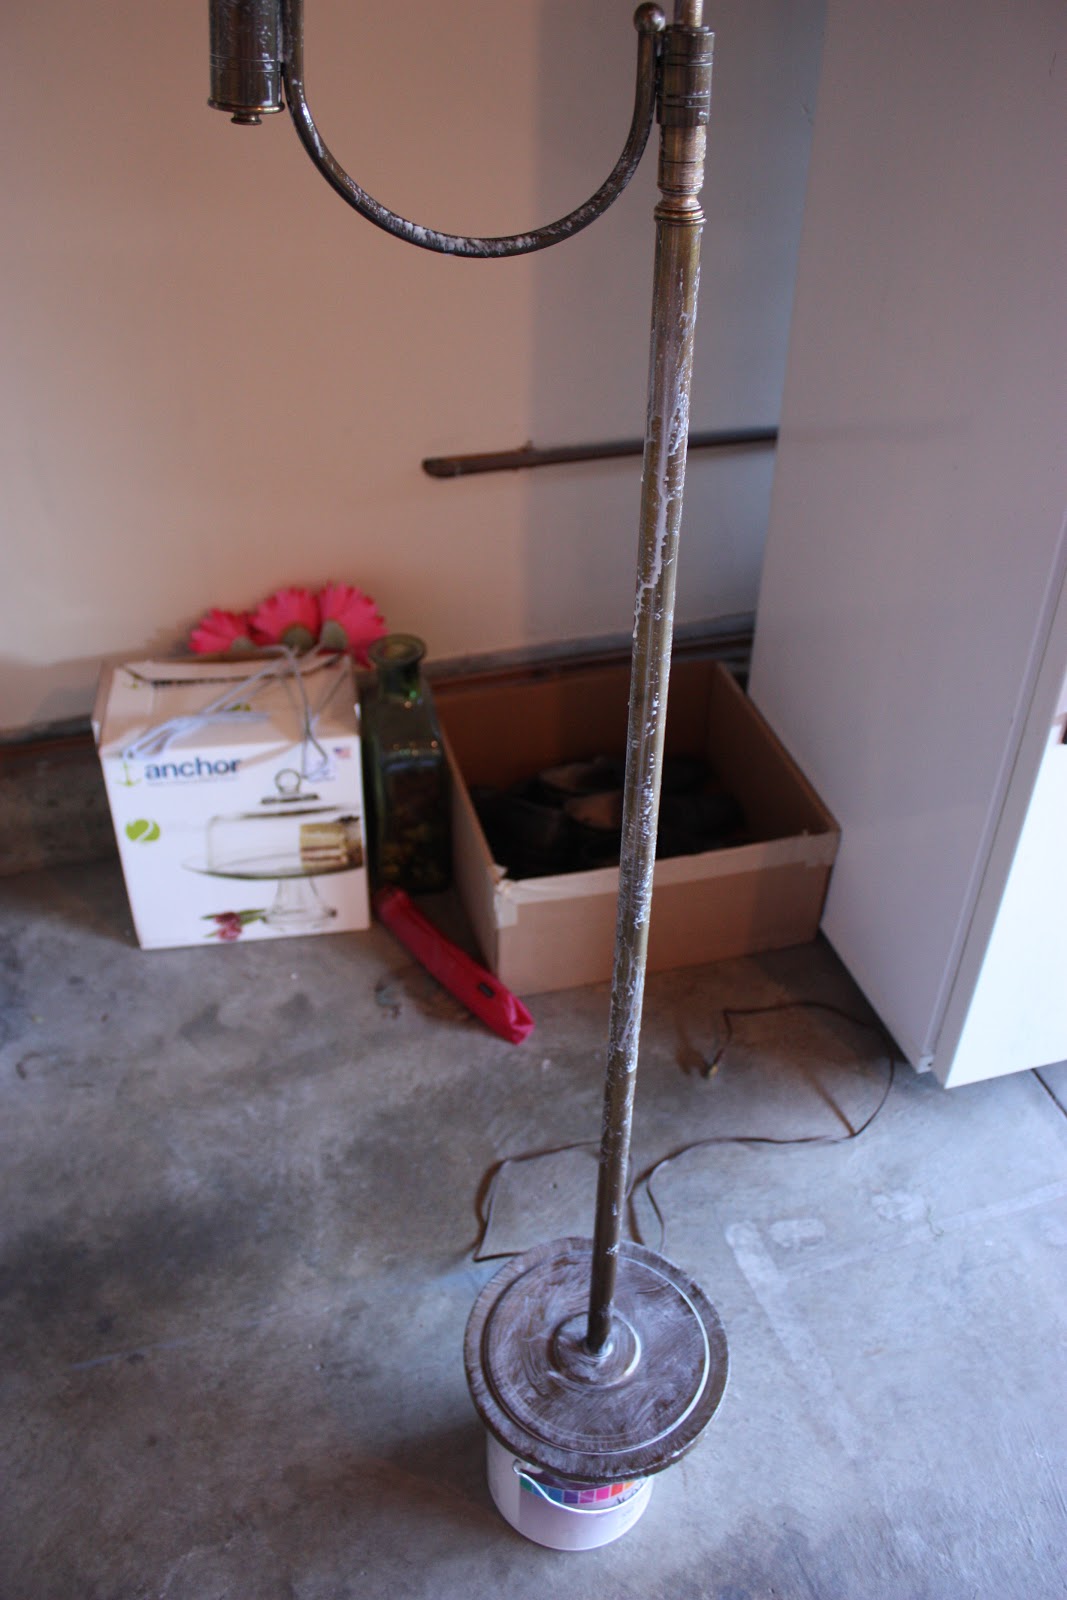
And here is my “wanna be” Modani lamp shade before the transformation with the size on=glue on.


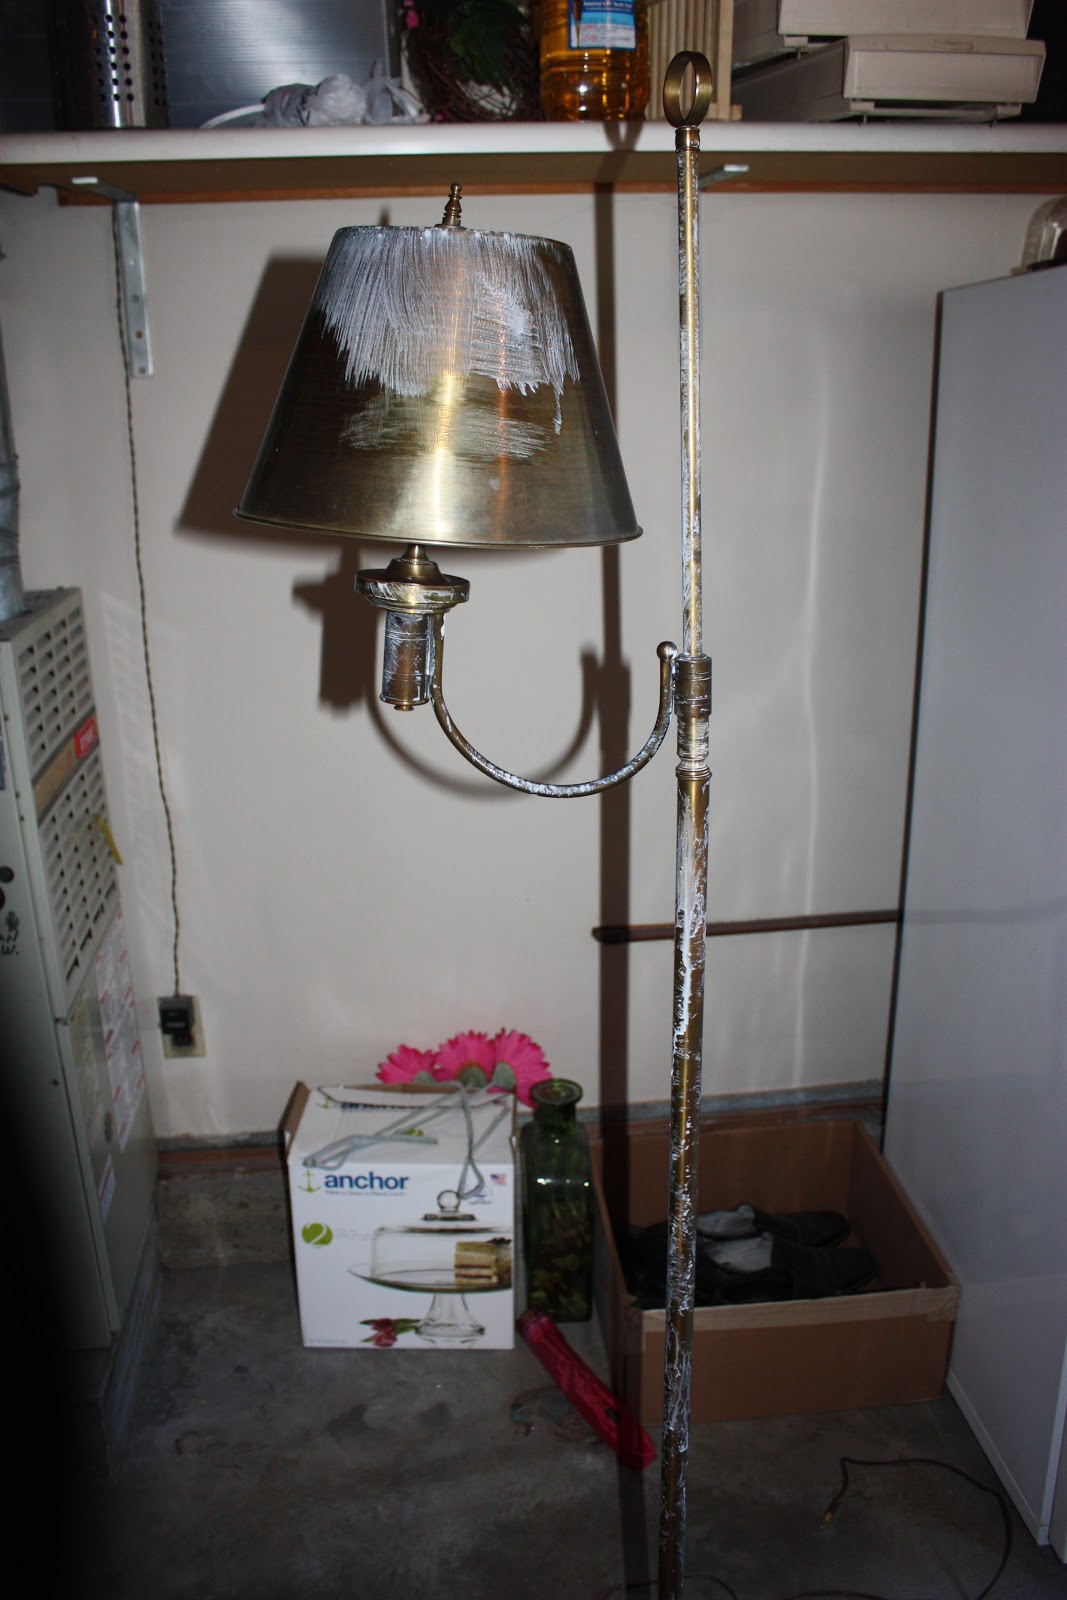
It had a bronzey outdated color so i didnt paint it because it will look good for an antique style silver lamp shade( remember with silver leafing the base color will peek through some of the areas)

I bought the silver leafing, the size and the sealing coat through ebay.


Silver leafing is easy but you should have a little bit of patience and a vaccum cleaner :)yes yes you heard me a vaccum cleaner because  it will get messy, like really messy,and dont try to apply it outdoor ( like some blogs suggested) because it is so delicate that your own breath can make a big mess so what about the wind , so i found the best place to apply it is in my workshop garage.

1-I applied the oil base size with my dollar store cheap brush, waited for about 45 minutes until the size will get tacky , The proper tack is when the size does not stick to the knuckle and you hear a slight “tick” when the knuckle is pulled away.( you will know what i’m talking about when you try it).


2-Then you apply the silver leaf by holding it with the wax paper ( the silver leafs come in between of 2 sheets of wax paper so use those papers to hold the silver leaf)so dont use your  own hands because the silver leaf will stick to your hands and not to the lamp.


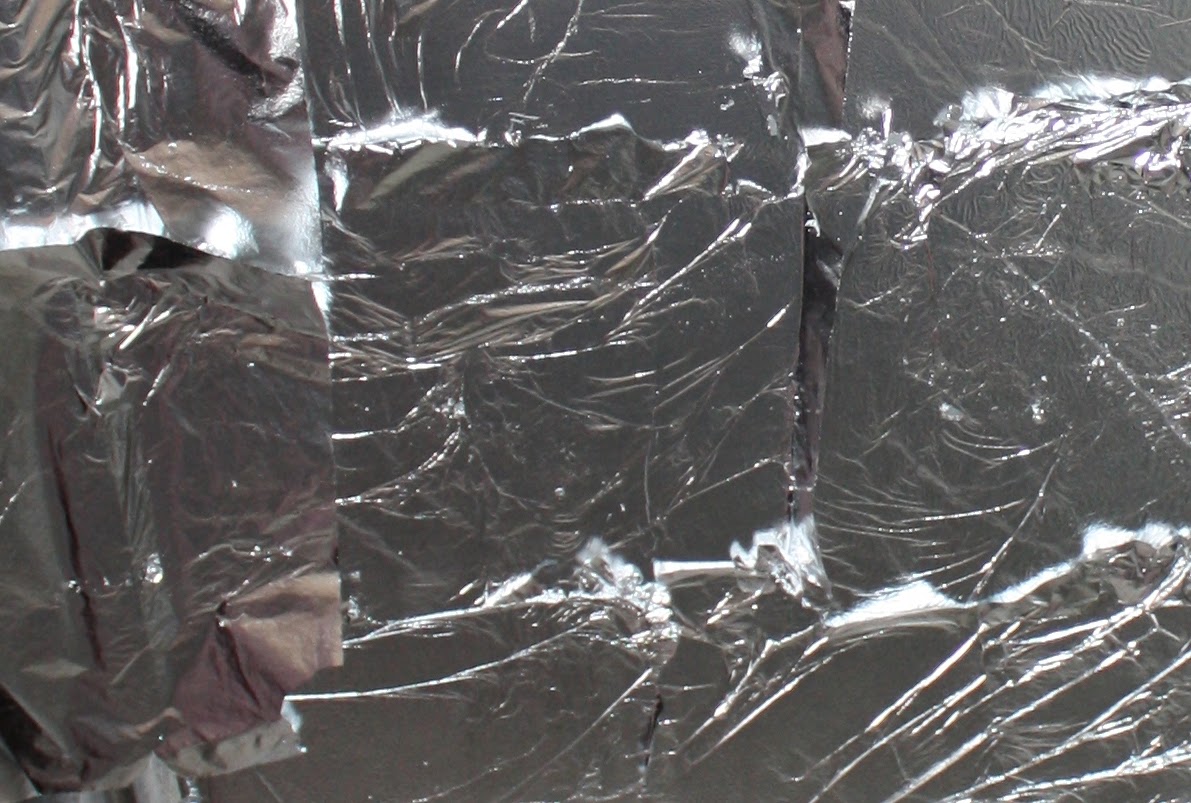
3- Place the next sheet slightly on top of the previous one, when you overlap the sheets you will get less gaps and cracks in between when you burnish them at the end.

4- When you finish applying all the sheets on the lamp ,use a soft brush to burnish all the silver leaf , and make sure to be gentle on the seams or you will get lots of cracks.

5- Seal it, some blogs says you do not need to seal it but based on my mom experience the color will change after a while if you dont seal it ( she lives on the beach so it might be weather thing i’m not sure) but i didnt want to risk it so i sealed it with a transparent sealer ( some sealers has a yellow or red color).

6-Thx to centsational girl i knew this tip, you can fill in the cracks with Rub’Buff silver color it works like magic but of course this should happens before you aplly the sealer.

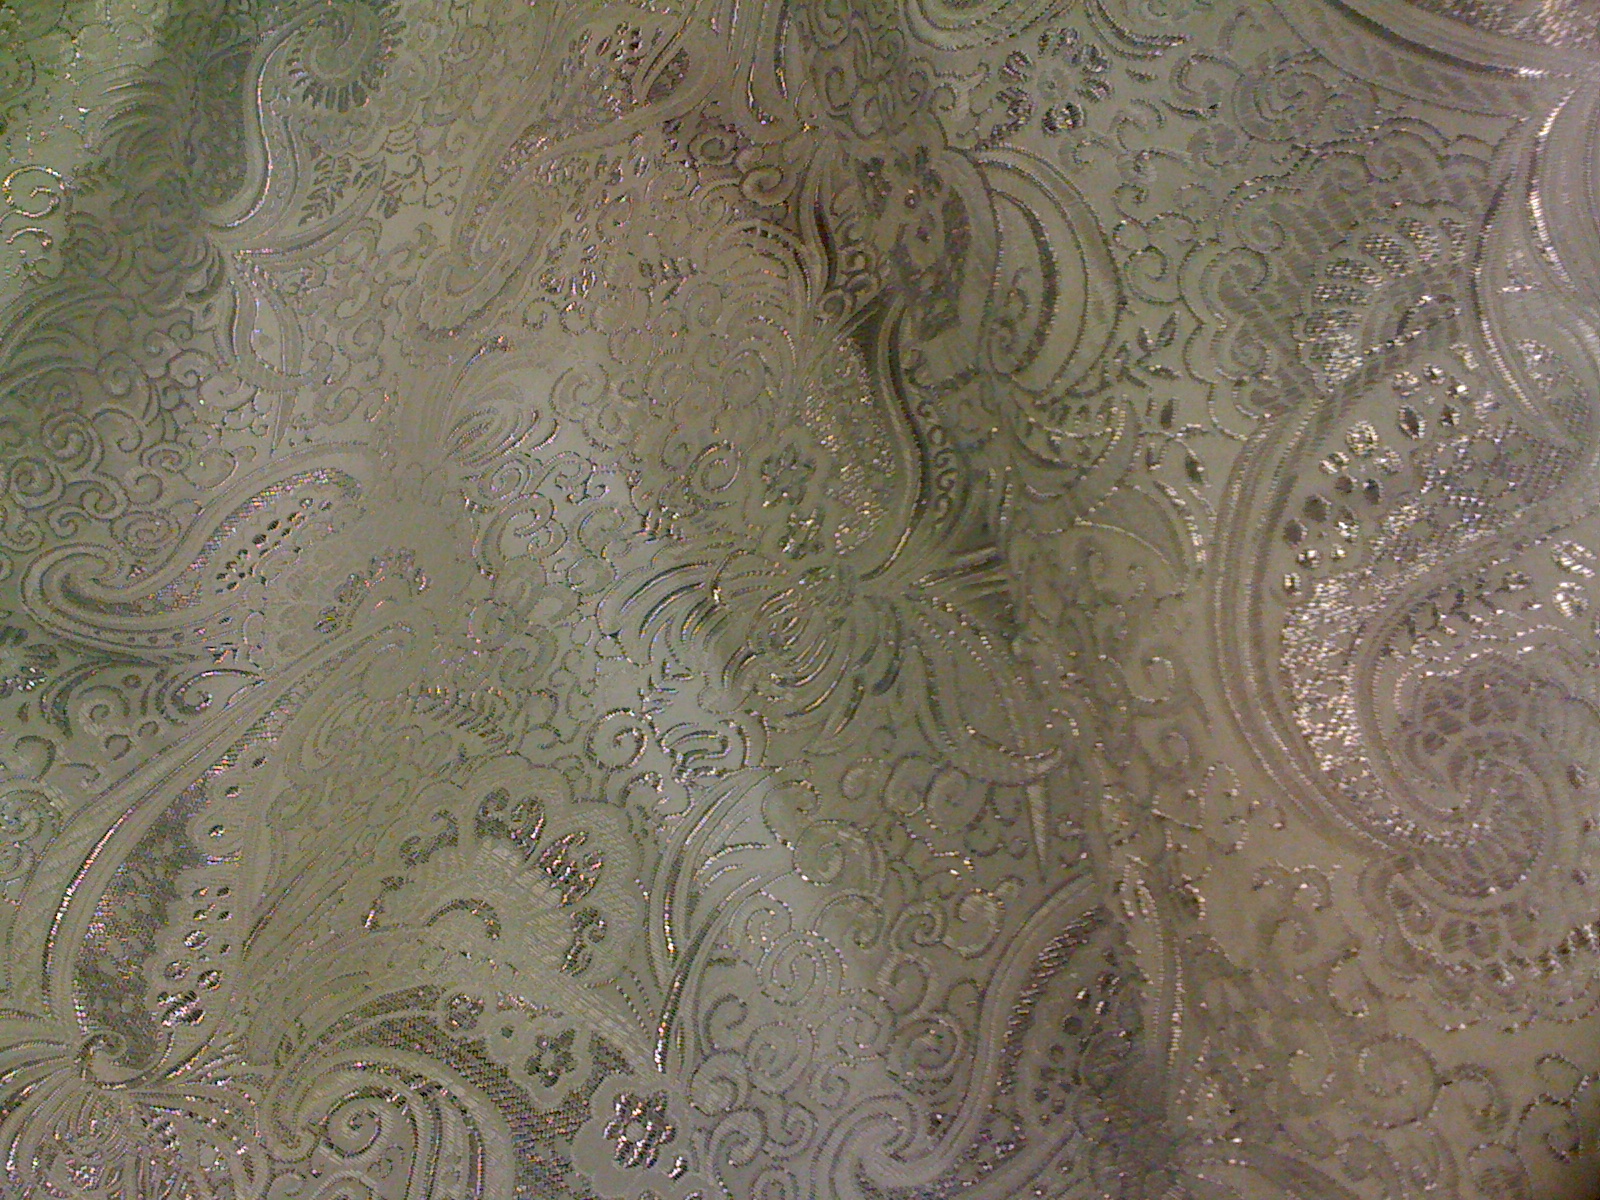
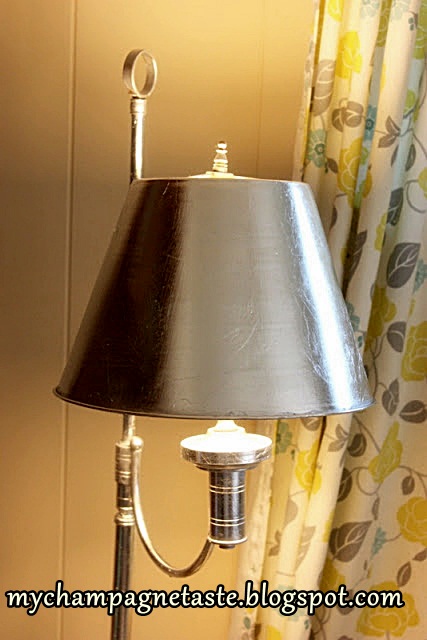
7- Dont ever think you will get a perfect smooth surface , no matter how hard you try you will have a textured surface or a little bit of cracks so you better like the mirrored antique style.The perfect silver leaf style is not to be perfect 😉


I would love to hear you comments or your questions if you have any , i also applied silver leaf on a big dresser check it out here


Liking too : remodelaholic , missmustardseed ,   thriftydecorchick , 
 shabbynest ,  .atthepicketfence ,  funkyjunkinteriors , frenchcountrycottage
 tatertotsandjello ,  lifemadelovely ,  makingtheworldcuter , theshabbycreekcottage ,                 thegirlcreative ,  bec4-beyondthepicketfence , thekurtzcorner , sugarbeecrafts , insidebrucrewlife , bluecricketdesign , lilluna.com , gratefulbelly , thetrendytreehouse , restoreinteriors , theshabbycreekcottage , hekurtzcorner


Leave a comment

– Nasty Bench Turns Rustic ….

9 / 2 / 111 / 19 / 18

This bench was given to me for free by a lady from whom I bought a French Armoire. I will post the French Armoire project at a later time.


It was nasty, dusty and overall very unappealing bench ( I guess this is why it was free … hey, no complaint.)

So here are the steps :

(1) After a light sanding job, I spray painted random areas of the bench with ” Rustoleum Heirloom White.” (2) After drying out, I resanded almost all of the white paint with a fine grid sanding wedge. (3) I buffed it with a wet cloth, (4)then I used my foam brush and stained the bench with “Minwax Stain Jacobean 2750.” 24 hours later, I started on the upholstery.


The upholstering process:

I bought 3″ thick green foam from Joann’s fabrics, because as you may see the bench was very rigid and stiff. Now it all ready after a new big foamy layer , batting, and the fabric all joined by a stapling gun.

For the piping I used the remains of the fabric, a piping cord, and my zipper foot on the sewing machine. The fabric had a fringe/frayed edge so I didn’t have to cut it. I kept it as I felt it went well with the distressed rustic style.

Voila 🙂

This pillow is a no sew , I just used a steam adhesuze tape, check out the tutorial here.

The back was a bit cracked so I glued this hardware to cover it and it adds the old and rustic feel to it

one last picture
IF YOU ENJOYED THIS POST PLEASE ADD ME TO “FOLLOWER” LIST. I’M GROWING MY FAN LIST.
 
THANKS FOR YOUR SUPPORT.
Pin It

Follow Me on Pinterest

Linking to itssoverycheri , thekurtzcorner , cookienut , tatertotsandjello , notjustahousewife , thriftydecorchick , primitiveandproper , beyondthepicketfence , romantichome , projectqueen , missmustardseed , cleanandscentsible , bluecricketdesign , thetrendytreehouse , frenchcountrycottage
Leave a comment

– The Purple Settee: Before and After

9 / 2 / 111 / 19 / 18
 

I spotted this Settee on Craigslist and I had to have it. Instantly, I fell in love with it. Thanks to my husband, we bought it and brought it home the next day.


I wanted a bench or two chairs at the end of my bed and I knew this sette will look perfect. I went fabric hunting while I was waiting for the black spray paint to dry,and sanding was done by my husband ( you can check out  here how I used the black stain to paint my lovely console table). Many choices, I got lost. Finally I made up my mind. Brocade fabric is the winner. Not recommended as an upholstery fabric but after all its only to be used by my husband or I.  I cannot get enough of my husband’s joke on how careful he is when sitting down on it. It is totally perfect, he just likes to tease me.

Initial fabric options:


I ended up using the back side of the fabric as the face of the settee.
Here is the completed settee after.


I cut the fabric a little bit smaller than I should so it turned out not so perfect but it is ok for me since it is my second upholstery project after this one🙂
 
I made this silver pillow, I will post a tutorial soon


The hardest thing was to put this Nail heads…I didnt like how they turned out to be I think I will re-do them using my spoon spacing method .Oh yes I called it a method lol
 
Hope you like my crazy style
Pin It

Follow Me on Pinterest


IF YOU ENJOYED THIS POST PLEASE ADD ME TO “FOLLOWER” LIST. I’M GROWING MY FAN LIST.
 

THANKS FOR YOUR SUPPORT.

Featured in :
The DIY Show Off

 
I’m linking to:
 missmustardseed , nominimalisthere funkyjunkinteriors, remodelaholic , shabbynest , atthepicketfence ,   romantichome ,  creatingreallyawesomefreethings ,  creatingahouseofgrace ,  linda-coastalcharm ,  tatertotsandjello , altard , thetrendytreehouse , restoreinteriors , thediyshowoff , thriftydecorchick , funkyjunkinteriors , beyondthepicketfence , primitiveandproper , thetrendytreehouse , bluecricketdesign , iheartnaptime , restoreinteriors , theshabbycreekcottage , shabbynest , bedifferentactnormal , itsoverflowing, modvintagelife , tipjunkie , cleanandscentsible , cookienut , knickoftimeinteriors , sugarbeecrafts , insidebrucrewlife
Leave a comment

– First Upholstery Project and First Blogging Post

9 / 2 / 111 / 19 / 18

Well, I didn’t know that this project would be the start of a long journey. I did not take any pictures of them before as I had no intentions of starting this blog.

I want to start by thanking Kate at Centsational girl blog because she is my inspiration when it comes to refinishing furniture.

I started looking into this when we started looking for two additional seatings for the dining table. We had 6 chairs but our dining table can fit 8 easily. My husband suggested Craiglist. It was my first time looking at used furniture on the net. After a short search, I found 2 chairs in similar shape to our chairs. They were brown with dark navy fabrics. My husband started laughing when I told him that I wanted to buy them.

After sanding (my husband’s job as I hate sanding,) I spray painted with “Rustoleum Heirloom White” to match my existing dining chairs. Some more sanding I matched the antique effect of my other chairs.  Finally, upholstery (step-by-step guide will follow in later posts.)
The initial choice of fabric:


Then I changed my mind because I felt that I need something that is more elegant and formal


Here is a picture of my upholstered DIY chair next to the original chairs that came with the dining set.


Actually, I love my DIY chair better than the original ones. It is comfy, elegant, and cheaper.
Some of the details


IF YOU ENJOYED THIS POST PLEASE ADD ME TO “FOLLOWER” LIST. I’M GROWING MY FAN LIST.
 
THANKS FOR YOUR SUPPORT.
 
Linking to: romantichome , dittledattle
Leave a comment

Posts navigation

Previous Page 1 2 … 8 9 10

Follow us on

  • Youtube
  • Youtube
  • RSS
We will only send you what matters


Recent Posts

  • Walmart Fashion
  • Walmart Fashion Haul – Part 2
  • Walmart Fashion Haul
  • New Years Free Templates
  • Walmart Kitchen Haul

Recent Comments

  • Mai on “Cool” California Summer!!!
  • Shireen on Ramadan Look
  • Yamamah on Ramadan Decoration
  • Lina Froukh on Mini Dress With Over The Knee Boots

Archives

  • December 2022
  • November 2022
  • December 2021
  • October 2021
  • July 2021
  • June 2021
  • September 2019
  • April 2019
  • January 2019
  • December 2018
  • November 2018
  • October 2018
  • September 2018
  • June 2018
  • May 2018
  • April 2018
  • March 2018
  • February 2018
  • January 2018
  • December 2017
  • February 2015
  • November 2014
  • April 2014
  • September 2013
  • October 2012
  • June 2012
  • May 2012
  • April 2012
  • March 2012
  • February 2012
  • January 2012
  • December 2011
  • October 2011
  • September 2011

Categories

  • diy
  • Fashion
  • Home Decor
  • Party
  • Recipes
  • Uncategorized


Follow us on

  • Youtube
  • Youtube
  • RSS
Site made with ♥ by Angie Makes
Angie Makes Feminine WordPress Themes