My Name Is Rasha – إسمي رشا
My Champagne Taste
Menu
Skip to content
  • Shop
  • Blog
  • Linktree

Tag Archives: DIY

– Turquoise Living and Dining Room

1 / 23 / 121 / 19 / 18

I wanted to reveal my Living and dining area long time ago, but I wasn’t sure if I should just add the pictures to the Home Tour page or I just write a special post about them. So I decided I will write a post about them and I can link up to the Home Tour Page… I’m a bit lost in the how to organize my blog 🙂
So let me stop talking and  show you the before and after pictures of my Living and Dining room:

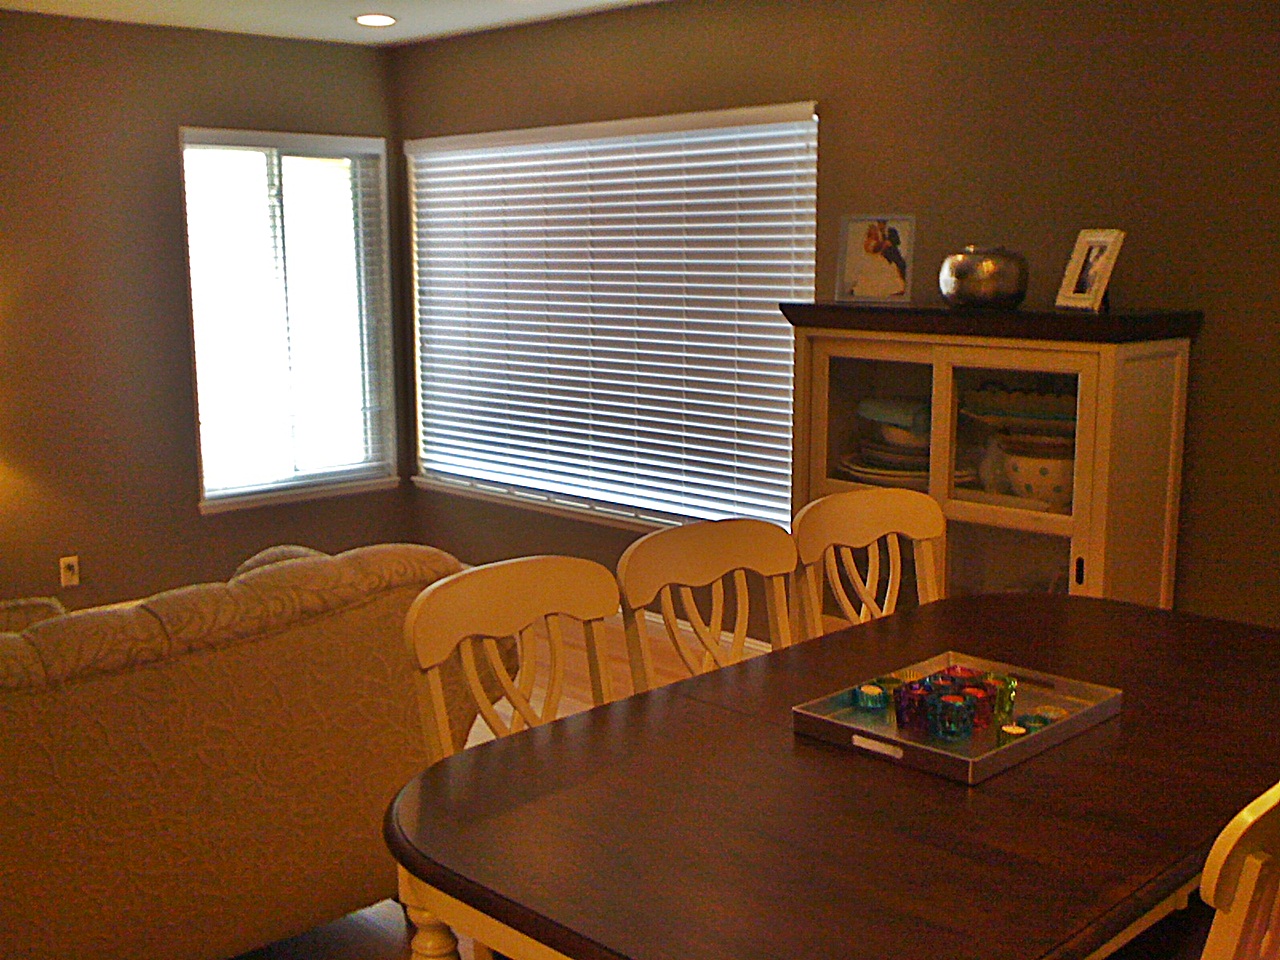
Like always not a very before picture , this picture is taken after we painted the walls and added some furniture
 
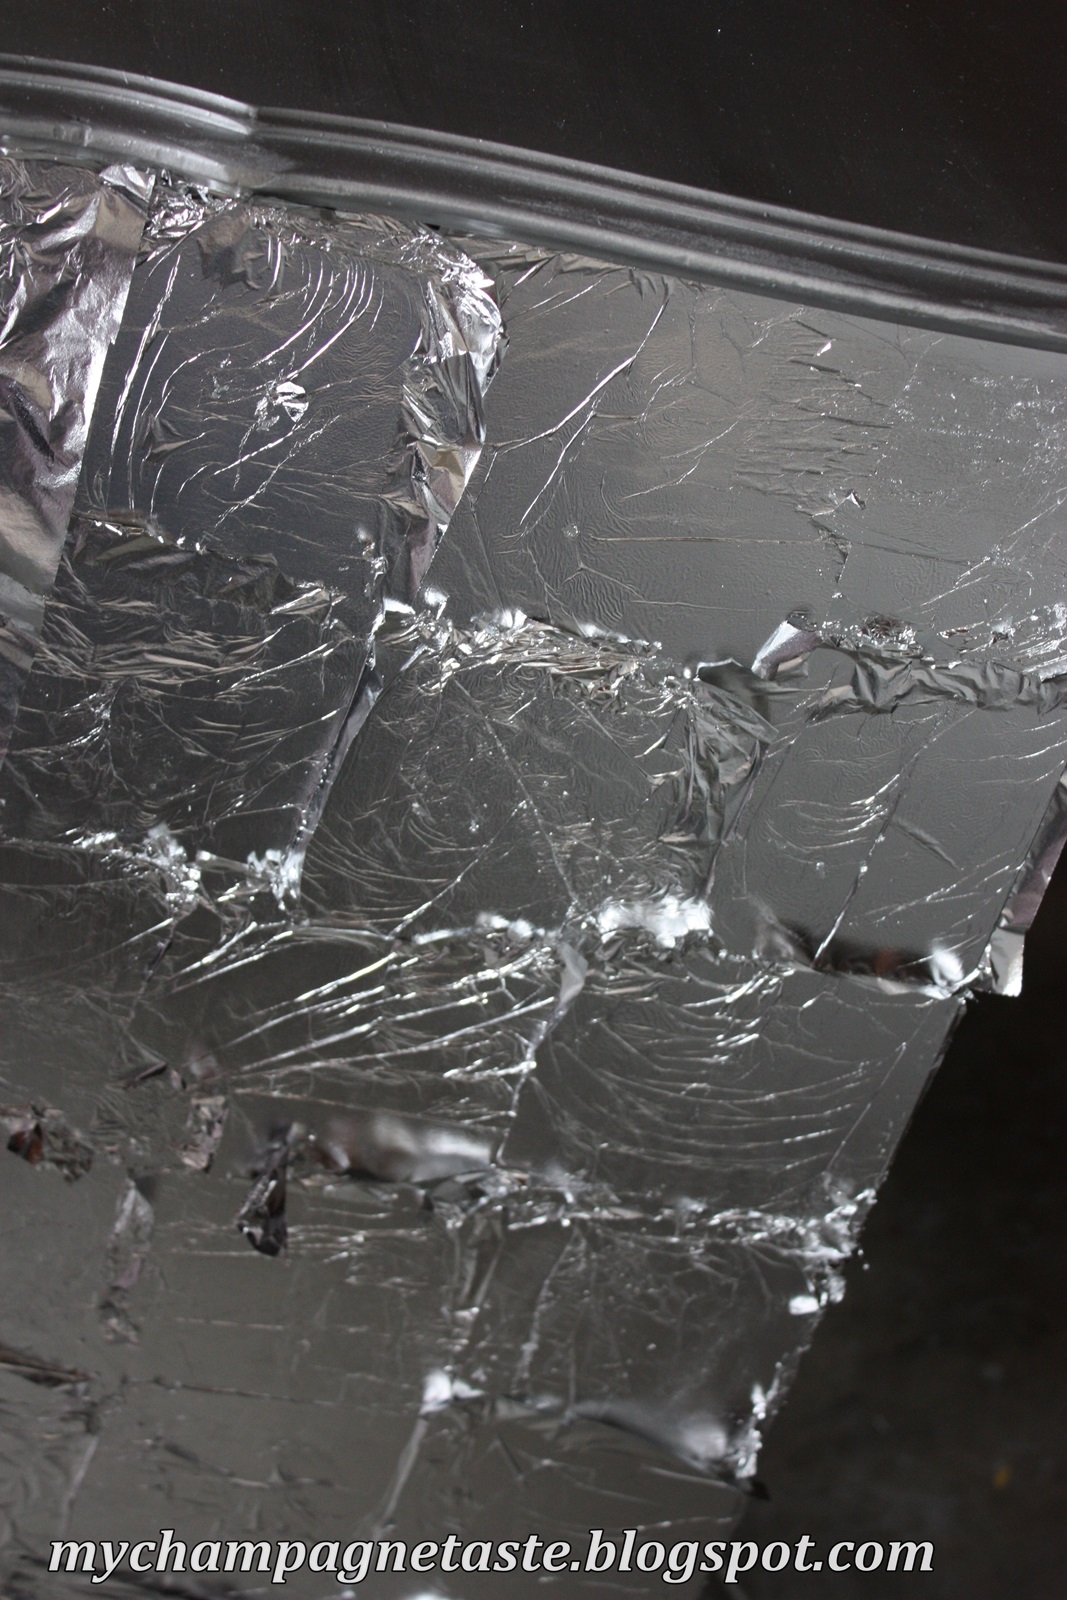
The Curio Cabinet, before I frosted the glass.
 
 
After I painted the brick a crisp clean white


My brownish ugly brassy fire place
 
And here are the After pictures…WARNING alot of pictures ahead


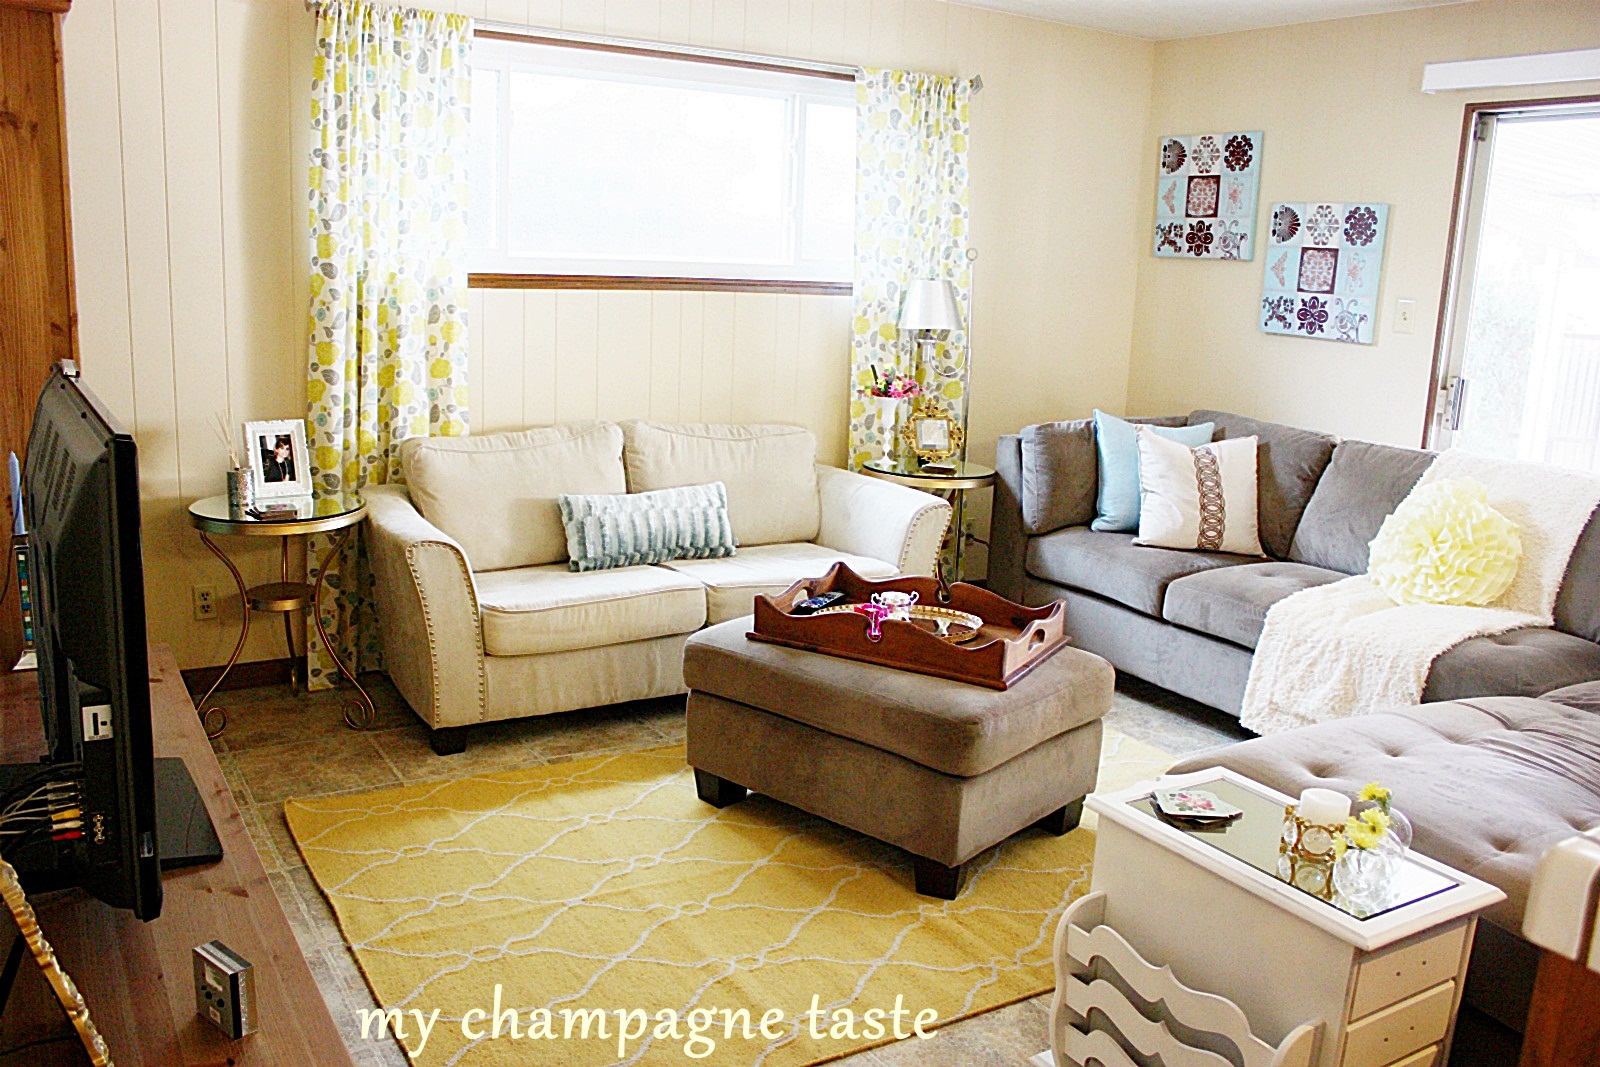
My color scheme: Off-white, Dark Grey, Turquoise and some silver and mirrored accent pieces.

You can see here and in the below picture: the glass of the curio cabinets frosted. Yay, I can hide my mess lol.
As for the curtains, They are made by me 🙂 I didn’t know how to sew and I didn’t even have a sewing machine but I wanted a damask pattern with some shimmery fabric, it turned out that I can never find shimmery gray and blue damask ones ,so I bought the sewing machine at Target was on sale and had to experiment with it…I think one day I might add lining to them ( I found out about lining after I finished sewing so hopefully one day I will add it lol)


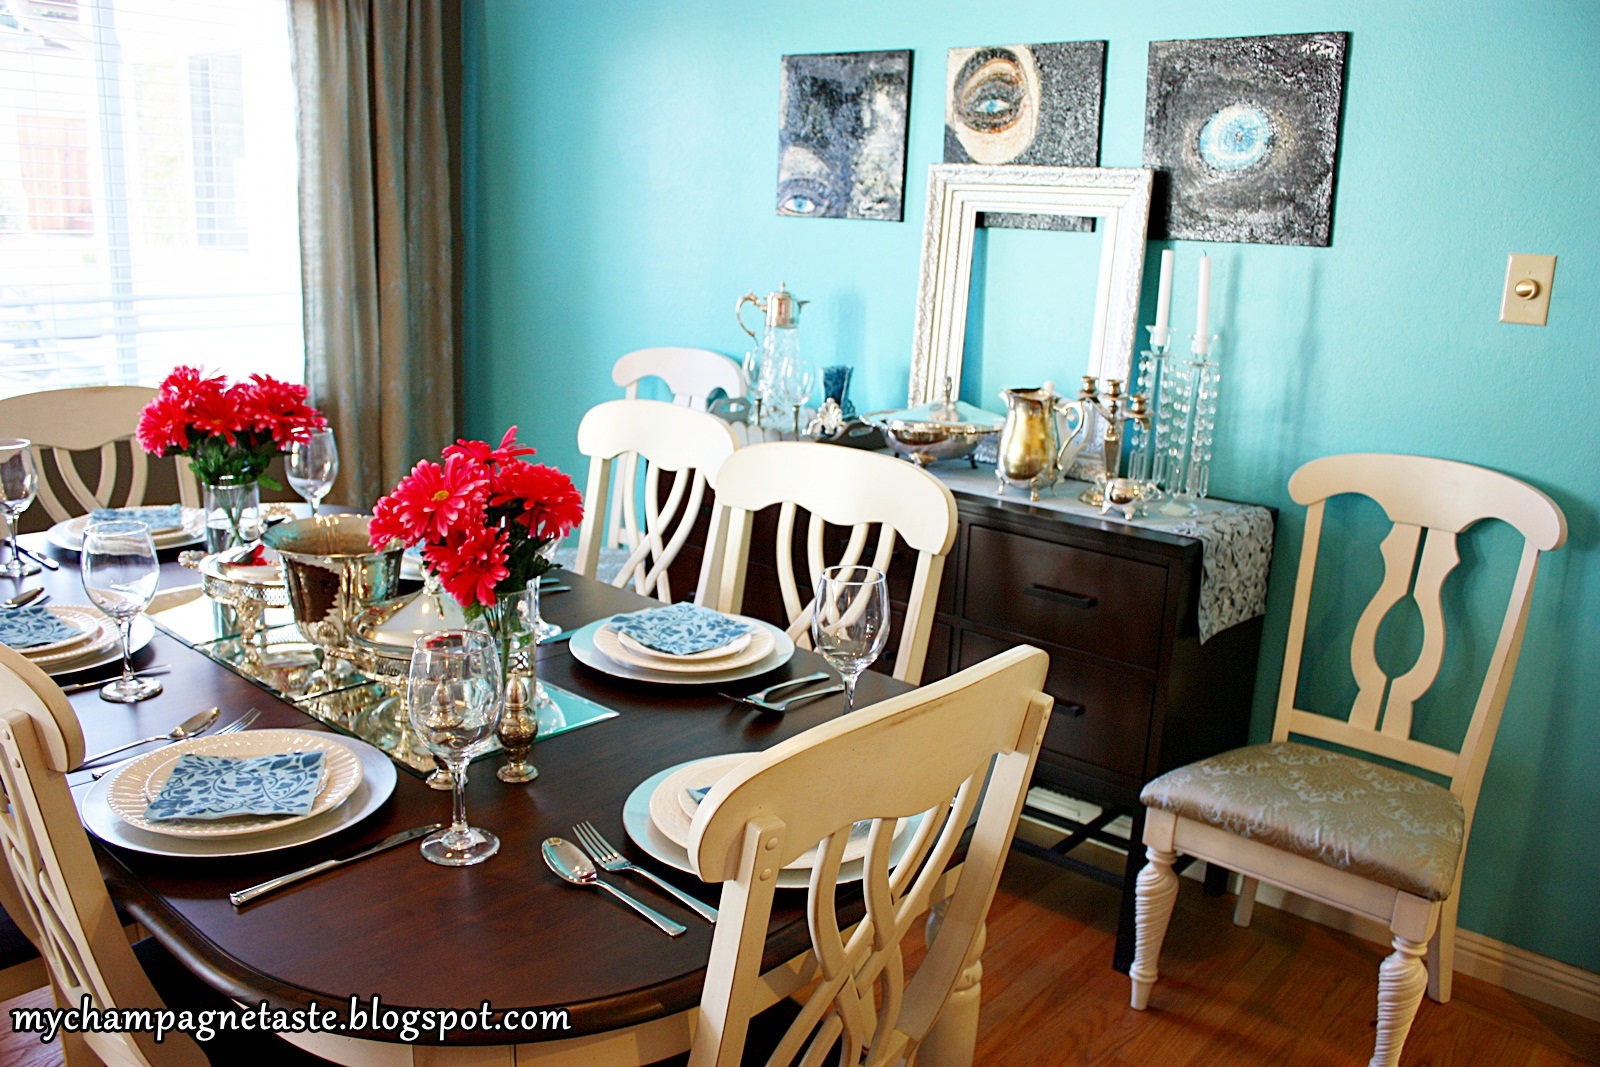
I bought the dining room table and chairs from the mall before I saw all those vintage similar sets stained and painted on blog land and they are even more charming than mine…I wish I knew blog land before  🙁


Those 3 paintings are a gift from my mother, you can check out here her collection.First I wanted to have my accent color to be either orange or yellow but after I had to choose the Turquoise and thx God I did 🙂
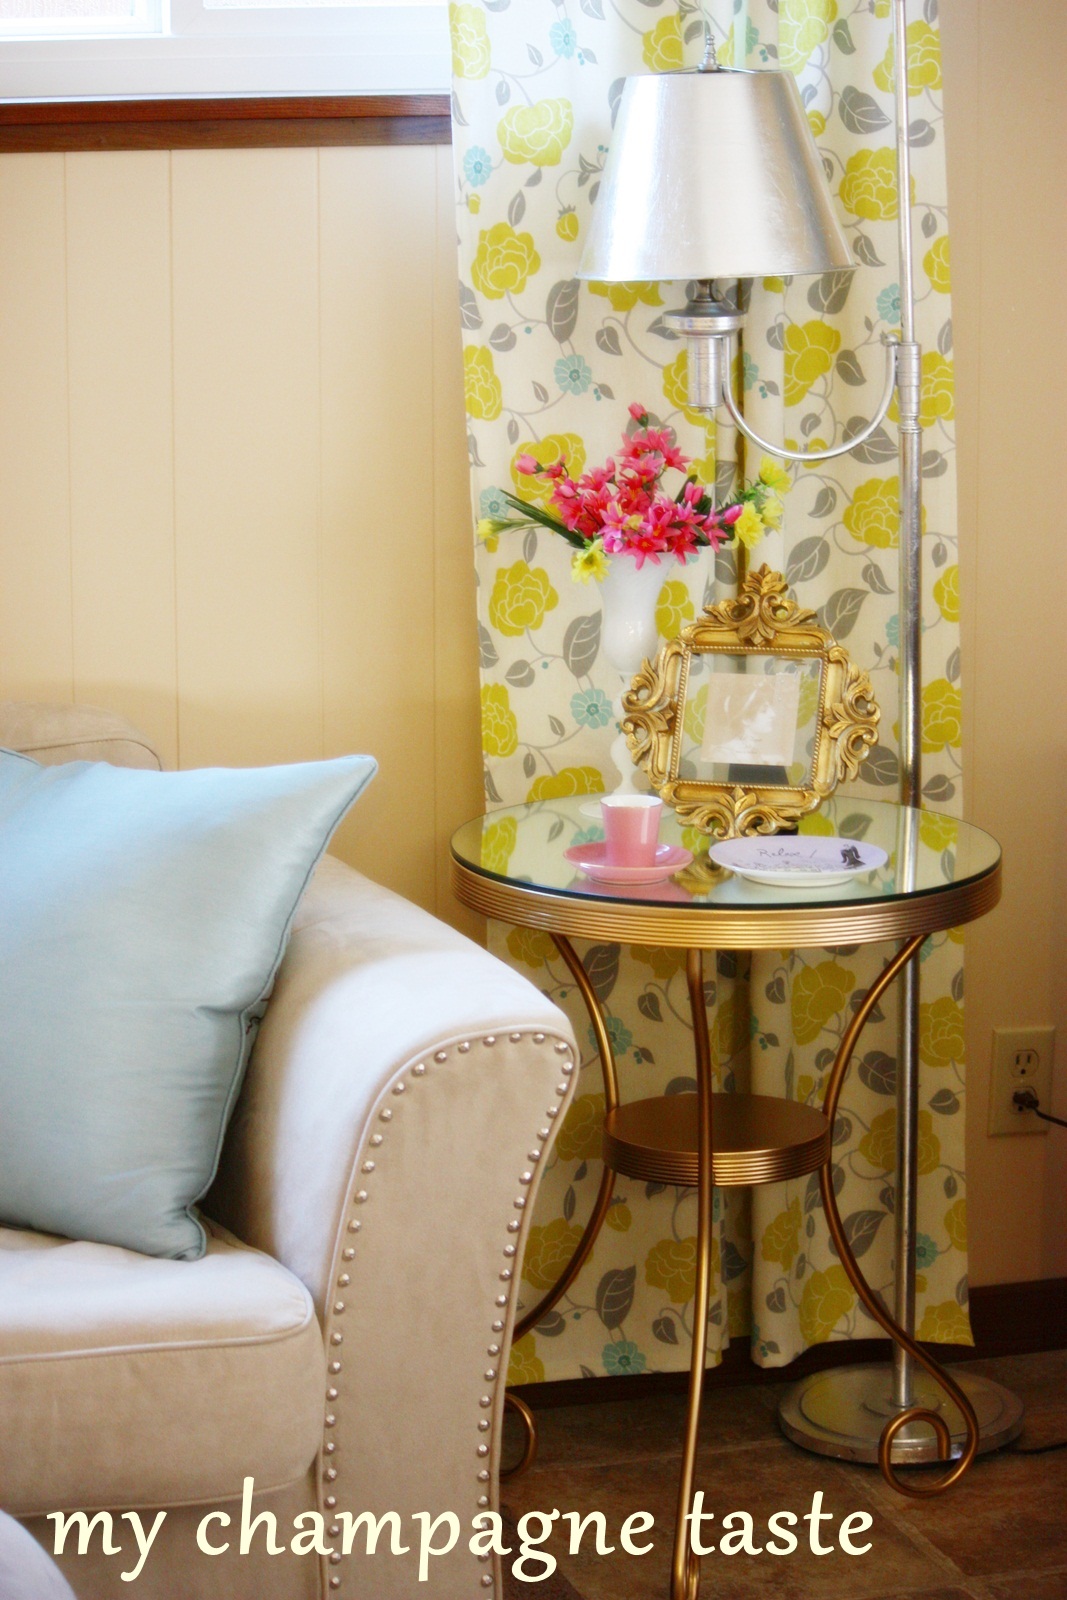
After I saw this picture I felt that the living room needs some brown colors to balance the heaviness of the dining table so I added a huge wooden tray to the end table, check out my below picture.


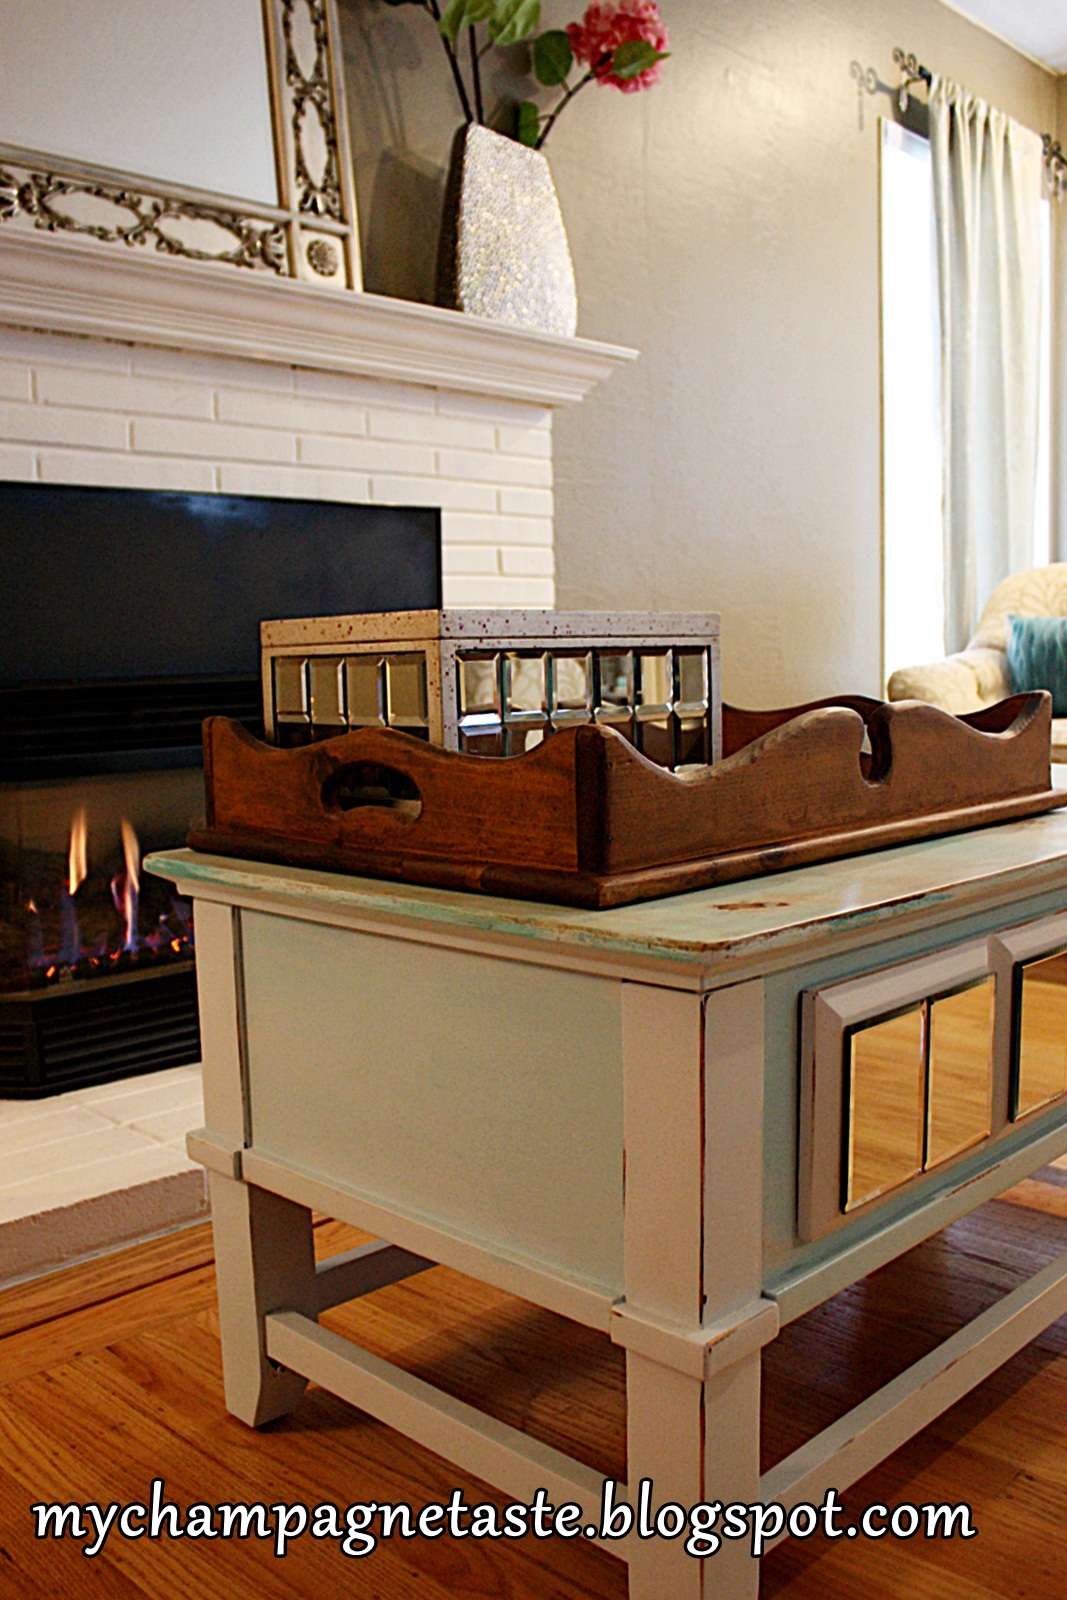
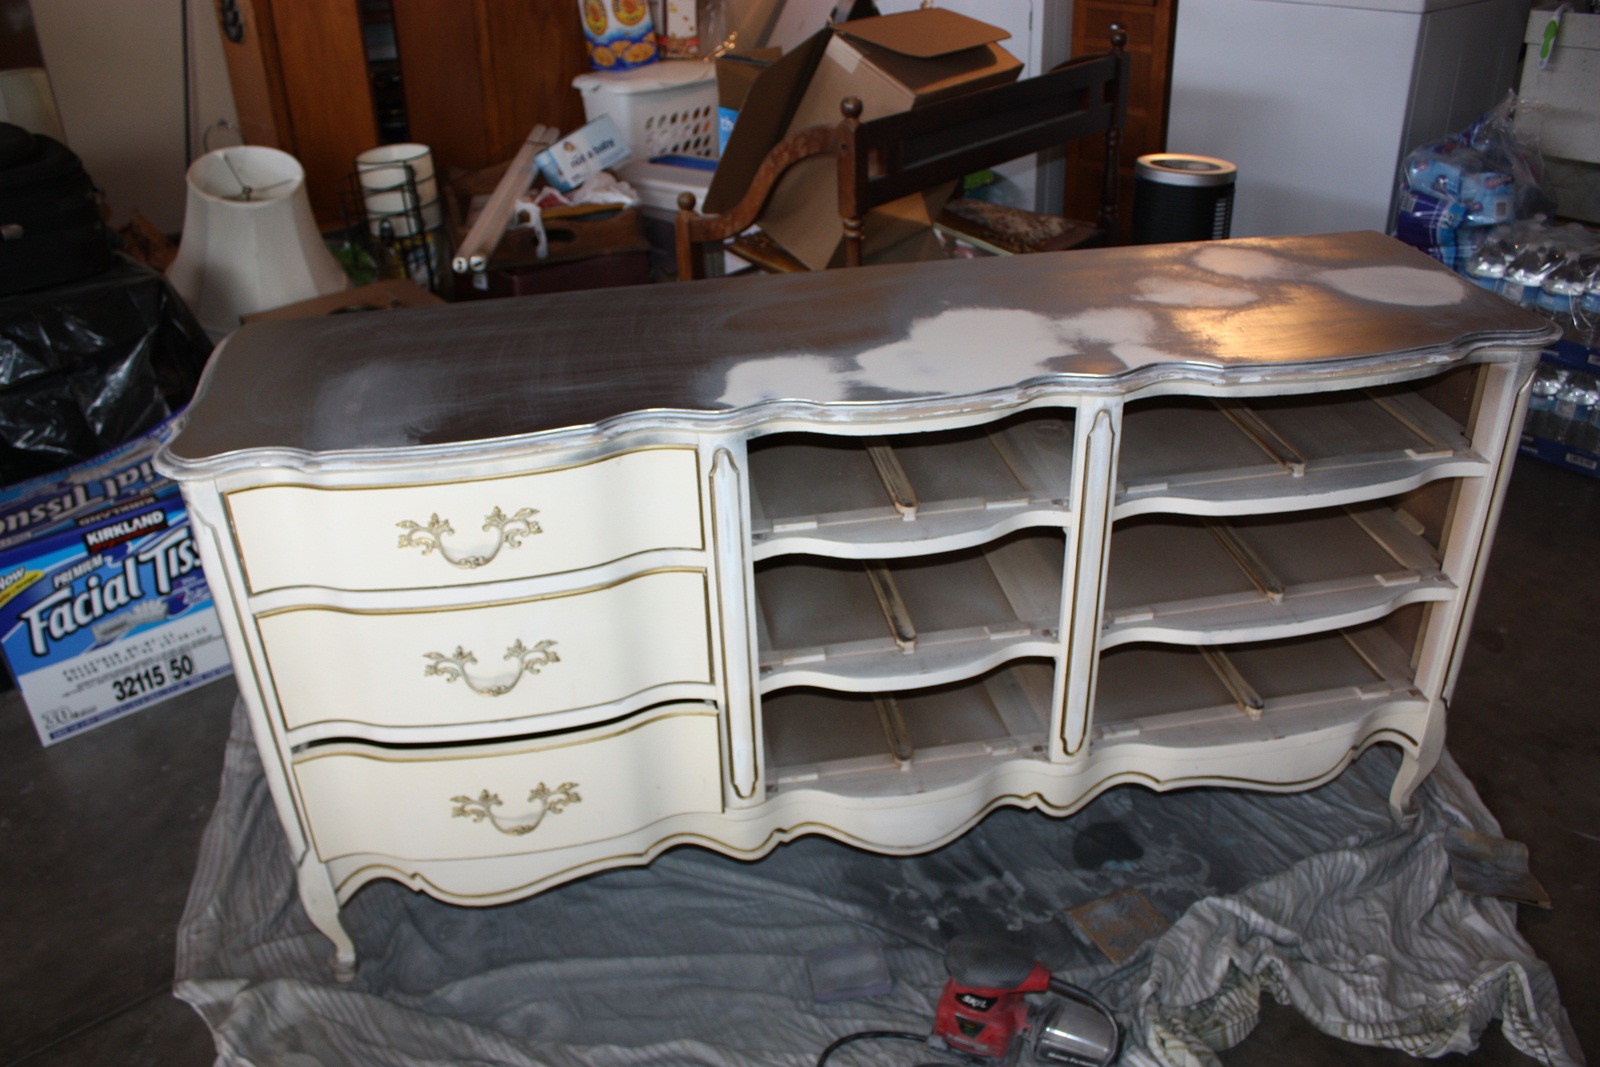
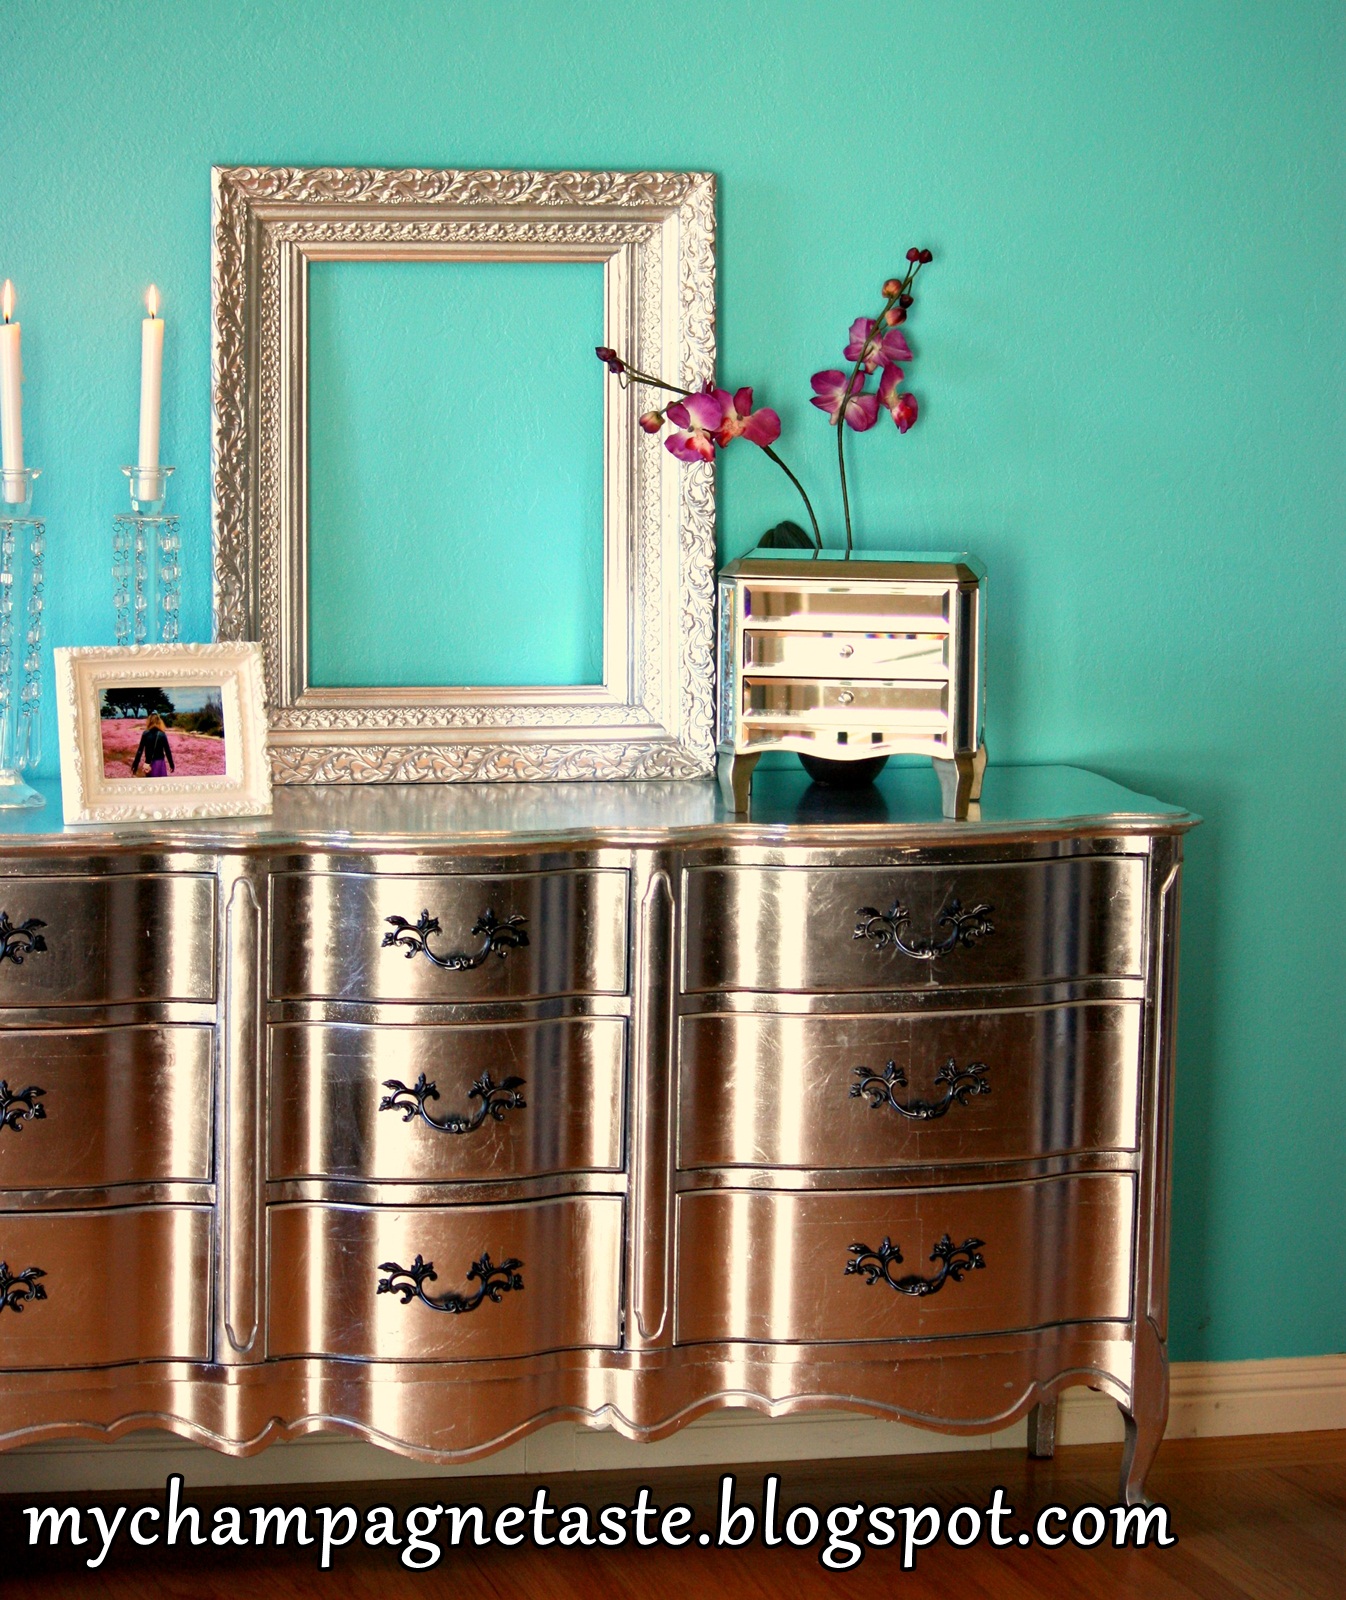
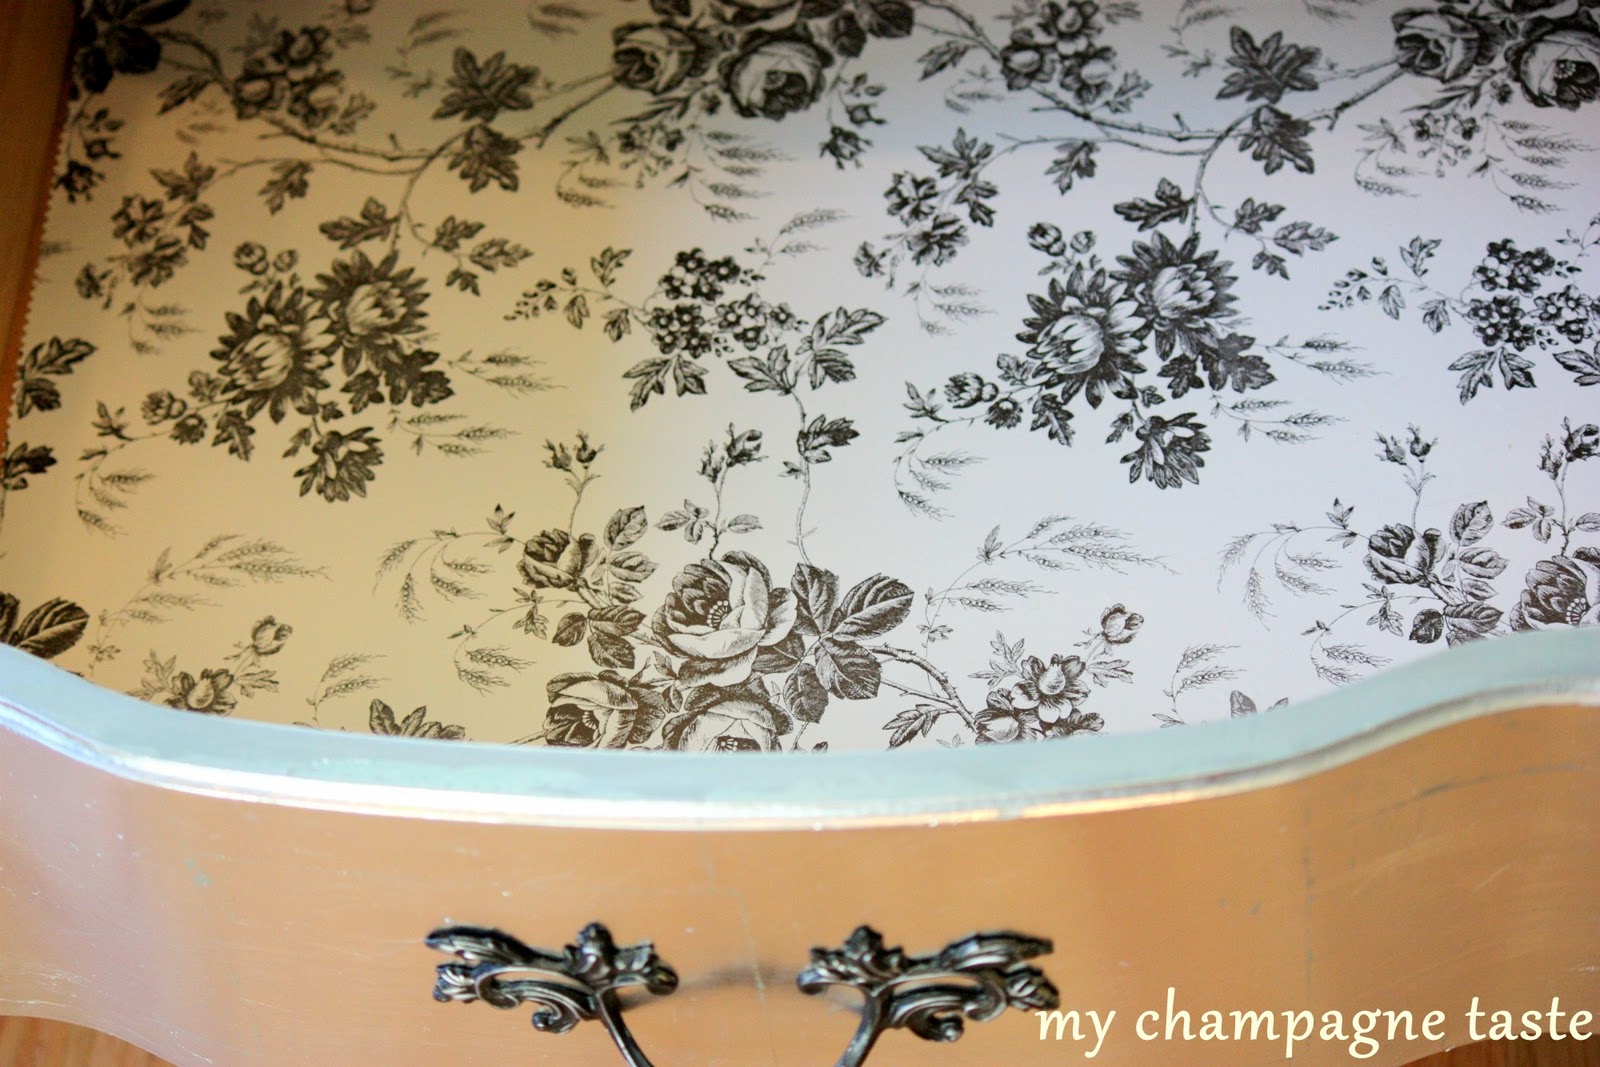
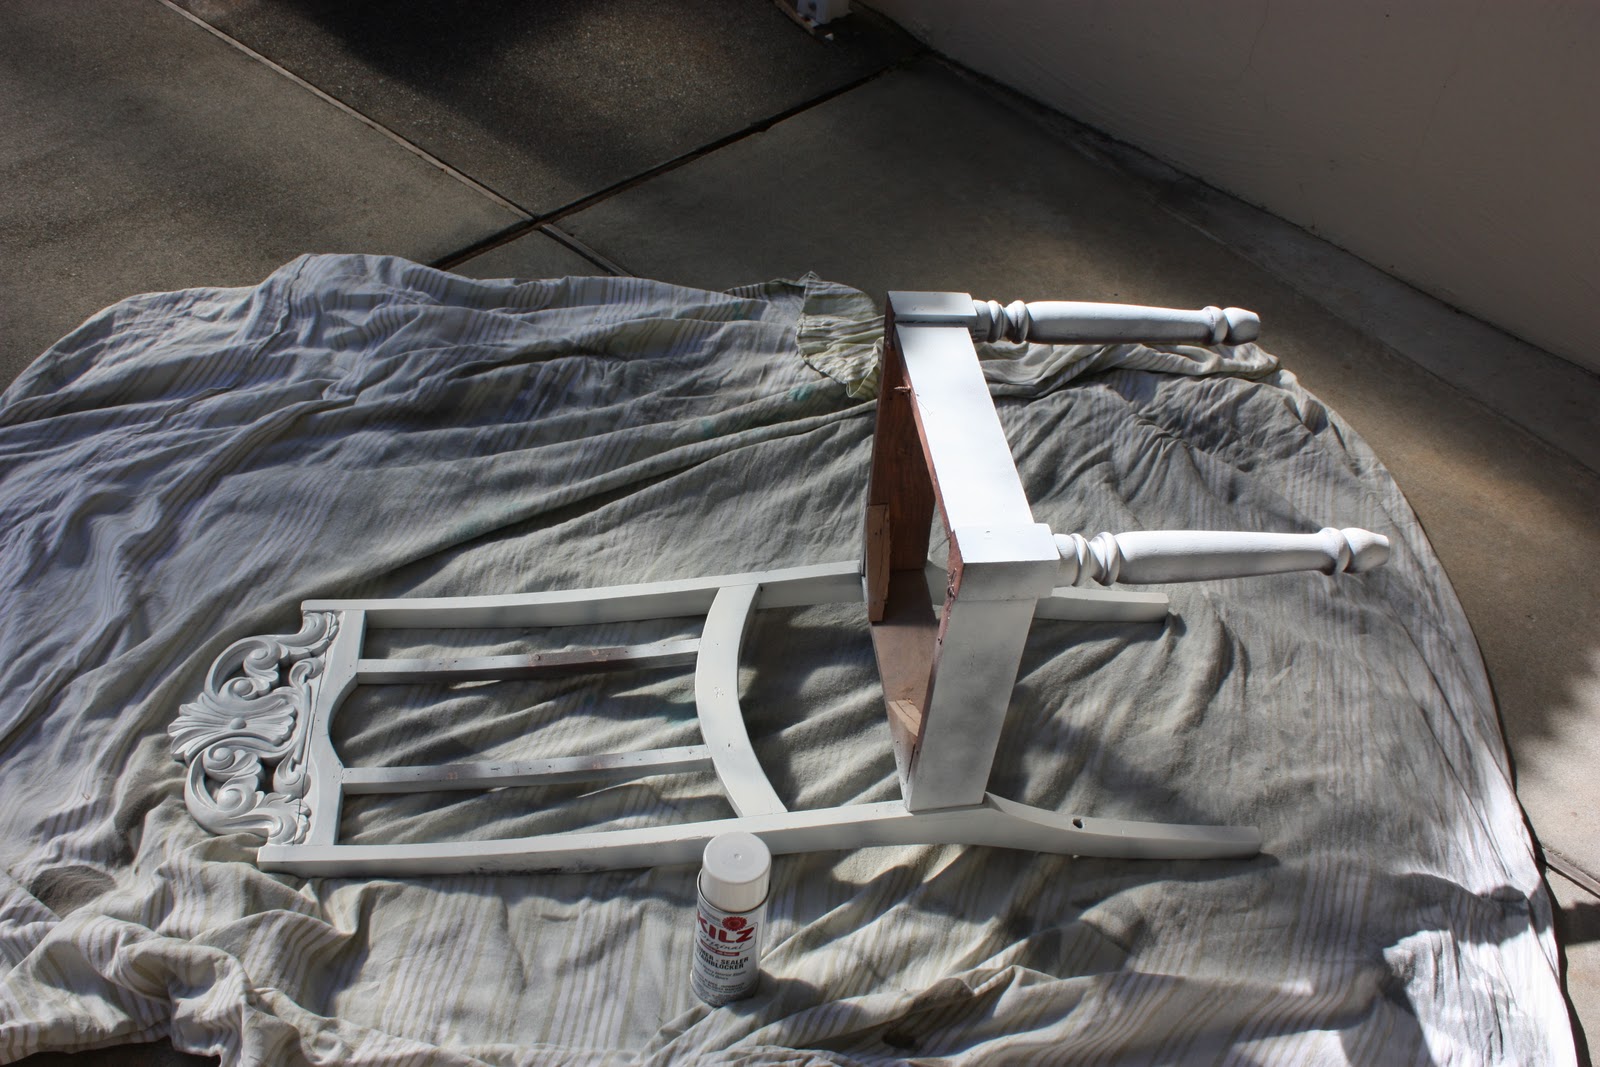
This coffee table was originally dark brown, I painted it white with touches of blue and I added some mirrors to the front of the drawers so it will look shabby so chic 🙂
I bought those mirrors from dollar store. I wanted to use them as coasters like Z gallery style 🙂 as for the huge wooden tray I bought from an antique shop in Lake Tahoe. And did you notice my fireplace now it looks so elegant and modern thanks to the power of paint ( I hope the Landlord will like my paint transformation lol)
 
This wine decanter is my favorite even though I don’t drink 🙂
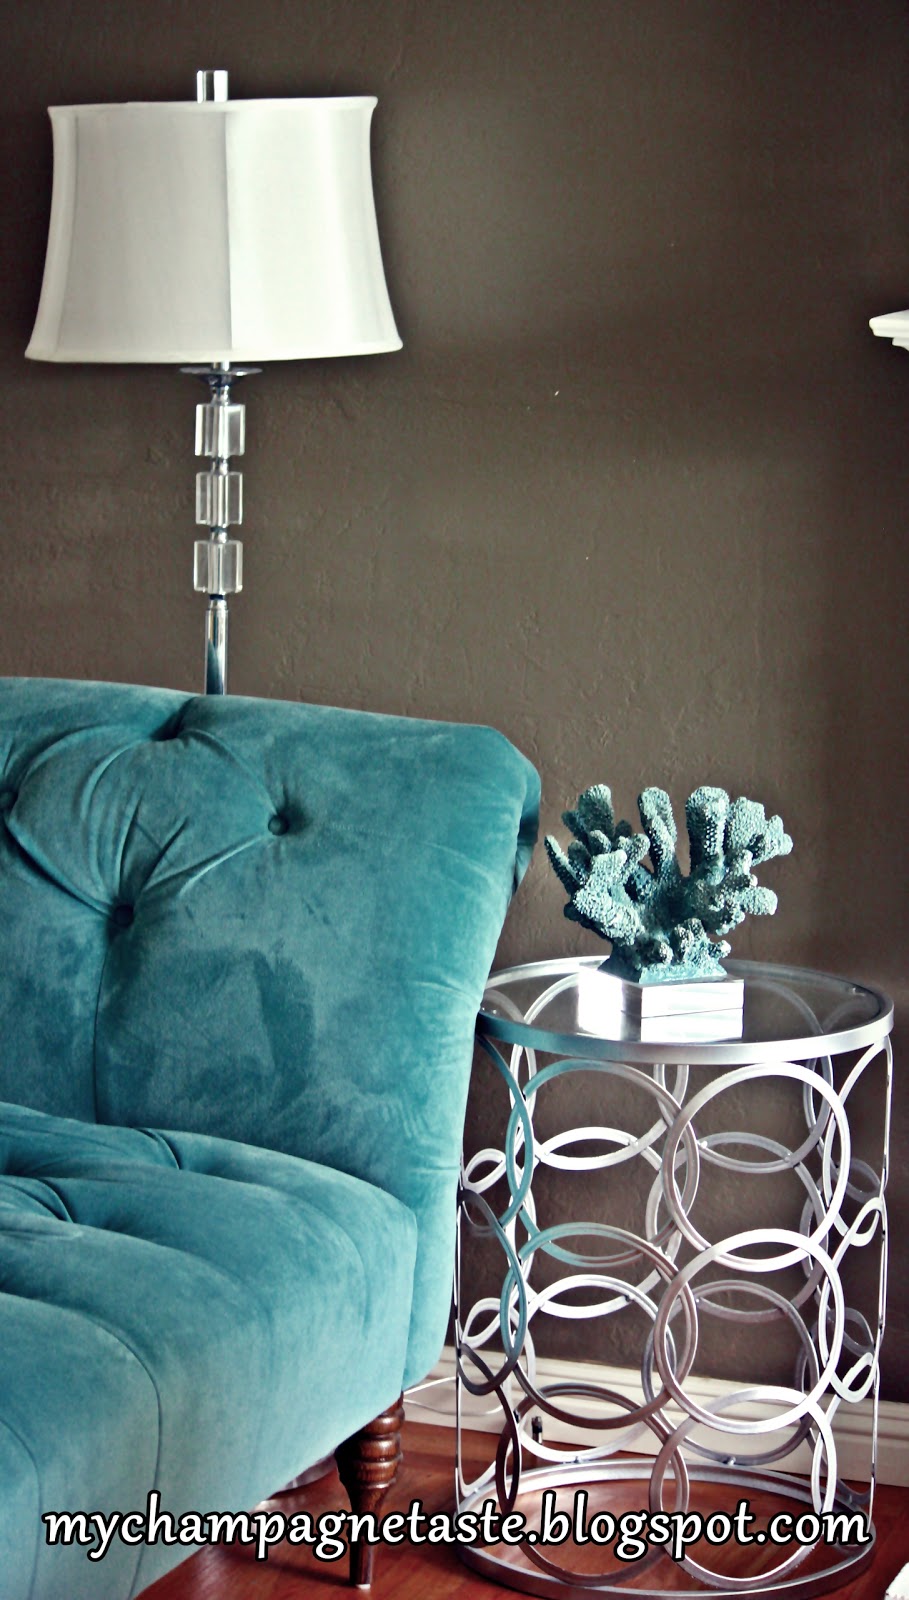
Now the Bling Bling, the jewelry of the room in the next three pictures:

 Those 2 lamps, the crystal chandelier style, and the crystal table lamp are from Home Goods

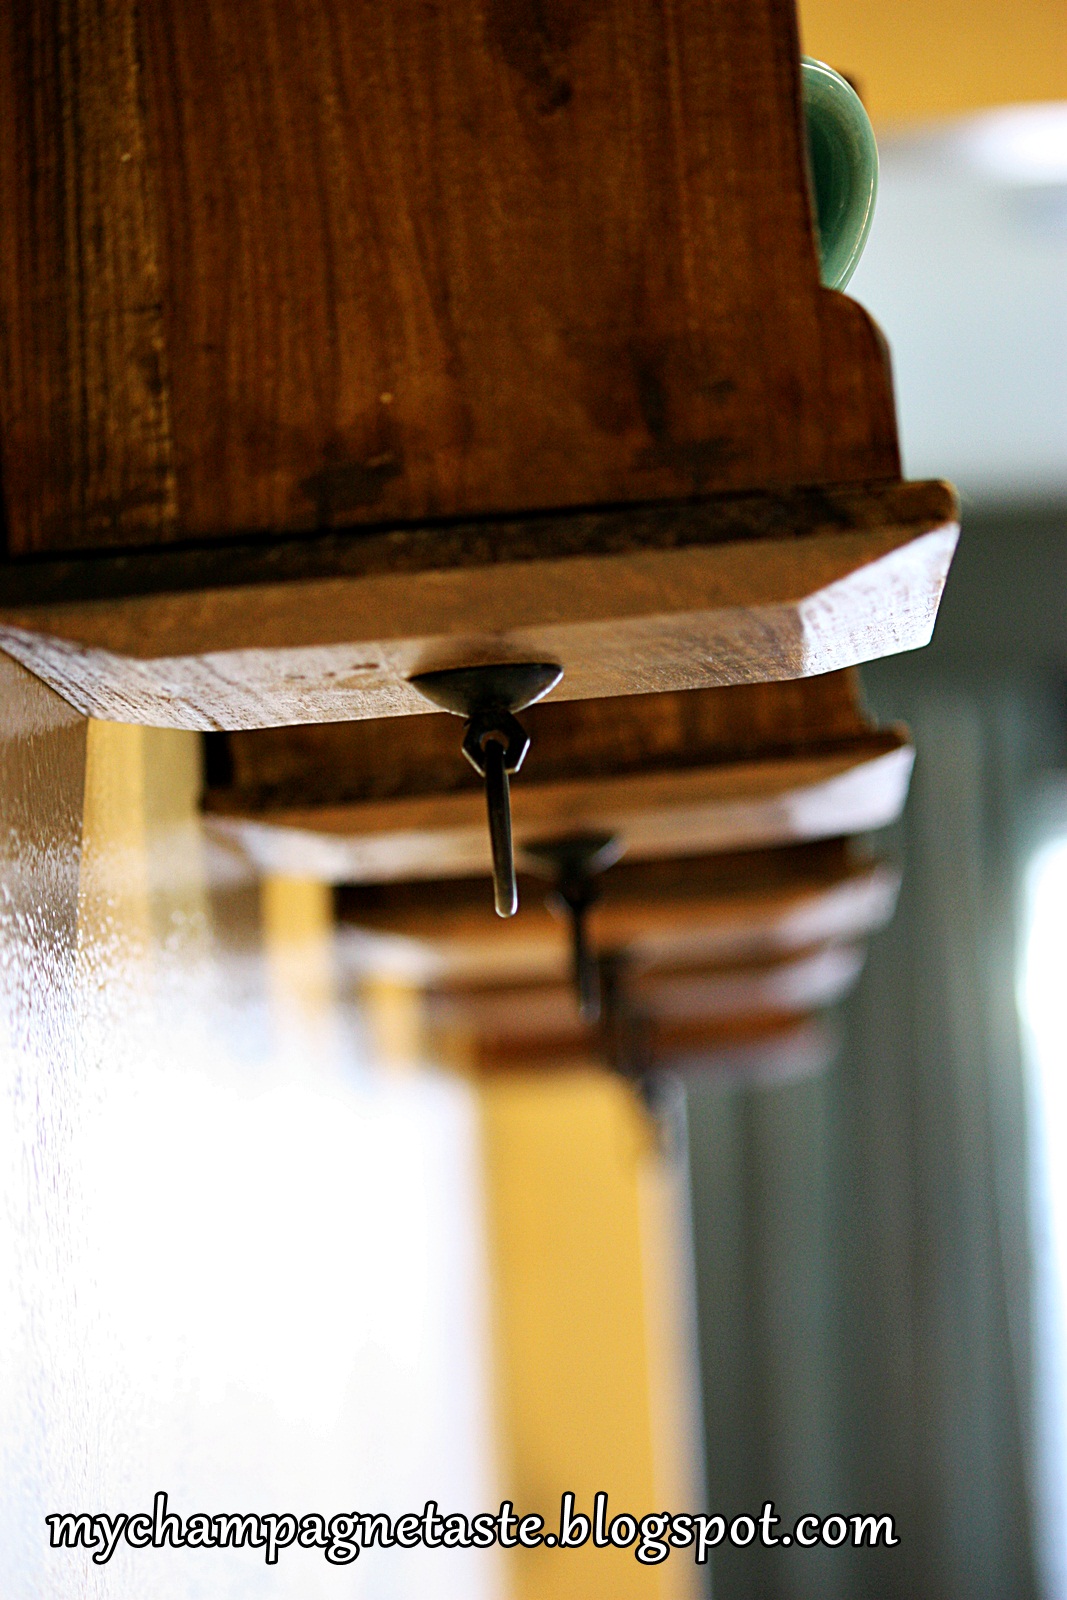
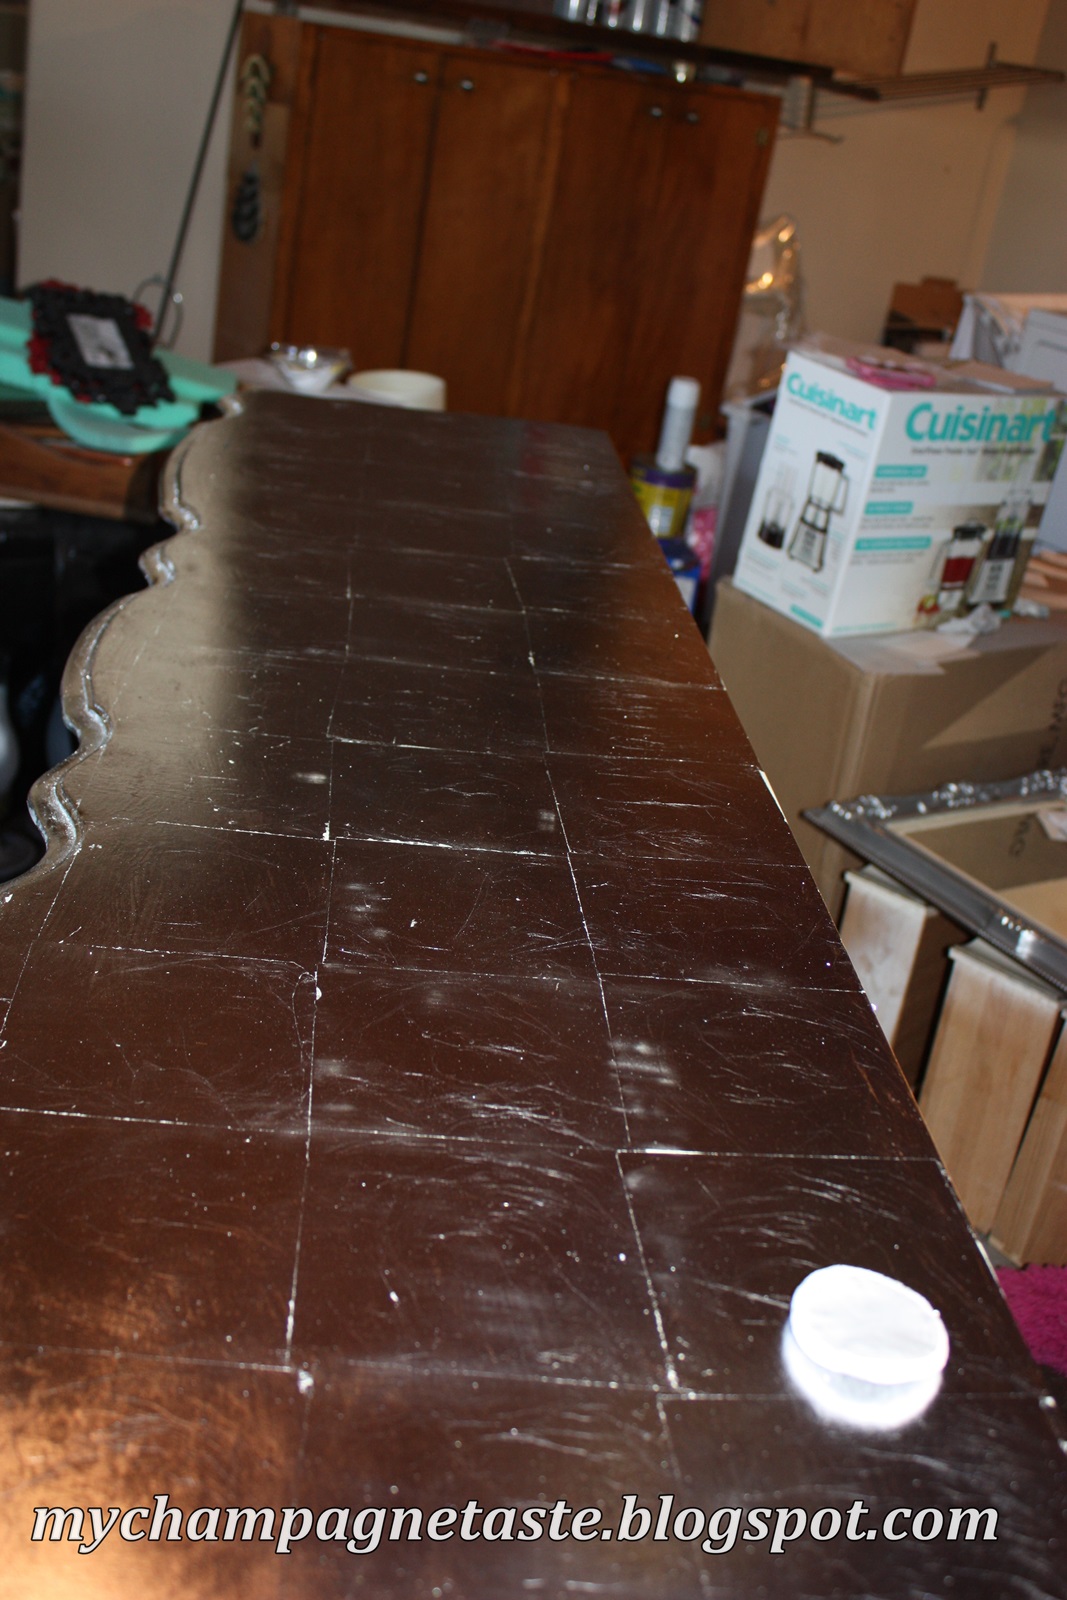
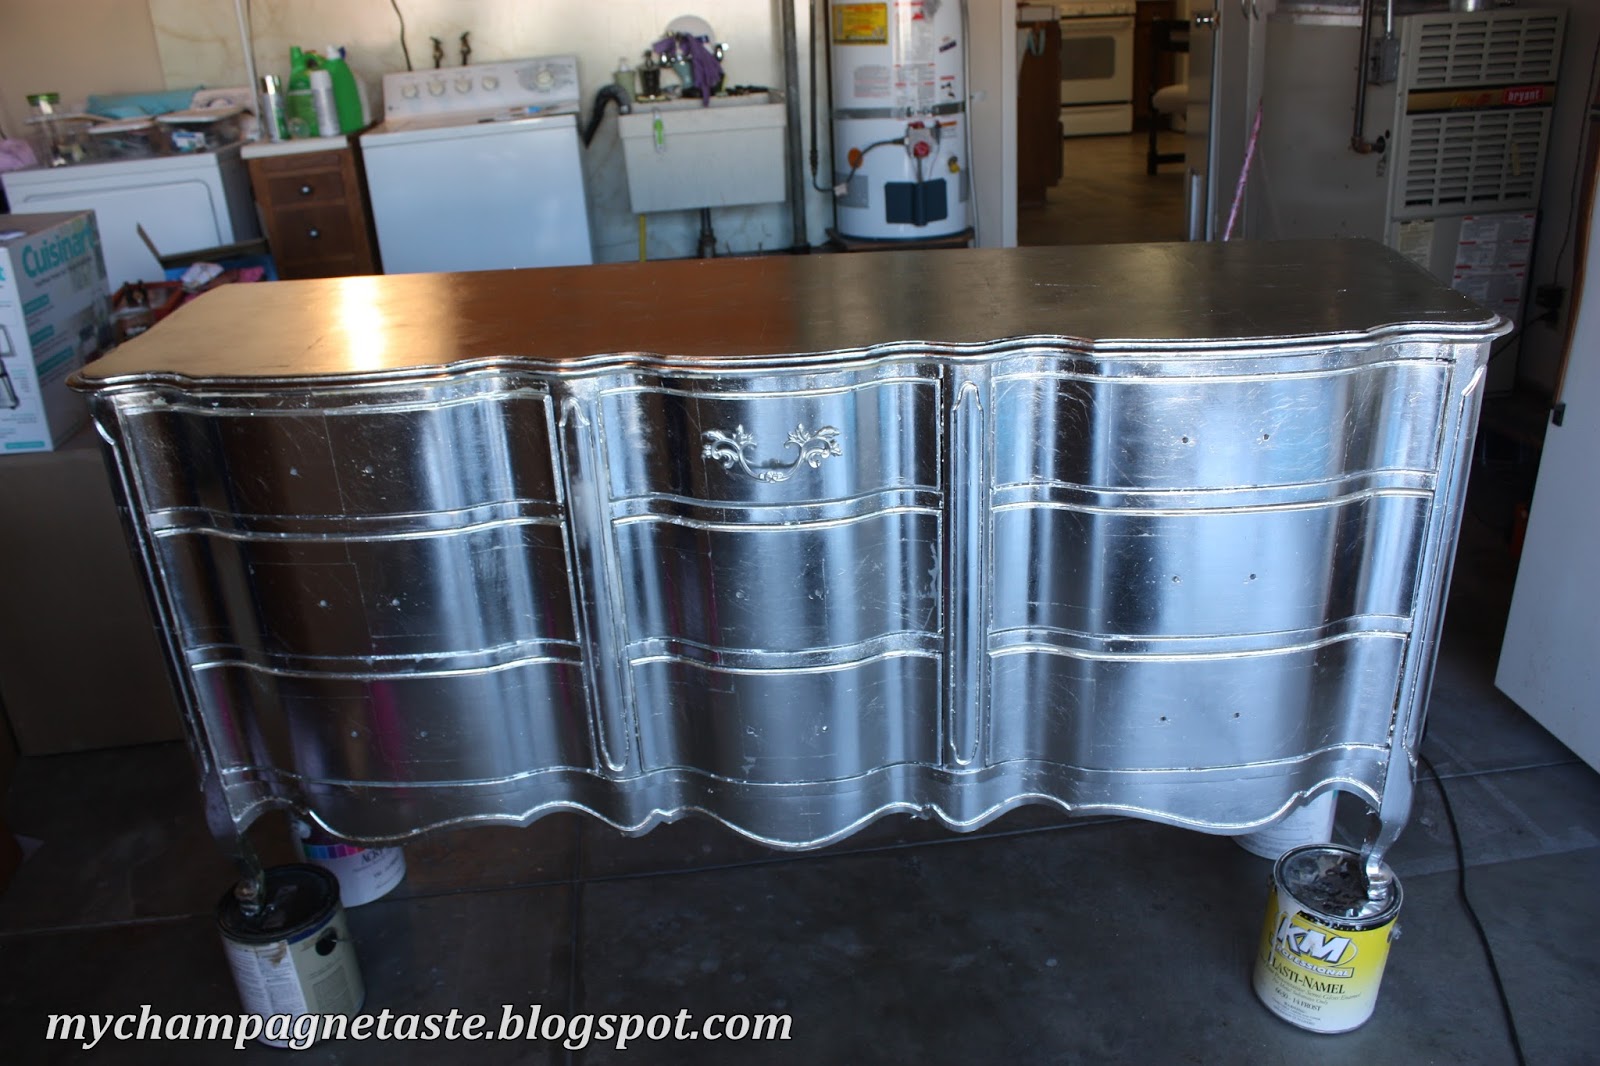
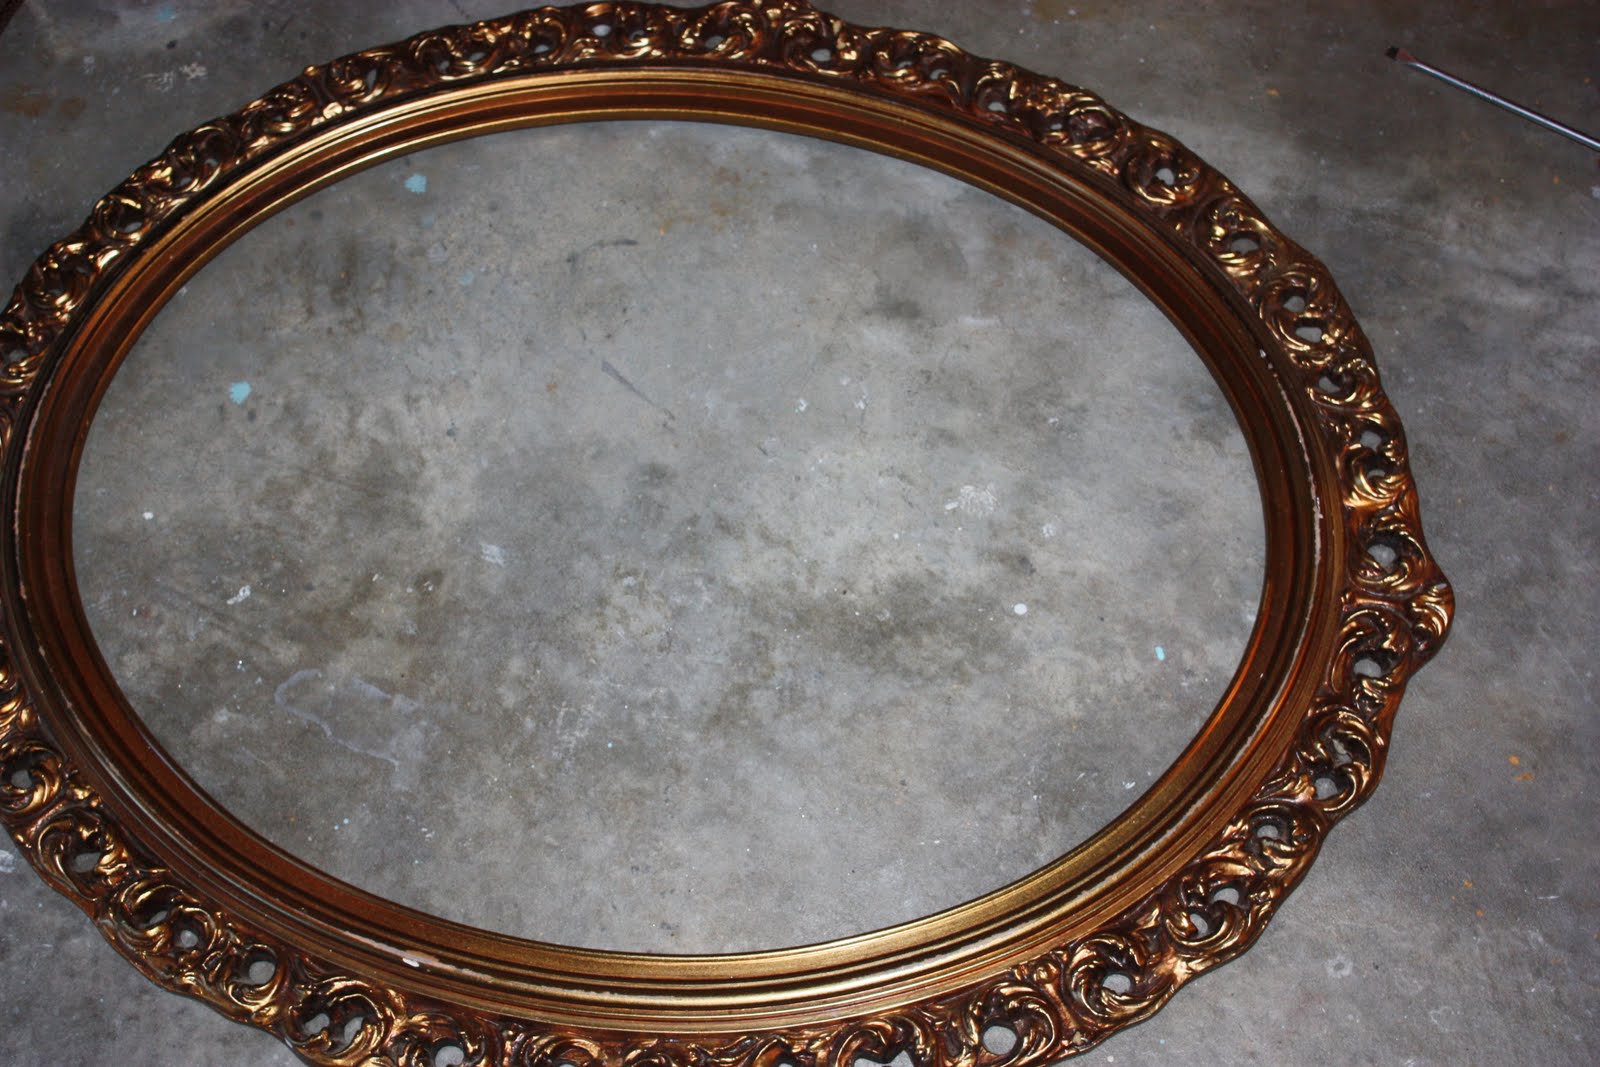
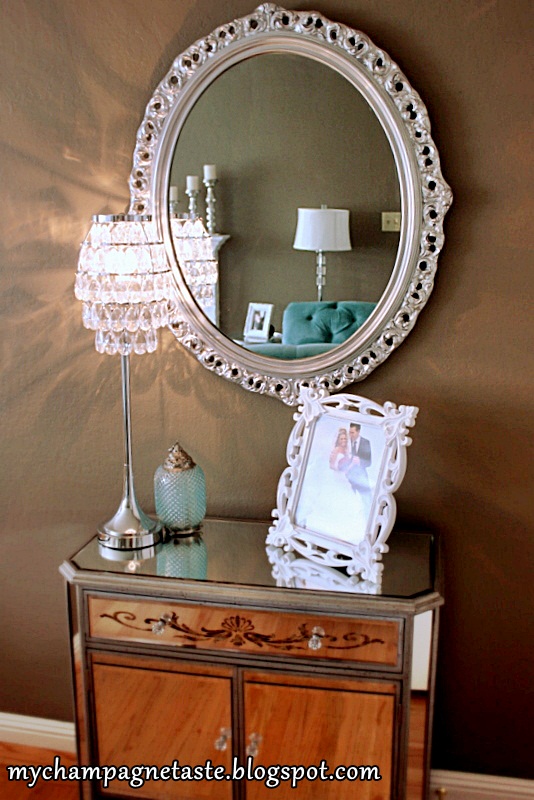
My mirrored antique console was my inspiration when I added mirrors to my coffee table.Let me tell you a secret: shhh don’t tell anybody OK? OK… If you look closer, the lower part of it was broken so I removed the crystal knobs and I bought 12″ x 12″ Beveled edge mirror tiles from Lowe’s and I glued them, then I glued the knobs on the mirror ( and nobody noticed, everybody thought it is a design lol )

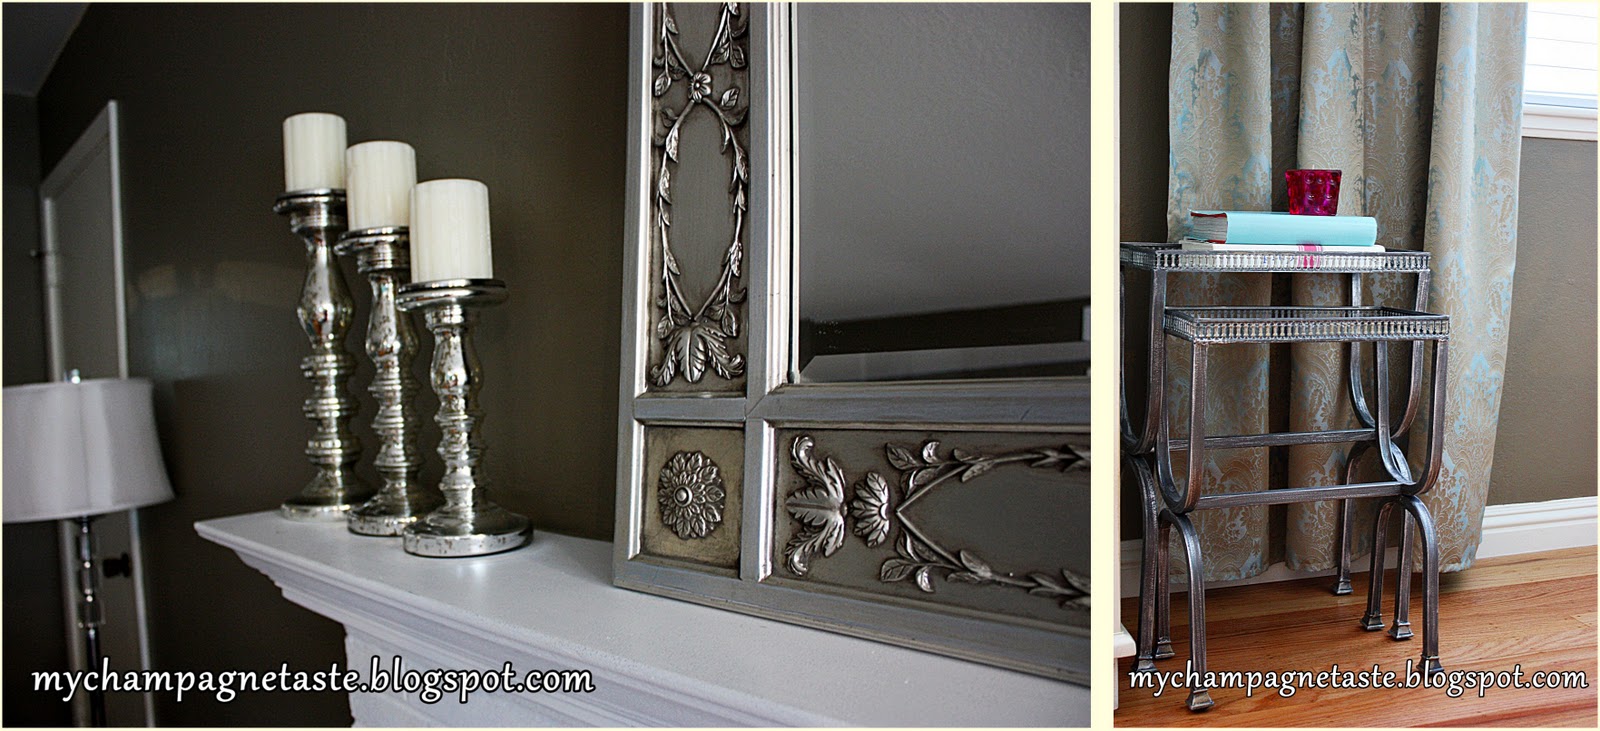
Everything in those 2 pictures is from Home Goods: The mercury glass candle holders, the metal silver mirrored nesting tables, the antique mirror, and the crystal floor lamp.

 
In this post, I show you how I spray painted this mirror silver.
 
 
I love the Moroccan style, yesterday I ordered another bigger yellow rug from my TV room, its has similar geometric Moroccan design, I can’t wait …
 
I’m lately obsessed with everything vintage and old and especially with ornate legs ( if they call these legs I’m not sure)
 

And the last picture, I know I know this post is full of pictures but who doesn’t like pictures??? right 🙂

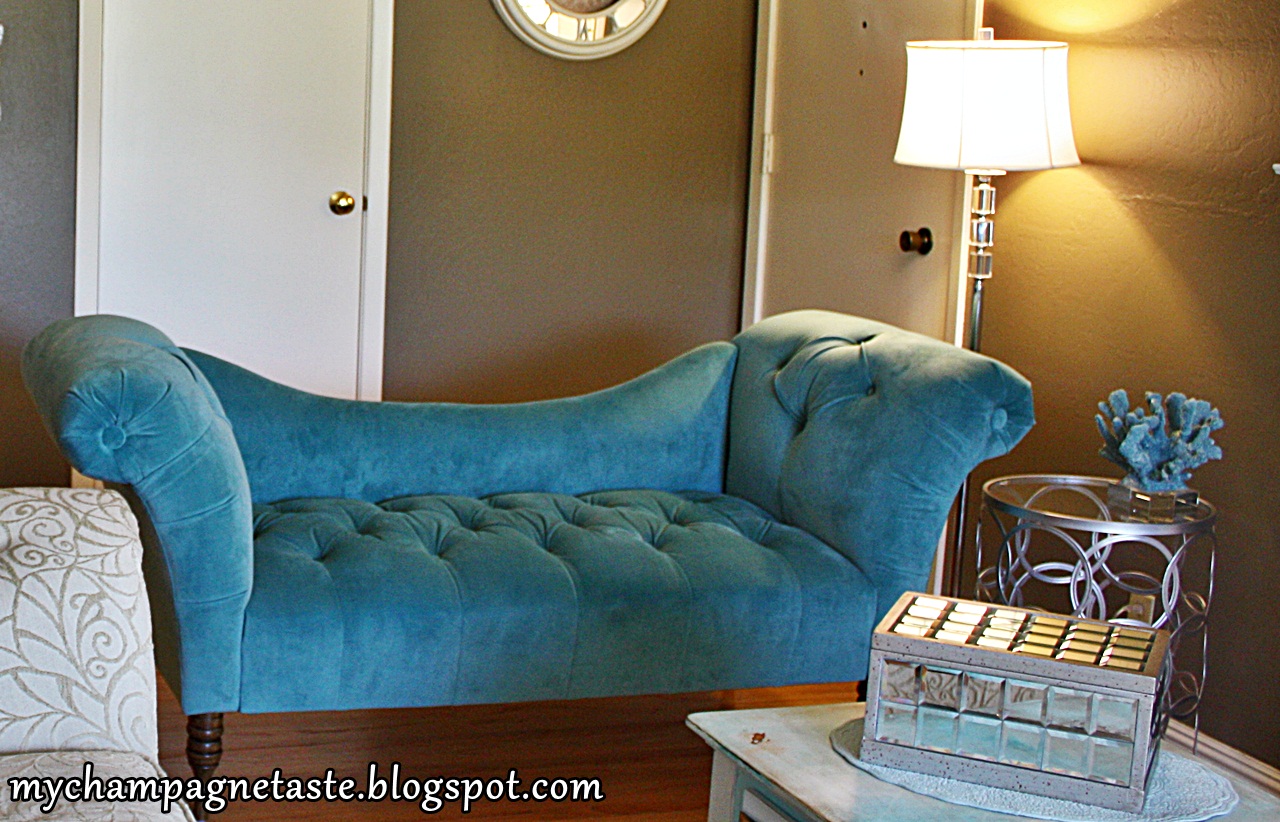
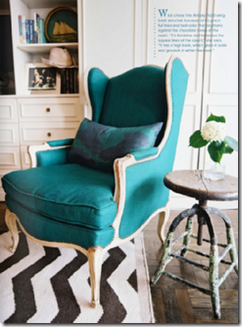
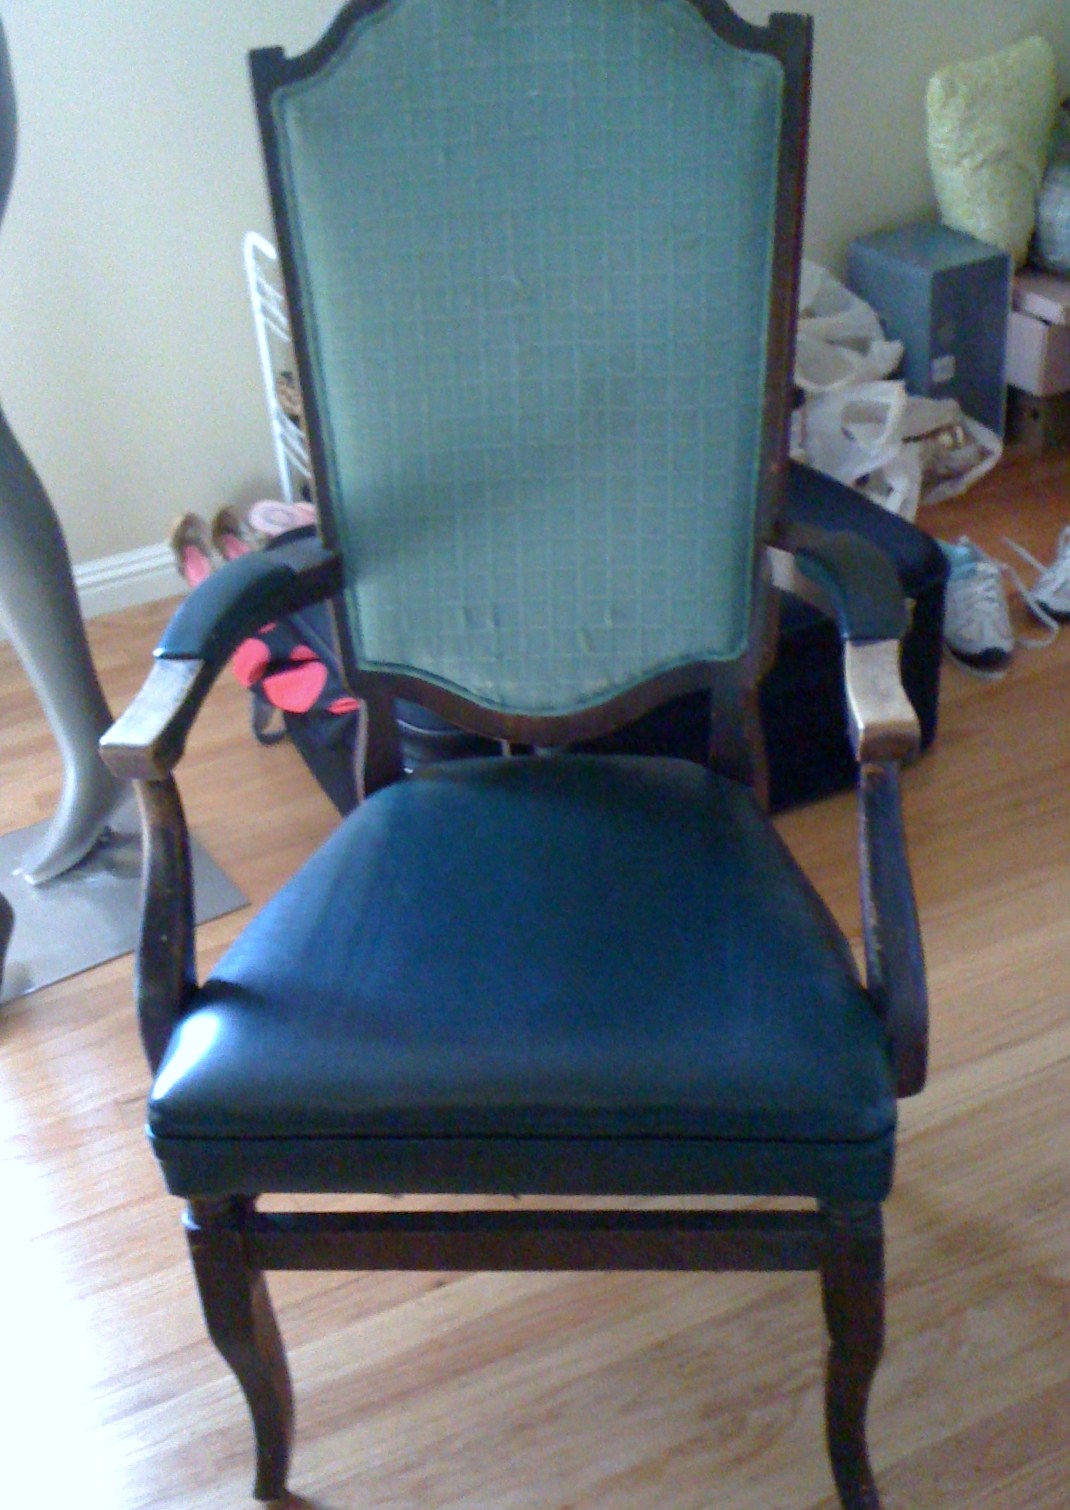
This turquoise lounge chair was my splurge in the room. I bought it from Urban Outfitters and I just LOVE it…But I  need to add some pillow though, any suggestions…I need you help with pillows to all my couches cause I suck at picking pillows so please any advices from all of the style queens out there. I’m thinking of some touches of hot pink ??yes ?? no??

Pin It

Follow Me on Pinterest

Featured on:
                 Photobucket border=

Featured on..Here Comes the Sun

Linking too:
betweennapsontheporch , thekurtzcorner , abowlfulloflemons , notjustahousewife , projectqueen , sweetlittlegals , restoreinteriors , thetrendytreehouse , itsoverflowing ,somedaycrafts  , twenty-eight-0-five , frenchcountrycottage , romantichome , missmustardseed , shabbynest , igottacreate , sassysites , fivedaysfiveways , thirtyhandmadedays , cookienut , familyeverafterblog , too-much-time , funkyjunkinteriors , bedifferentactnormal , itssoverycheri , bystephanielynn , skiptomylou , myuncommonsliceofsuburbia , creatingahouseofgrace , kammyskorner , sassysites , abowlfulloflemons , mommybydaycrafterbynight , tipjunkie , primitiveandproper , cleanandscentsible , thetrendytreehouse , itsoverflowing , bluecricketdesign , restoreinteriors , nominimalisthere , theshabbycreekcottage , familyeverafterblog , bedifferentactnormal , thriftydecorchick , twindragonflydesigns , funkyjunkinteriors , tatertotsandjello , daysofchalkandchocolate , primitiveandproper , thewinthropchronicles , twindragonflydesigns , somedaycrafts, cookienut , classyclutte , diyshowoff , knickoftimeinteriors, theshabbycreekcottage , herecomesthesun , fivedaysfiveways , thriftydecorchick

Leave a comment

– From Drawers to Shelves

1 / 15 / 121 / 19 / 18

I’ve been seeing all the rustic wood look over blogland and I’ve been drooling.From reclaimed wood to old doors to all those palettes as coffee tables, all of these are my favorites.I want that look, I really want that look but of course, I don’t know how to use a jigsaw 🙁
Finally, I got an idea …I have a small wooden cabinet sitting in my garage for about 7 months now. It was collecting dust. I love its rustic feel but I didn’t have any use for it in my home. I pulled its drawers and hung them as shelves. I needed an extra storage in my kitchen and it was the best solution to cover that empty wall of my kitchen.

This is the before picture of the cabinet

One picture of my kitchen table/office 🙂

And here is how it looks now:


I mentioned before in later posts that I wanted to have 4 different chairs, paint them one color and use the same fabric to upholster them but after I stained and upholstered this bench ( you can check it out here)  I fell in love with it and just used 2 different chairs instead. You can see these chairs here and here.

A picture without my gold and yellow mug
A picture of my gold and yellow mug


Yellow and gold it matches my decor


The tablecloth is actually a shower curtain but I loved its pattern and I didn’t care cause no one will notice


I just love these knobs
 
 
It was the easiest project, just glued some picture hangers at the back of the drawer and hung them and in case I changed my mind I can still use them as drawers


So what about you? do you love the rustic look? did I achieve the rustic feel in my kitchen?
 
Pin It

Follow Me on Pinterest

Award:

I’ve been featured:
Photobucket        It's Overflowing  Mod Vintage Life

five days five ways | feature friday free for all      Photobucket         The DIY Dreamer      

Linking too :
thegirlcreative , pollywantacrafter , beyondthepicketfence , thekurtzcorner , tipjunkie , projectqueen , restoreinteriors , thetrendytreehouse , itsoverflowing , cleanandscentsible , somedaycrafts , theshabbycreekcottage , chattychics , twenty-eight-0-five , frenchcountrycottage , romantichome , shabbynest , missmustardseed , findingfabulousblog , tatertotsandjello , bedifferentactnormal , aweemeenit , iheartnaptime , diyshowoff , icantstopcrafting , skiptomylou , mommybydaycrafterbynight , cleanandscentsible , kammyskorner , igottacreate , sassysites , fivedaysfiveways , thirtyhandmadedays , too-much-time , funkyjunkinteriors , sugarbeecrafts , abowlfulloflemons , thriftydecorchick , modvintagelife , diyshowoff , sweetlittlegals , jaimelyn , creatingahouseofgrace , thriftydecorchick , mommybydaycrafterbynigh , primitiveandprope , elizabethandco , thediydreamer , thetrendytreehouse , staceyembracingchange , abowlfulloflemons


Leave a comment

– How to Silver leaf furniture.

1 / 7 / 121 / 19 / 18


Simply, I love silver leaf furniture. Perhaps one of the reasons I chose my blog’s name was my admiration for my silver leaf project. After I finished it, the dresser looked so expensive that I thought man I do have champagne taste 🙂

 Silver leafing is easy but you should have a little bit of patience and a vacuum cleaner 🙂 yes yes you heard me a vacuum cleaner because  it will get messy, like really messy,and don’t try to apply it outdoor ( like some blogs suggested) because it is so delicate that your own breath can make a big mess so what about the wind, so I found the best place to apply it is in my workshop garage.

 
So here’s how I did it:
 

1- I applied the oil base size with my dollar store cheap brush, waited for about 45 minutes until the size will get tacky, The proper tack is when the size does not stick to the knuckle and you hear a slight “tick” when the knuckle is pulled away. ( you will know what I’m talking about when you try it).

2-Then you apply the silver leaf by holding it with the wax paper ( the silver leafs come in between of 2 sheets of wax paper so use those papers to hold the silver leaf) so don’t use your own hands because the silver leaf will stick to your hands and not to the desk.

  3- Place the next sheet slightly on top of the previous one, when you overlap the sheets you will get fewer gaps and cracks in between when you burnish them at the end.


4- When you finish applying all the sheets to the desk, use a soft brush to burnish all the silver leaf, and make sure to be gentle on the seams or you will get lots of cracks.


5- Seal it, some blogs says you do not need to seal it but based on my mom experience the color will change after a while if you don’t seal it ( she lives on the beach so it might be weather thing I’m not sure) but I didn’t want to risk it so I sealed it with a transparent sealer ( some sealers has a yellow or red color).

P.S: When you seal it, the checkboard pattern will disappear. 


6-Thanks to centsational girl I knew this tip, you can fill in the cracks with Rub’Buff silver color it works like magic but of course, this should happen before you apply the sealer.


7- Don’t ever think you will get a perfectly smooth surface, no matter how hard you try you will have a textured surface or a few cracks so you better like the mirrored antique style.The perfect silver leaf style is not to be perfect 😉

 
Before:


After:


                                               I’ll tell you a secret, this was my first silver leaf project ever and it wasn’t that easy. I applied 3 times the silver leaf over that dresser.The first time, I didn’t like the way it turned out to be it was like a chessboard. The second time, I applied another layer of silver leaf over the first one so I can break that chessboard pattern but it was a very bad idea, it was all wrinkly so I used my sander and removed both layers. Third and it was the final one and it turned out prettay ( or I gave up and I convinced my self it is pretty lol)


For the small details and curves of the drawers for some reason silver leaf didn’t stick so I applied Rub N Buff, like Kate from Centsationalgirl did  


Hope you like my dresser cause I’m in love with it 🙂


Follow Me on Pinterest

164 Comments

Bye Bye IKEA, AGAIN

1 / 5 / 121 / 19 / 18

Silver accents were always my favorite. My love for gold finished pieces was minimal until my sister and I went on a furniture shopping tour back in Lebanon. After pointing out some elements of the furniture, my sister’s passion for gold became contagious. I came back to the US and the first thing that I wanted to do was transform my house into a golden palace ( well at least one room, the living room). Let it shine, I said.

So I thought that I have to get rid of those cheap looking IKEA black metal tables. First I painted them, added 2 custom mirrors.

                               Below is the inspiration picture:

shopcandelabra.com $ 745

The before picture

And I got to say: Bye Bye IKEA, AGAIN !!!!!


So now I have in the living room Gold and Silver accents and I love this combination, what about you? Do you like just one finish?Which one do you prefer?Or you are like me a mix and match girl?

 You can check out here my first Bye Bye IKEA series 🙂


Linking too:

Pin It

Follow Me on Pinterest

shabbynest, romantichome , simplysweethome , cookienut , twenty-eight-0-five , tatertotsandjello , funkyjunkinteriors , iheartnaptime , thegirlcreative ,diyshowoff , pollywantacrafter , skiptomylou ,projectqueen , notjustahousewife , primitiveandproper , iheartnaptime , sweetlittlegals
restoreinteriors , thetrendytreehouse , bluecricketdesign , theshabbycreekcottage , frenchcountrycottage ,  romantichome , missmustardseed , tatertotsandjello , thegirlcreative , somedaycrafts , beyondthepicketfence , bedifferentactnormal , familyeverafterblog
, too-much-time , thekurtzcorner , chattychics , sassysites , myuncommonsliceofsuburbia , mommybydaycrafterbynight , abowlfulloflemons , modvintagelife , thriftydecorchick , cleanandscentsible , knickoftimeinteriors , ourdelightfulhome, sugarbeecrafts
Pin It
Leave a comment

– Spray Paint: The Sky is The Limit

10 / 4 / 111 / 12 / 18
Don’t we all agree that we LOVE spray paint?

Here are some of my spray paint projects:


Metal: The end table from black to silver, this was my first project and I got hooked

Read More

Leave a comment

-How to Paint a Lampshade: Painting Fabric

9 / 29 / 111 / 19 / 18

My inspiration is not a Lamp Shade, it is a Chair.

I just loved the teal color

Read More

Leave a comment

– Ornate chair

9 / 23 / 111 / 19 / 18
 

So back to my project, 4 different chairs for the kitchen table, one paint color and one fabric like I mentioned here.  I can go a little crazy in the kitchen that is OK 🙂


I bought an old ugly Burgundy chair, yes it was a very shiny burgundy chair, but I liked its ornate and carved details.


I didn’t sand it, I just used Kiltz Spray Primer ( or Zinsser), then I paint it with “Valspar Aqua Ocean paint”. Then I realized that the ornate top that I fell in love with is loose 🙁
This is what happens when you are so excited and you don’t pay attention to how sturdy is the piece that you are buying. To fix it I used “Elmer’s Wood Filler” and “Gorilla Super Glue”. Lightly sand the wood filler and paint over it.

After priming it


Read More

Leave a comment

– Pop of color: Aqua

9 / 21 / 111 / 19 / 18

The Kitchen table is where I spend all the daytime ( not eating, well not only eating but also as my office )
So I want something fun, comfortable and stylish.


I needed 4 chairs, I had in mind that I want 4 different style chairs, paint them one color, use one fabric.


So this is my first chair:

Not so pretty right


Read More

Leave a comment

– Spray Painting Mirrors 2

9 / 12 / 111 / 19 / 18

I’m obsessed with mirrors and vintage candle holders.
I’ve been searching for a nice mirror for my formal living room for ever, I didn’t find what I had in mind ( it looks that what I had in mind is either so rare either so expensive) so I settled for something else :).
What I wanted is something like this below mirror

And this is what I found , I couldn’t wait more I had to had a mirror on that empty wall, and if later I will find a mirror like the above I will buy it and this one will find a new wall 🙂

And here is how it turned out to be


All I had to do is:
– First I removed all the staples in the back with my professional tools, to remove the mirror form the frame.


– Second wipe of dust from the frame so the spray paint will stick.

– Third just use your favorite spray paint color mine is “Rustoleum Metallic Silver”, and to get a smooth finish spray two light coats.

– Fourth reverse step first, put back the mirror to its place and staple it.

And that is it, I can’t wait to see your spray paint projects soon 🙂

IF YOU ENJOYED THIS POST PLEASE ADD ME TO “FOLLOWER” LIST. I’M GROWING MY FAN LIST.
Pin It
 
THANKS FOR YOUR SUPPORT.

Linking too itssoverycheri ,missmustardseed,   dittledattle , thekurtzcorner , remodelaholic , thetrendytreehouse , primitiveandproper , thriftydecorchick , thriftydecorchick, bluecricketdesign , modvintagelife

Leave a comment

– Nasty Bench Turns Rustic ….

9 / 2 / 111 / 19 / 18

This bench was given to me for free by a lady from whom I bought a French Armoire. I will post the French Armoire project at a later time.


It was nasty, dusty and overall very unappealing bench ( I guess this is why it was free … hey, no complaint.)

So here are the steps :

(1) After a light sanding job, I spray painted random areas of the bench with ” Rustoleum Heirloom White.” (2) After drying out, I resanded almost all of the white paint with a fine grid sanding wedge. (3) I buffed it with a wet cloth, (4)then I used my foam brush and stained the bench with “Minwax Stain Jacobean 2750.” 24 hours later, I started on the upholstery.


The upholstering process:

I bought 3″ thick green foam from Joann’s fabrics, because as you may see the bench was very rigid and stiff. Now it all ready after a new big foamy layer , batting, and the fabric all joined by a stapling gun.

For the piping I used the remains of the fabric, a piping cord, and my zipper foot on the sewing machine. The fabric had a fringe/frayed edge so I didn’t have to cut it. I kept it as I felt it went well with the distressed rustic style.

Voila 🙂

This pillow is a no sew , I just used a steam adhesuze tape, check out the tutorial here.

The back was a bit cracked so I glued this hardware to cover it and it adds the old and rustic feel to it

one last picture
IF YOU ENJOYED THIS POST PLEASE ADD ME TO “FOLLOWER” LIST. I’M GROWING MY FAN LIST.
 
THANKS FOR YOUR SUPPORT.
Pin It

Follow Me on Pinterest

Linking to itssoverycheri , thekurtzcorner , cookienut , tatertotsandjello , notjustahousewife , thriftydecorchick , primitiveandproper , beyondthepicketfence , romantichome , projectqueen , missmustardseed , cleanandscentsible , bluecricketdesign , thetrendytreehouse , frenchcountrycottage
Leave a comment

Posts navigation

Previous Page 1 2 3 Next Page

Follow us on

  • Youtube
  • Youtube
  • RSS
We will only send you what matters


Recent Posts

  • Walmart Fashion
  • Walmart Fashion Haul – Part 2
  • Walmart Fashion Haul
  • New Years Free Templates
  • Walmart Kitchen Haul

Recent Comments

  • Mai on “Cool” California Summer!!!
  • Shireen on Ramadan Look
  • Yamamah on Ramadan Decoration
  • Lina Froukh on Mini Dress With Over The Knee Boots

Archives

  • December 2022
  • November 2022
  • December 2021
  • October 2021
  • July 2021
  • June 2021
  • September 2019
  • April 2019
  • January 2019
  • December 2018
  • November 2018
  • October 2018
  • September 2018
  • June 2018
  • May 2018
  • April 2018
  • March 2018
  • February 2018
  • January 2018
  • December 2017
  • February 2015
  • November 2014
  • April 2014
  • September 2013
  • October 2012
  • June 2012
  • May 2012
  • April 2012
  • March 2012
  • February 2012
  • January 2012
  • December 2011
  • October 2011
  • September 2011

Categories

  • diy
  • Fashion
  • Home Decor
  • Party
  • Recipes
  • Uncategorized


Follow us on

  • Youtube
  • Youtube
  • RSS
Site made with ♥ by Angie Makes
Angie Makes Feminine WordPress Themes